
Another Tannoy K3809 adventure (read – revitalization , again ) – 3 previous episodes cumulative , with finish
It started due to adventurous spirit of Ninja ( as known on Baby DiyA ) – he found them somewhere on web adds , I believe in Denmark .
As he said – “I don’t know do I need them , but somebody will “ ; due to fact that one is reported as having de-centred bass cone , they were pretty decent price-wise .
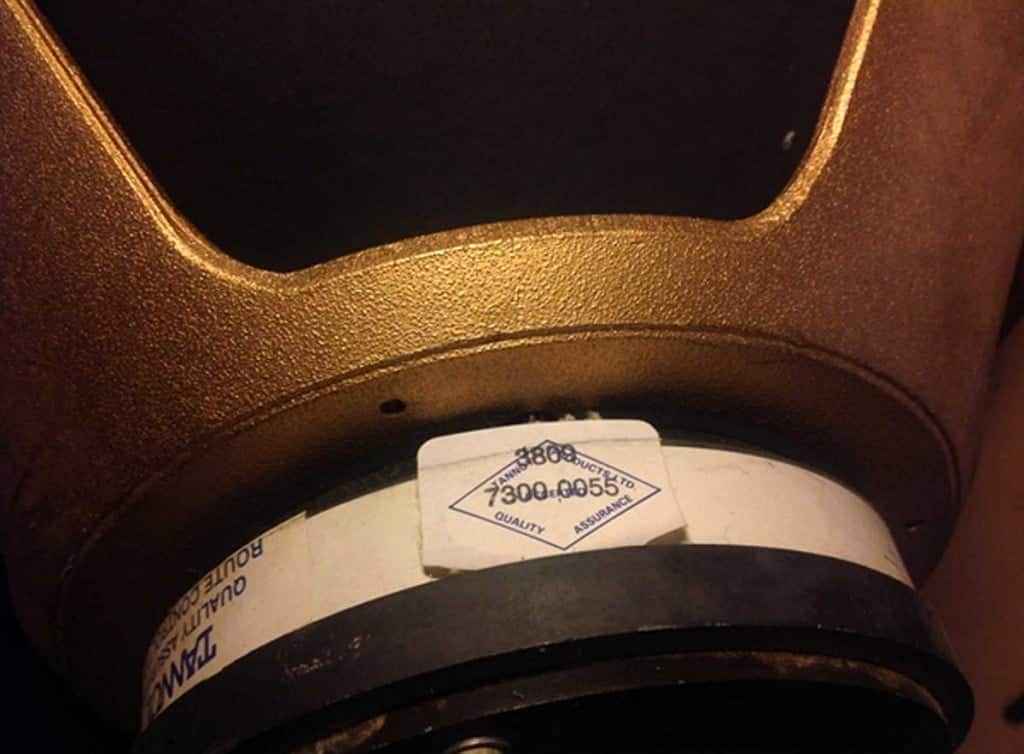
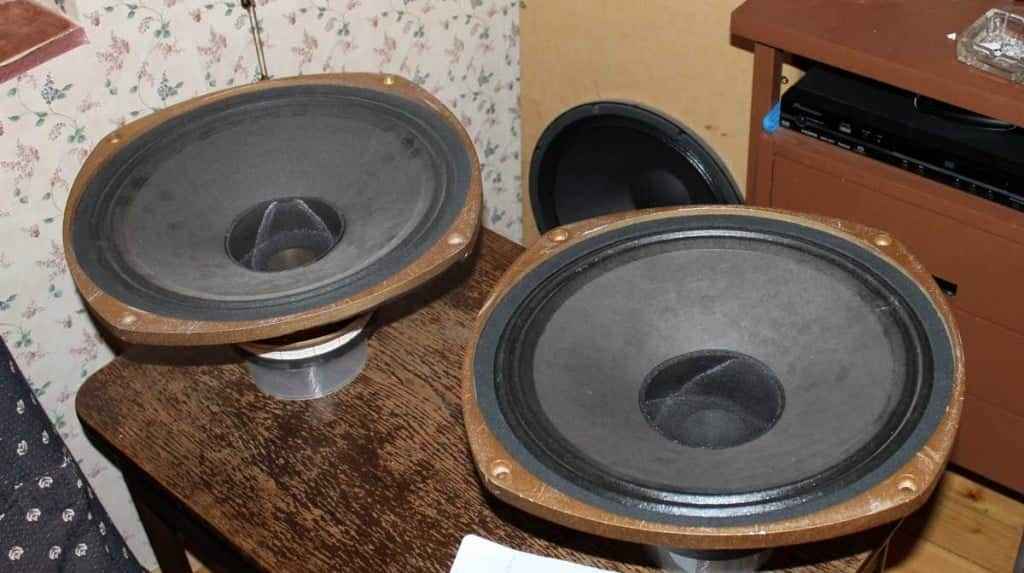
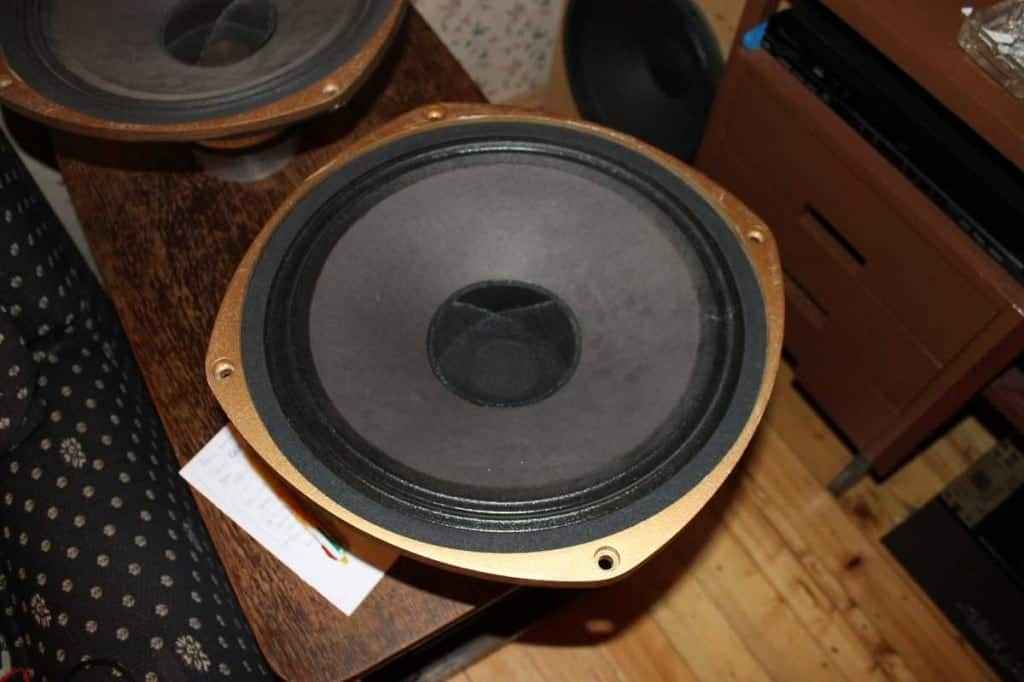
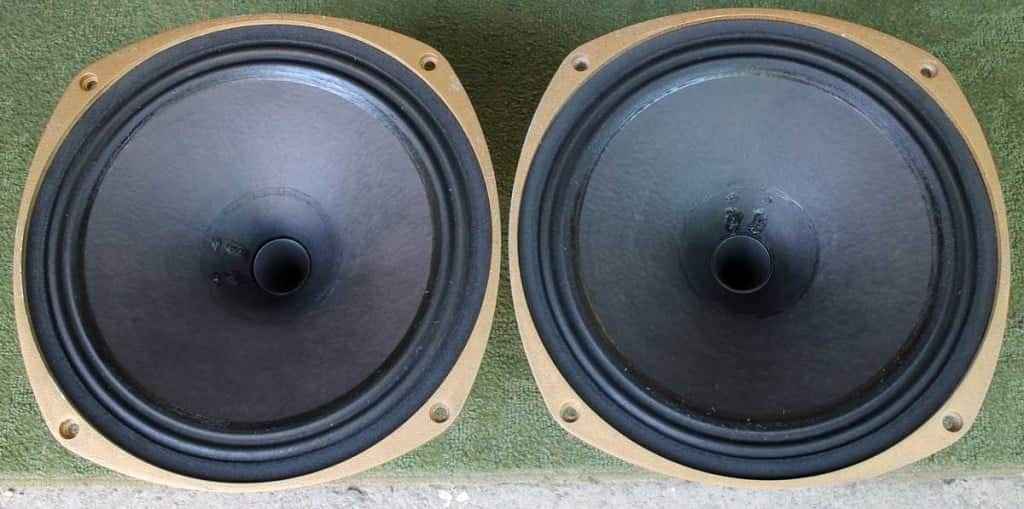
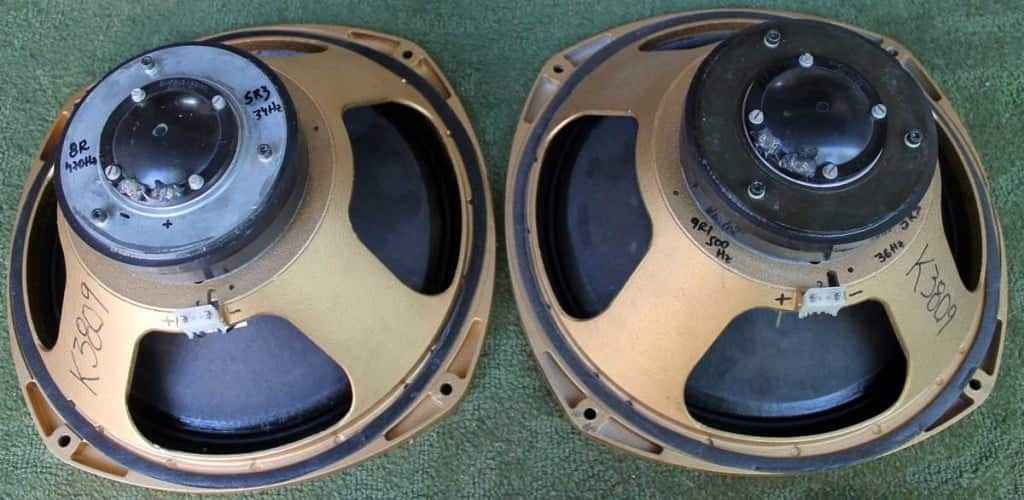
Pretty benign pictures , sent to Ninja from seller ; half-luck – just one is having K3809 type sticker , but both are no-back-ribs …… we were hoping in that moment that no-name one is not K3805 (higher Fs , used in Puma cabs) :
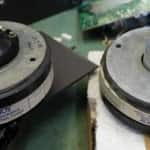
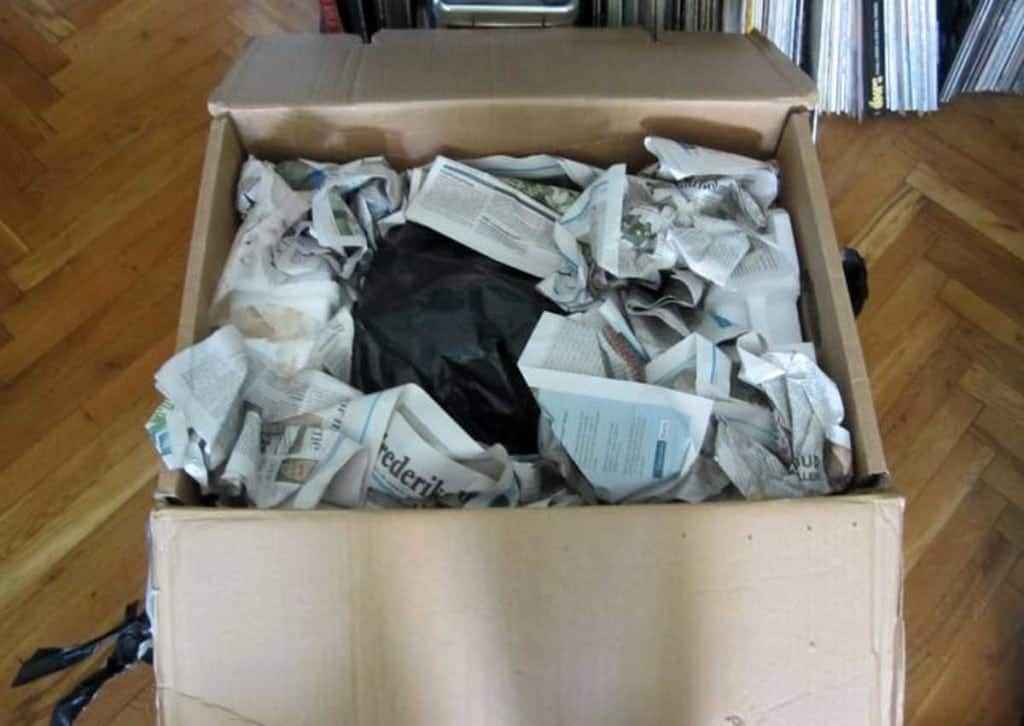
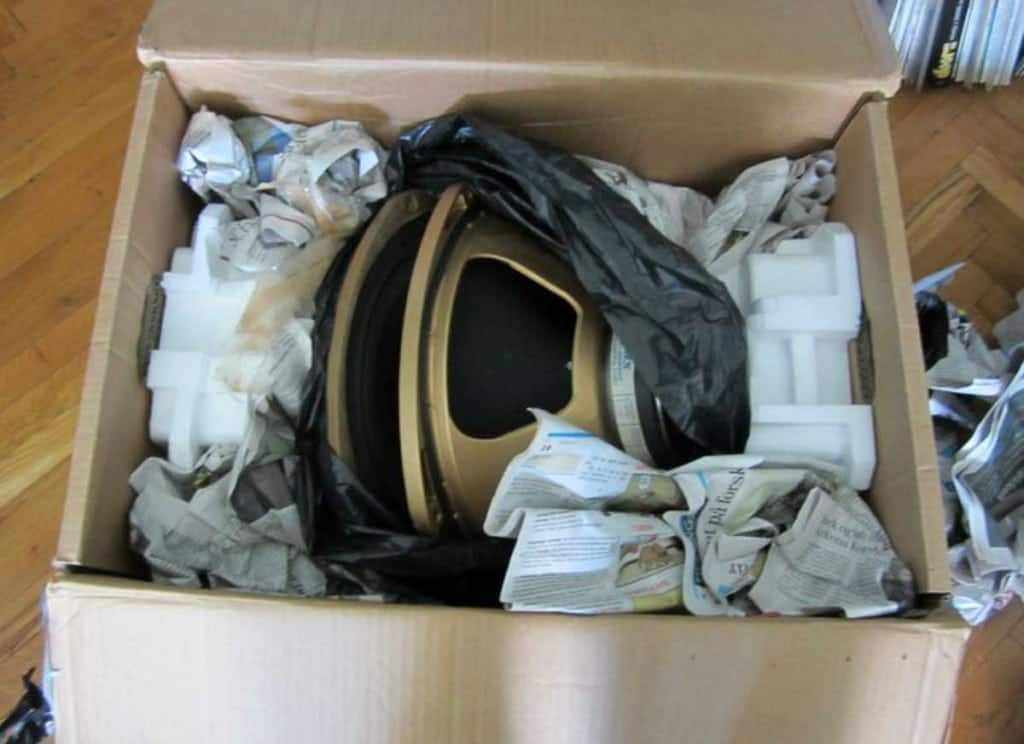
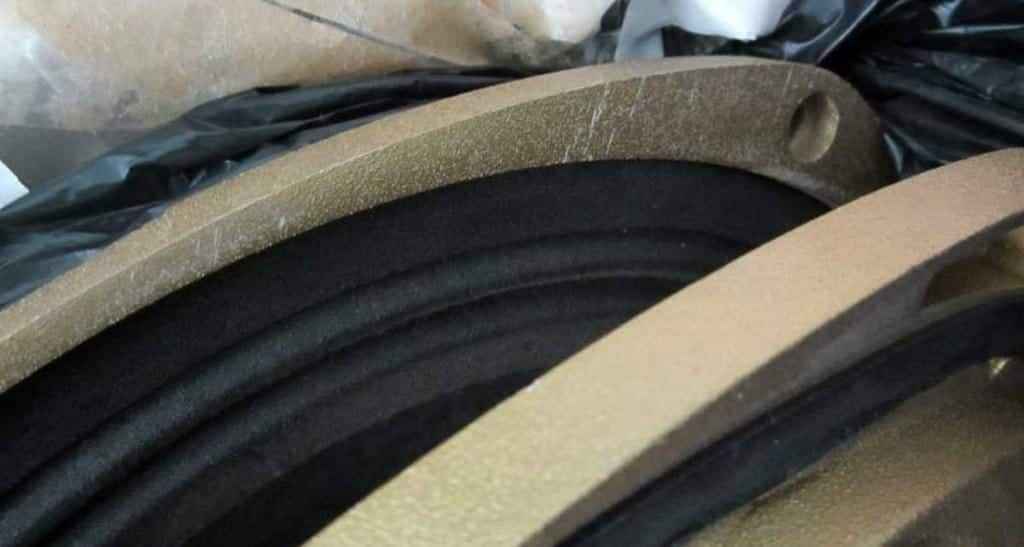
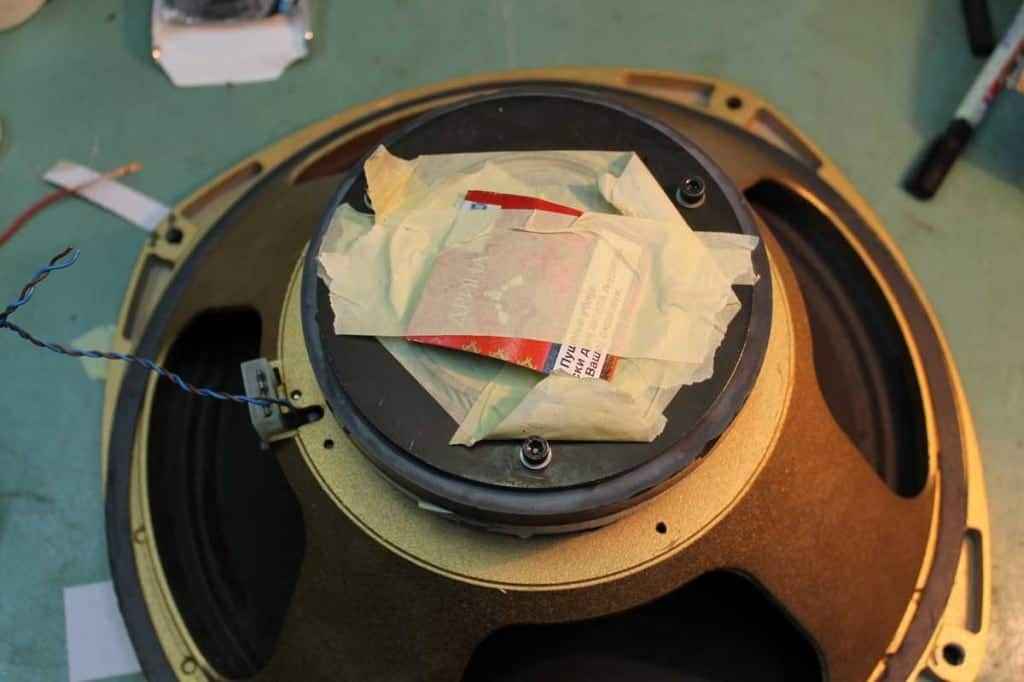
So – after pretty troublesome (read – not so easy communication with seller ) they’re paid for and shipped to another Baby DiyA colleague – Paja959 (in Budapest ; he smuggled them later to next link in chain , in Serbia 😉 ), and you can see how clever they were packed , rubbing rim to rim ….. with exactly nothing in between :
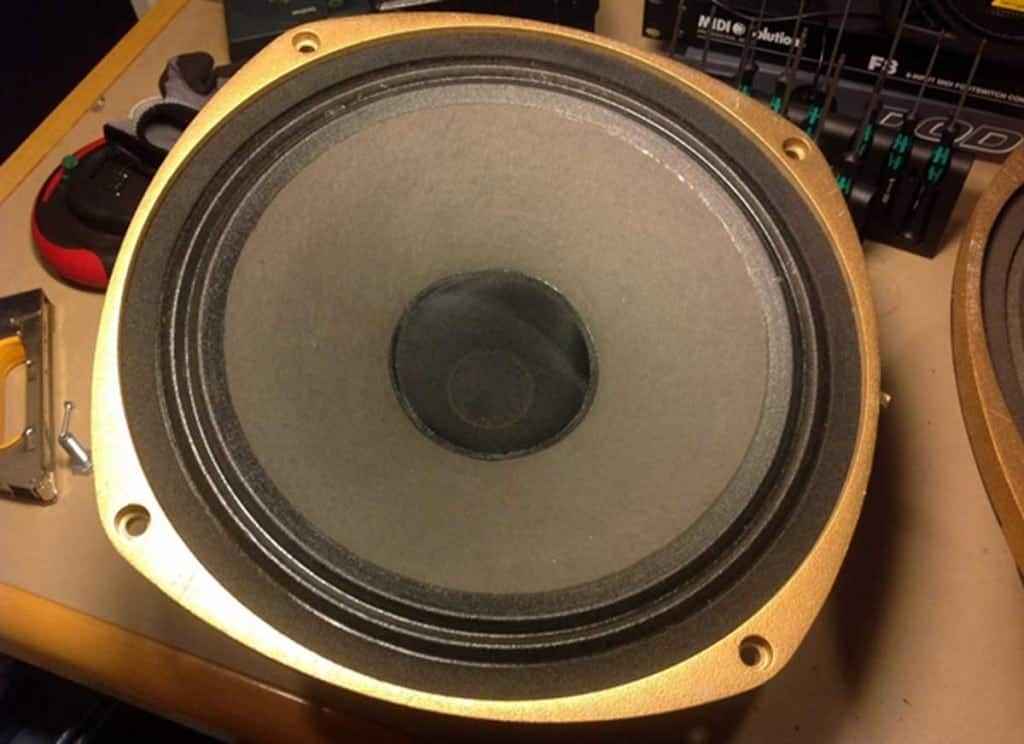
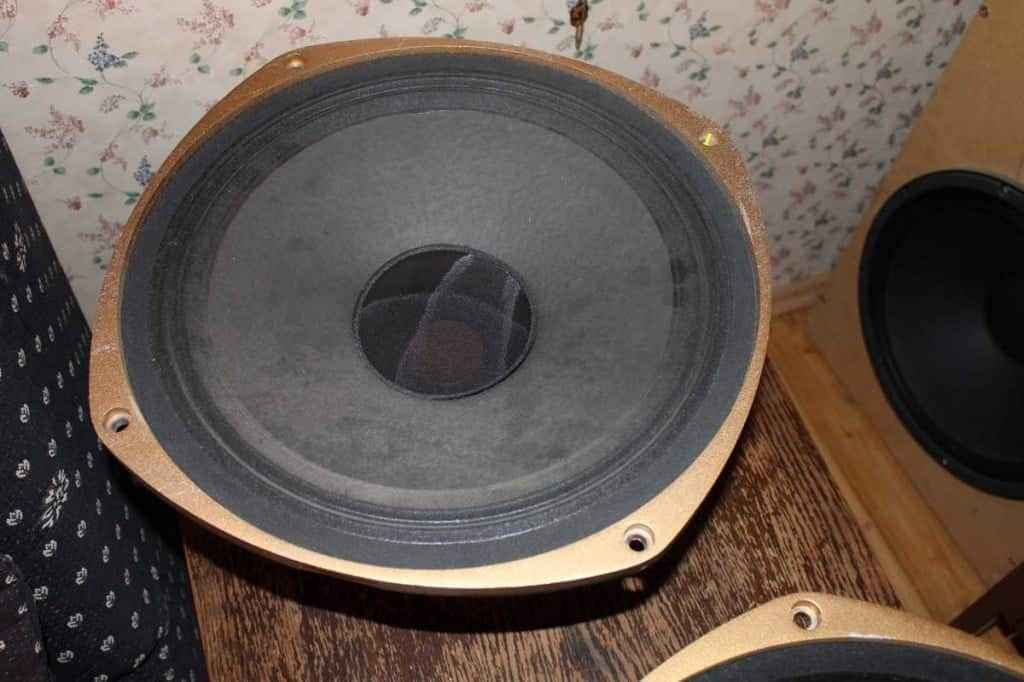
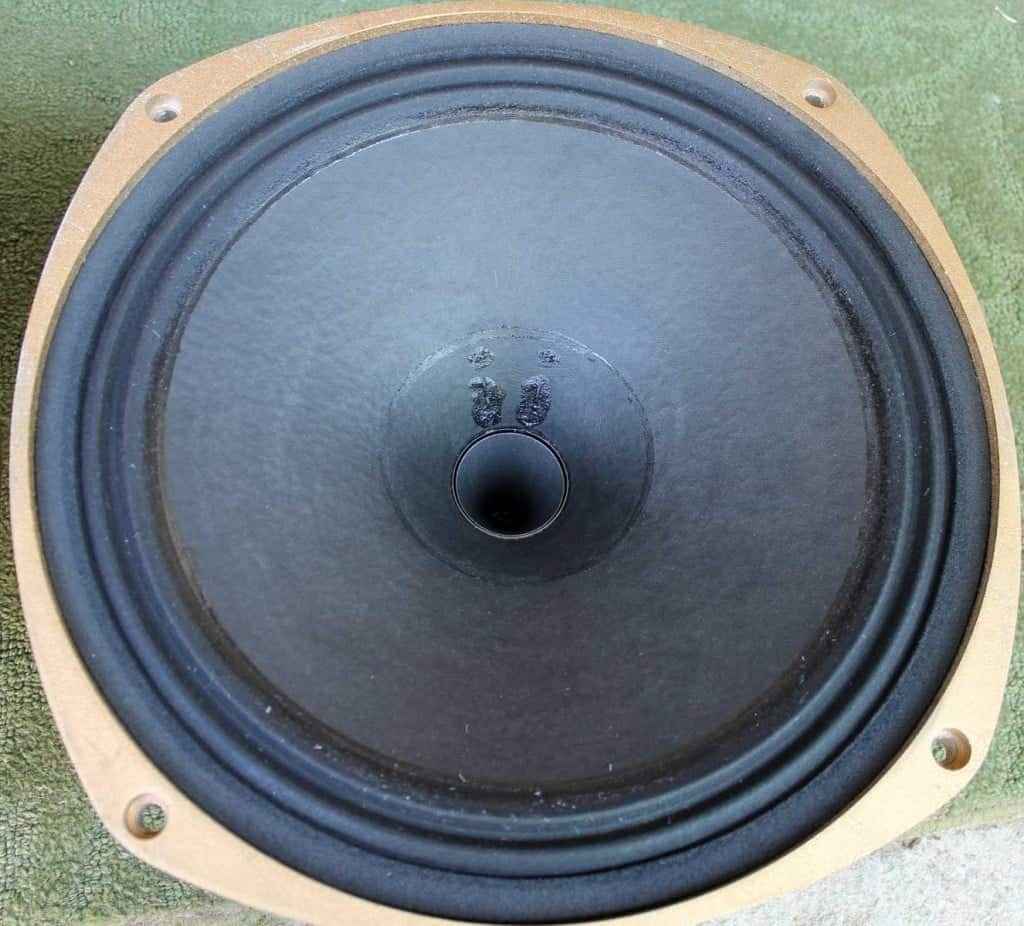
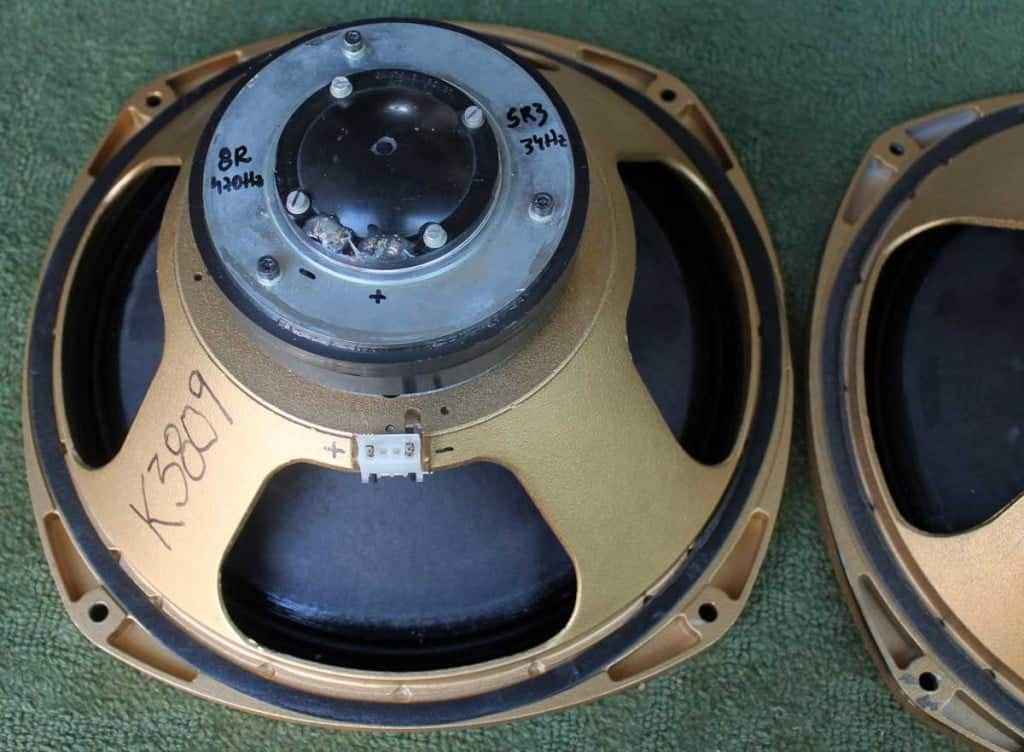
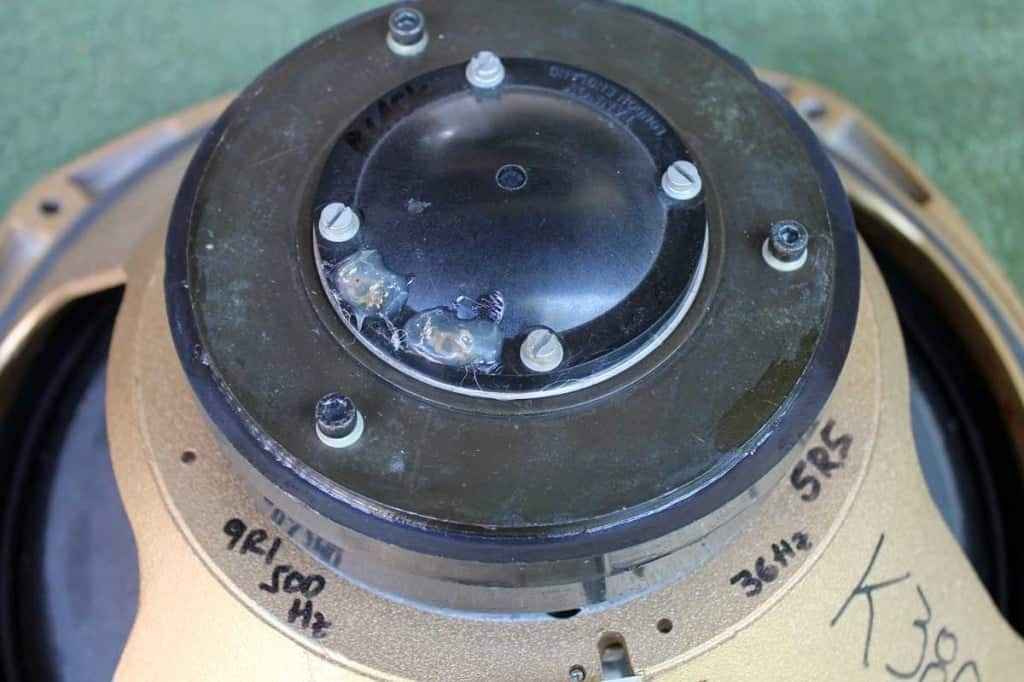
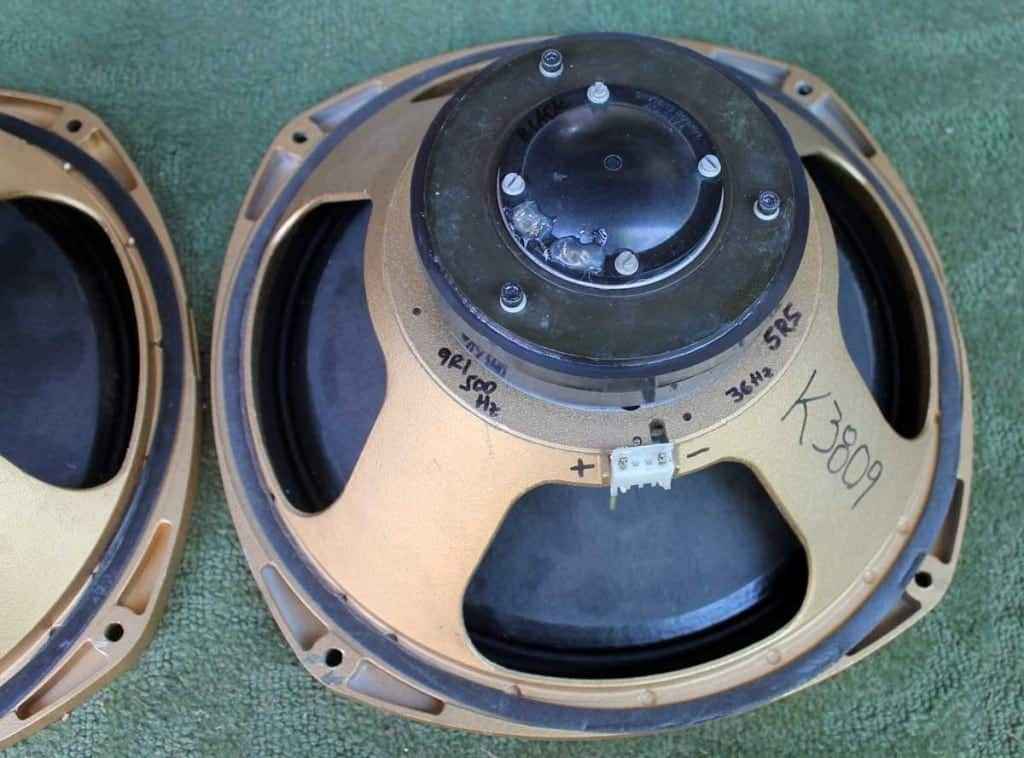
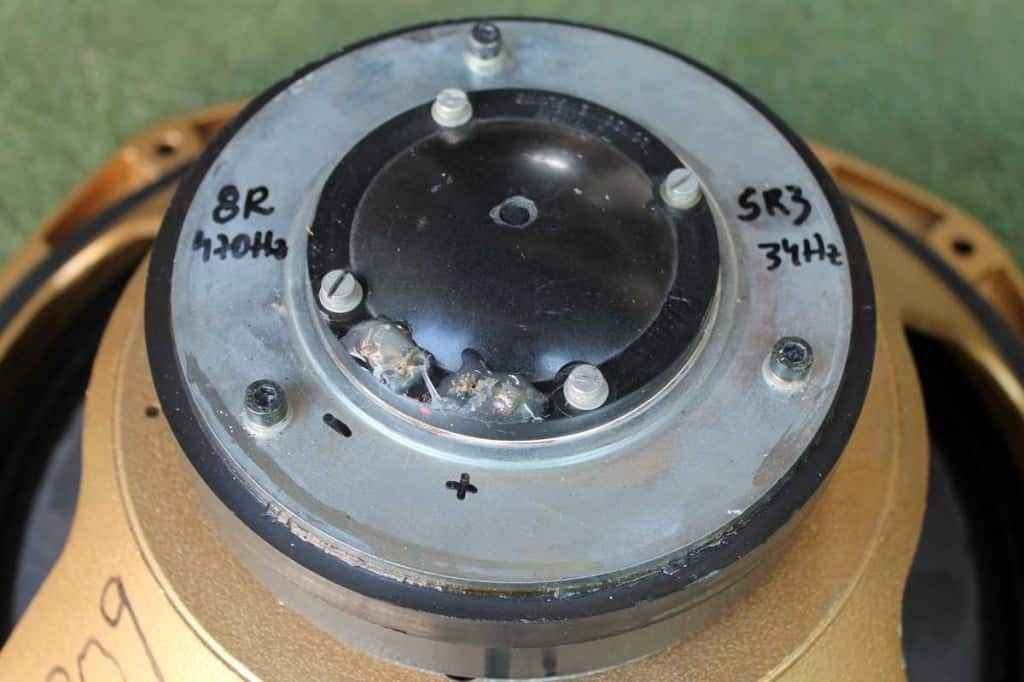
OK , few weeks later , they arrived to my living room ……. first inspection , naturally puzzled what’s that “one bass cone de-centred” issue …… Rdc measurement are saying that both bass coils are in ballpark (5R2 vs. 5R4 ) while Hf coils are somewhat different , but pretty normal for Tannoy Hf ‘fragm’s spread – 7R8 vs. 9R1 ; also – I realized that one dust cap is loose , but everything is looking as from factory , not sloppy amateurish work . However , reported buzzing (de-centering) issues for that driver were most probably nothing more than flapping dust-cap
😉
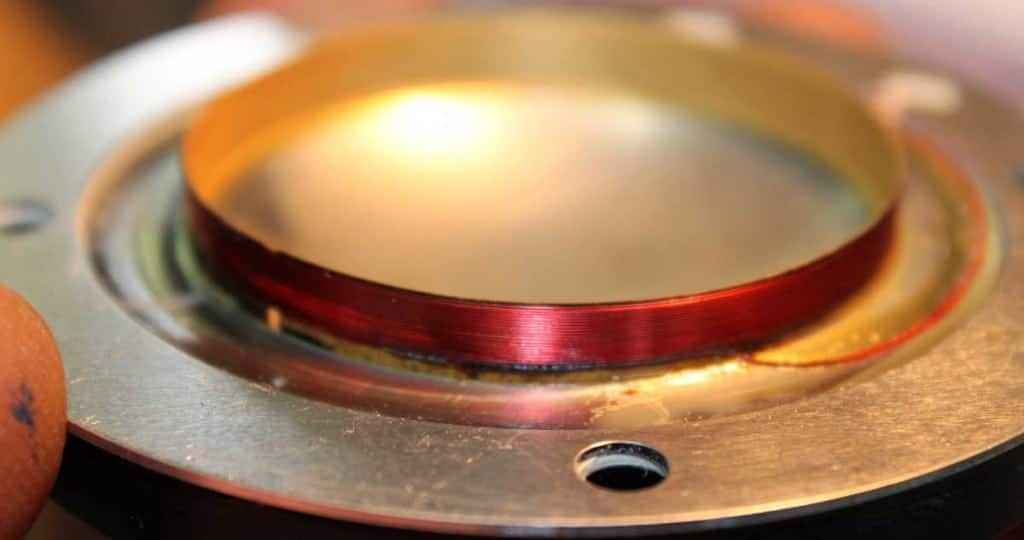
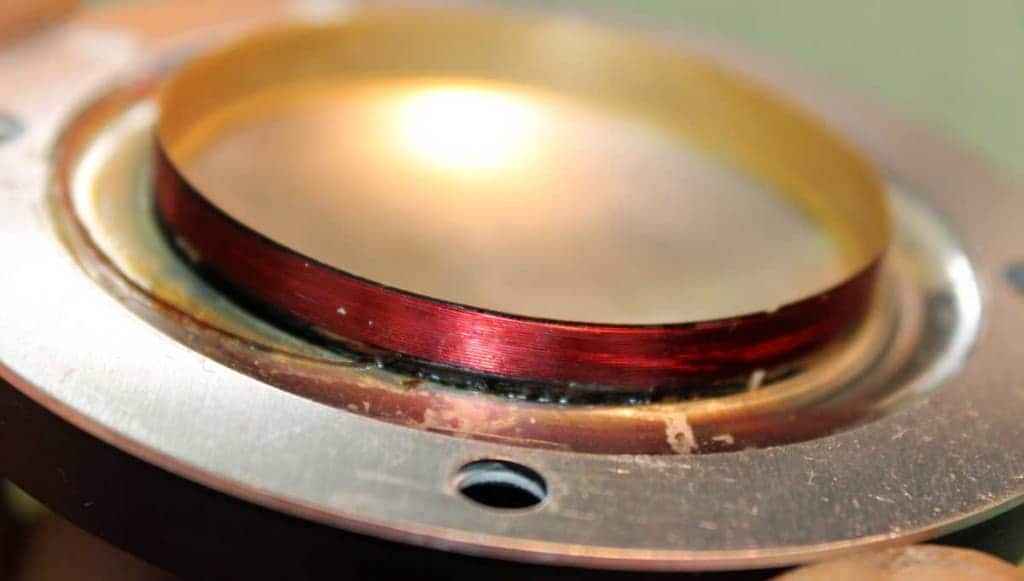
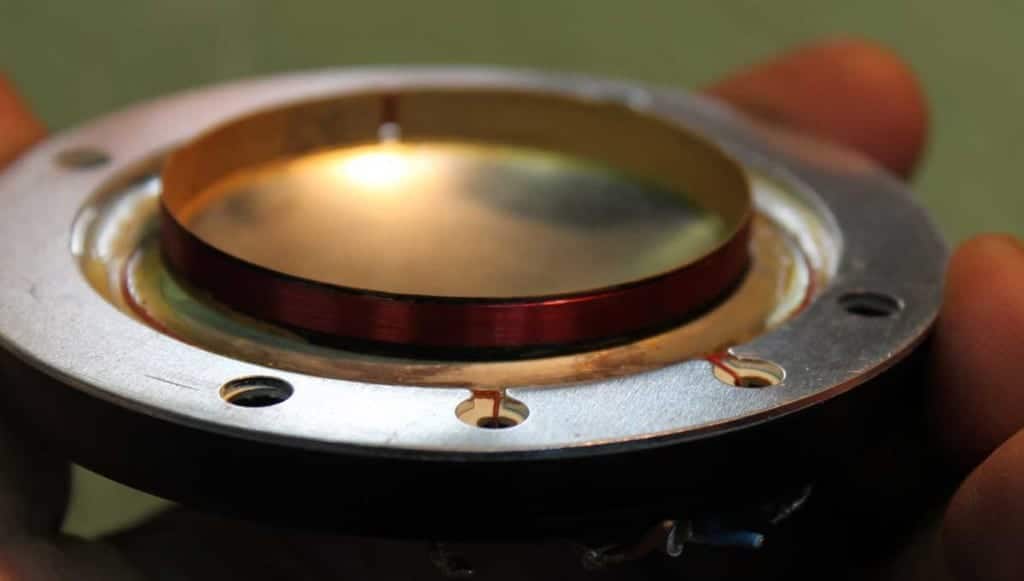
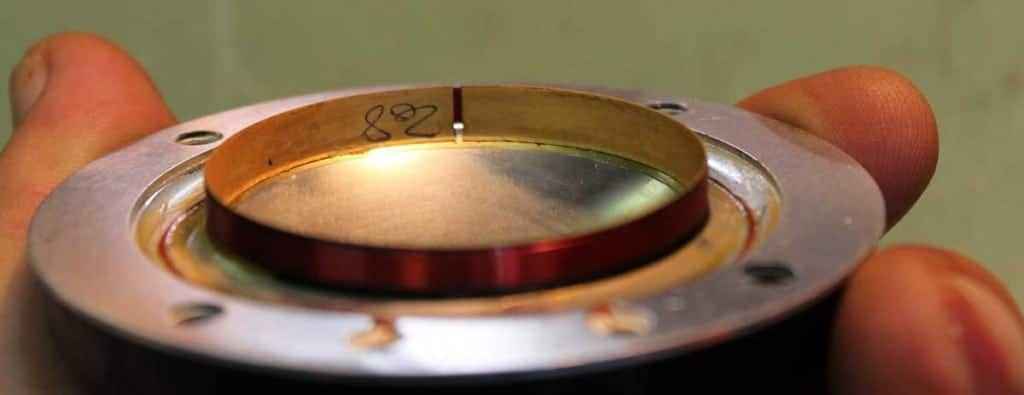
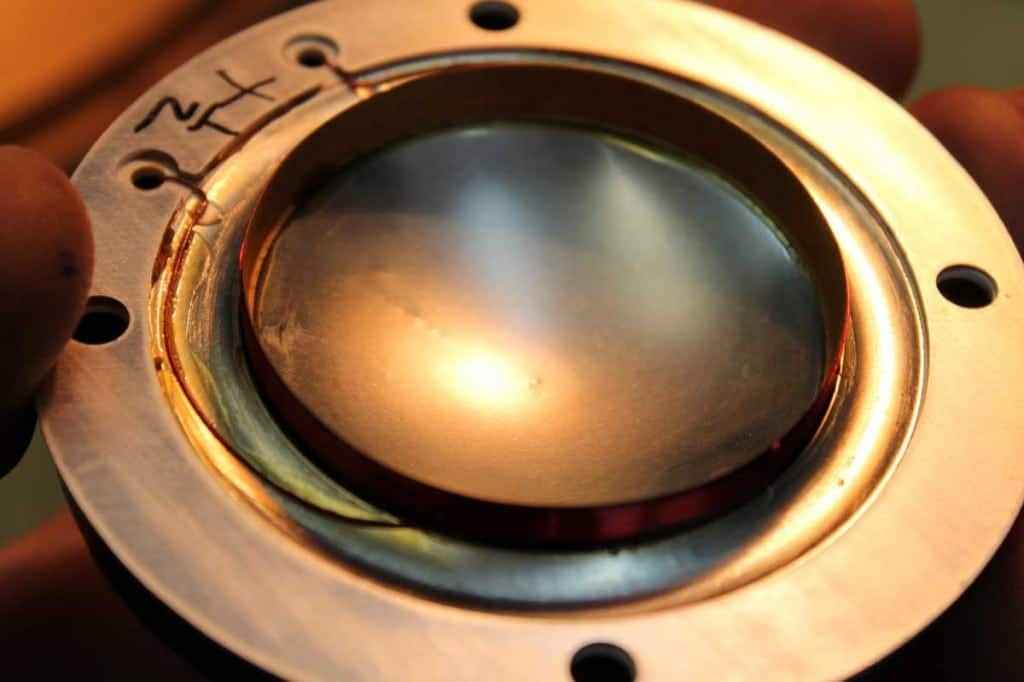
Next day …… some disassembling ; first I removed both Hf ‘fragms , to inspect them . As I hoped – everything as from Day One . There are some usual factory notes on VC formers and around :
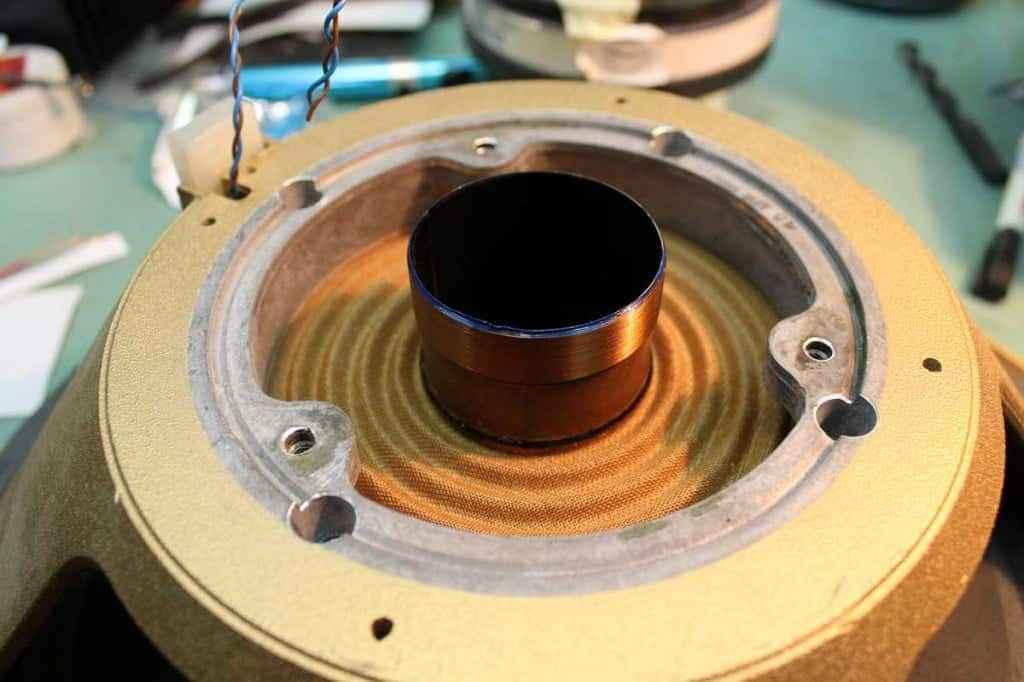
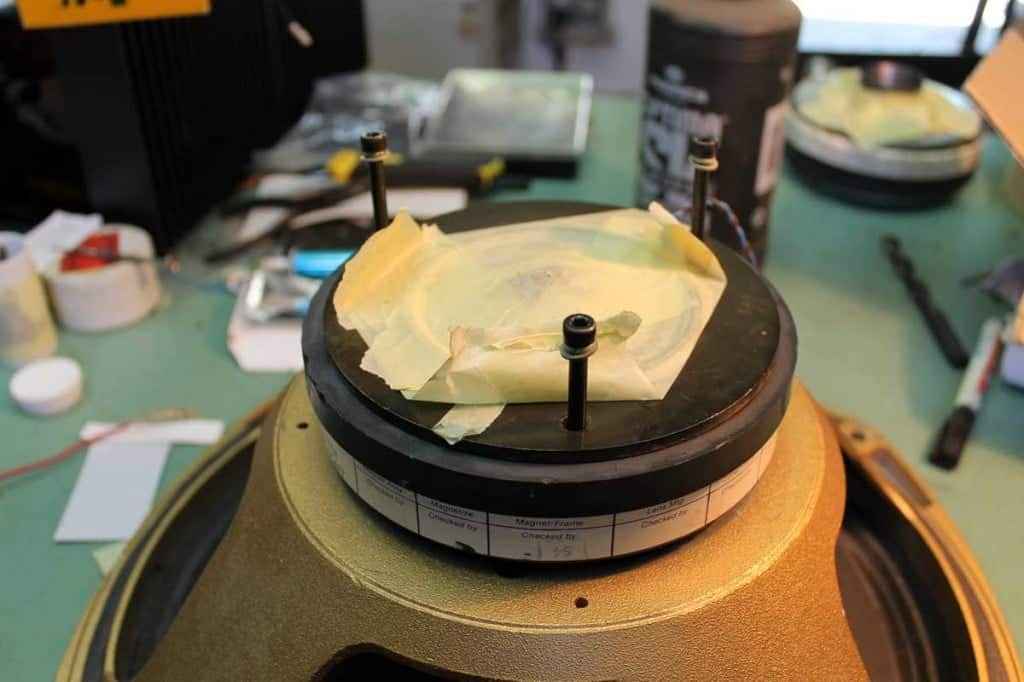
Next , after covering Hf side holes ( both gap and Pepperpot holes) with sticky paper tape , I removed magnets from baskets . Yup , bass-side gaps and horn throats are also covered with same tape.
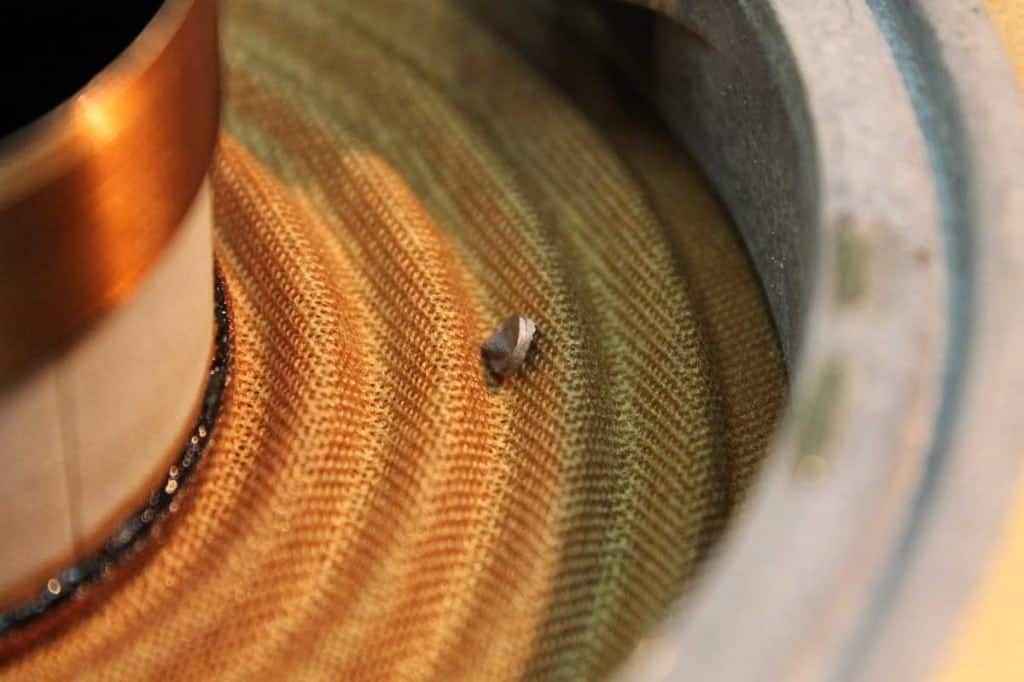
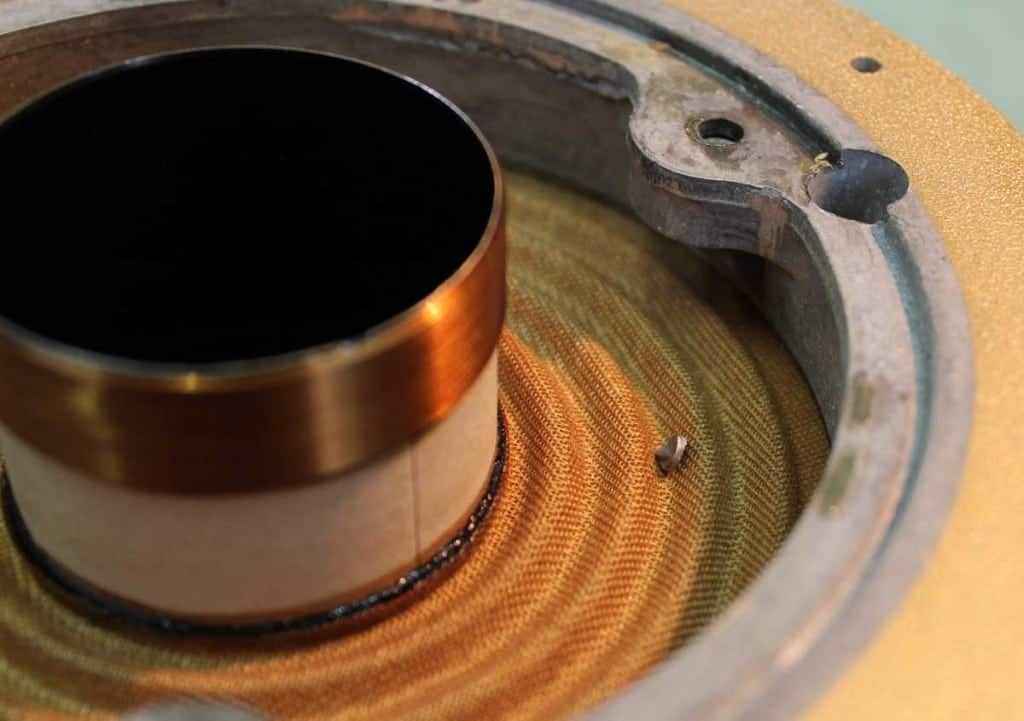
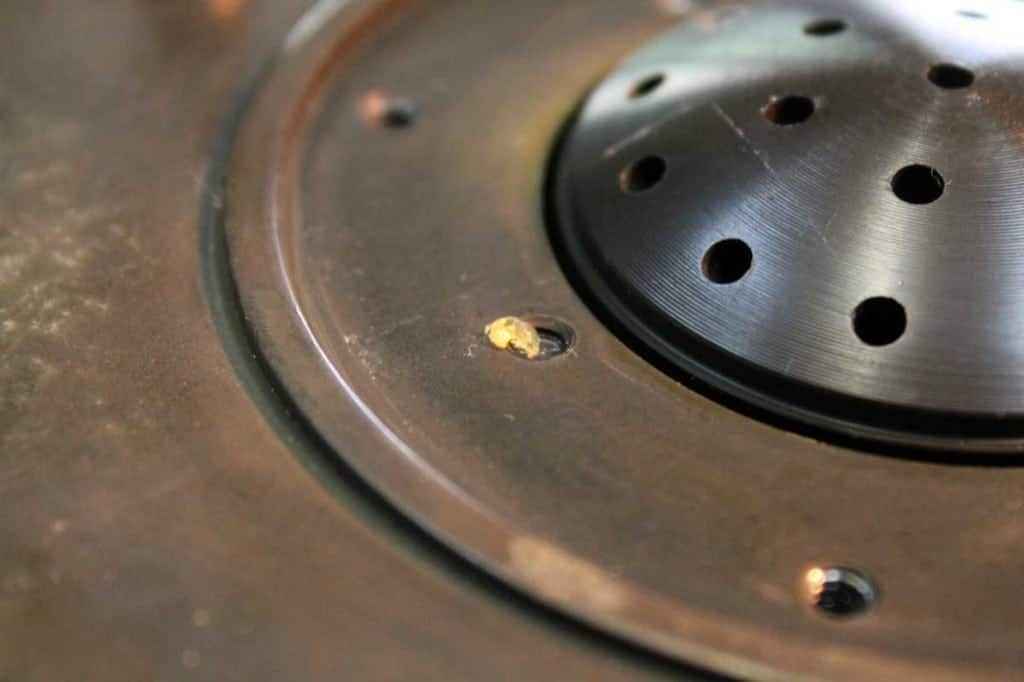
Now – major surprise !
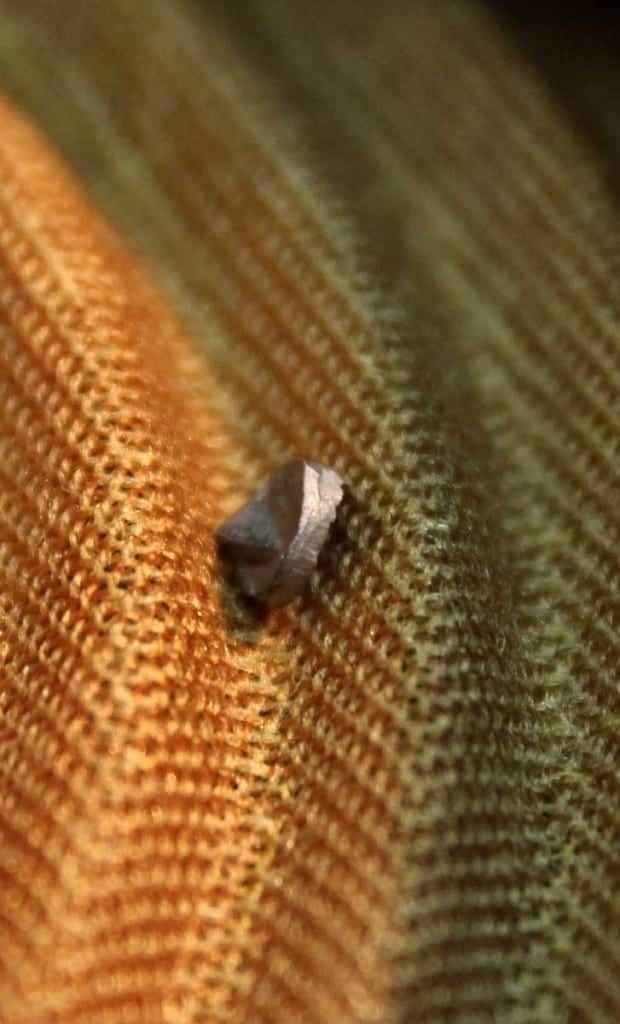
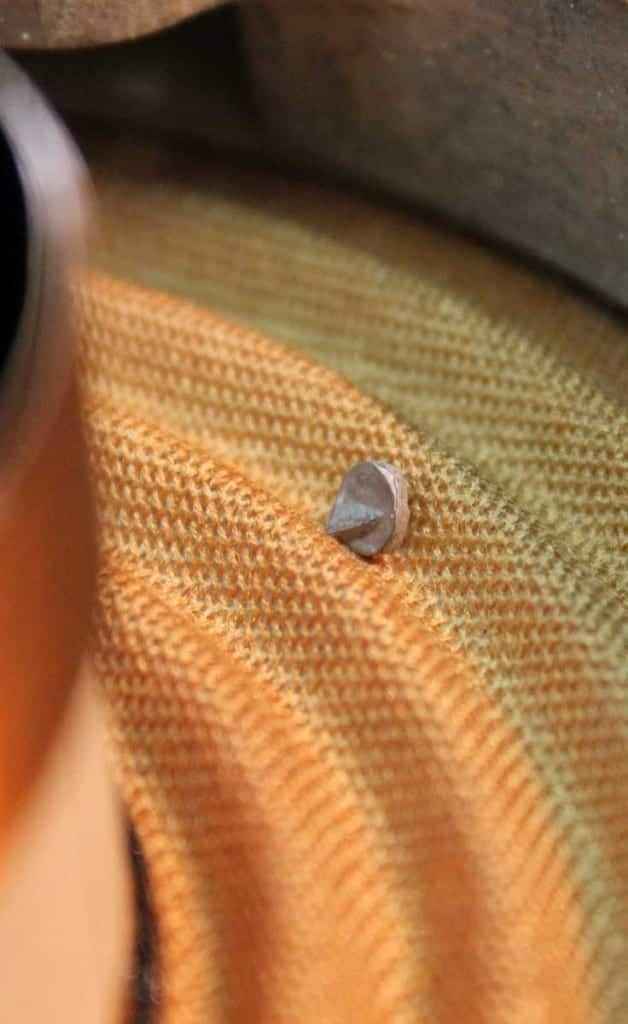
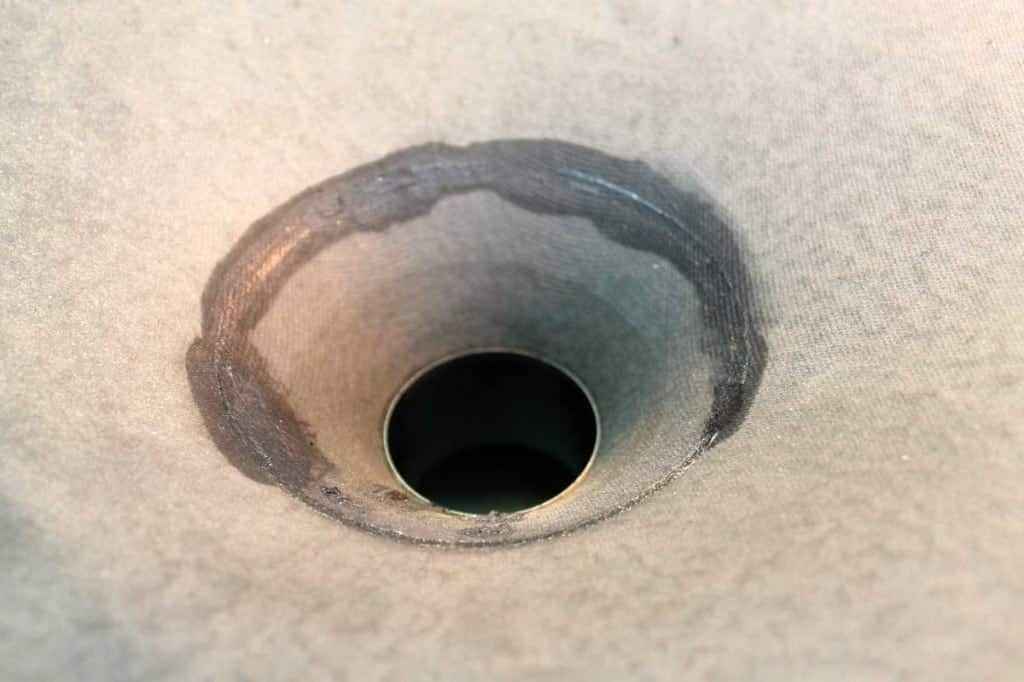
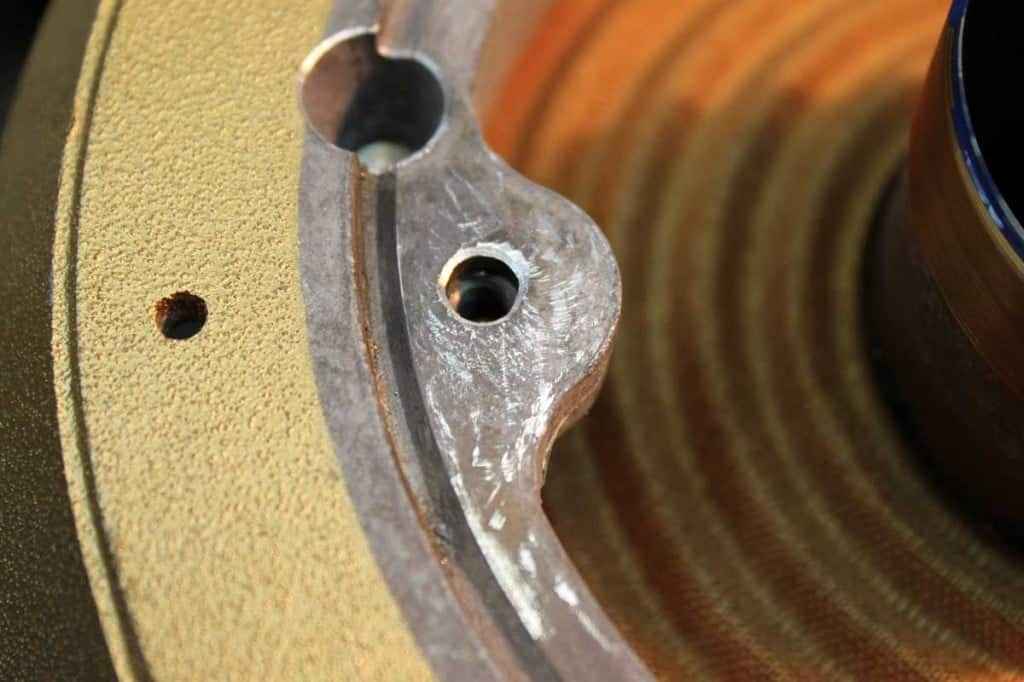
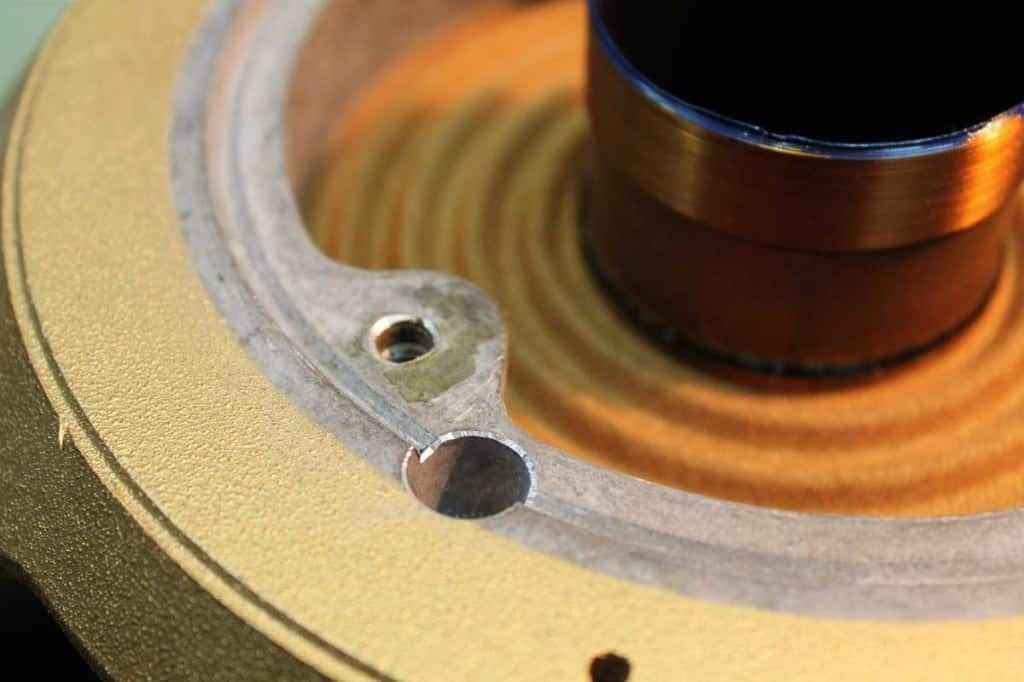
What I found laying on inner spider side ……… is small basket particle – certainly waste from process of punching/pressing screw-holes ; dia 4mm x 2.5mm :
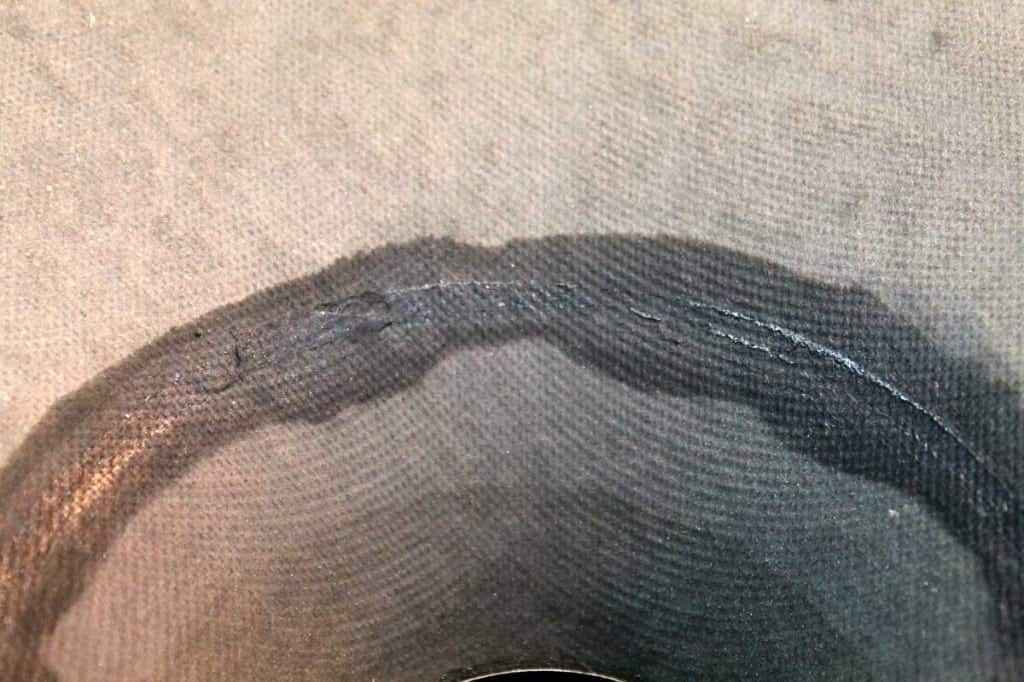
And , now , whatever that was , issue was from that particle ……. don’t know exactly how , but it resulted in this (luckily not fatal to VC continuity ) …. lower edge of VC former is damaged in two places , exactly up to wire , without damaging wire itself :
Huh …… I pulled VC former edge slightly back , adding some nitro-paint just to add some strength :
While I was there …. I made mass based flex test of spiders on both drivers – I’m breathing easier now – flex test of spiders confirmed identical spiders , which means that both are of K3809 type 😉 .
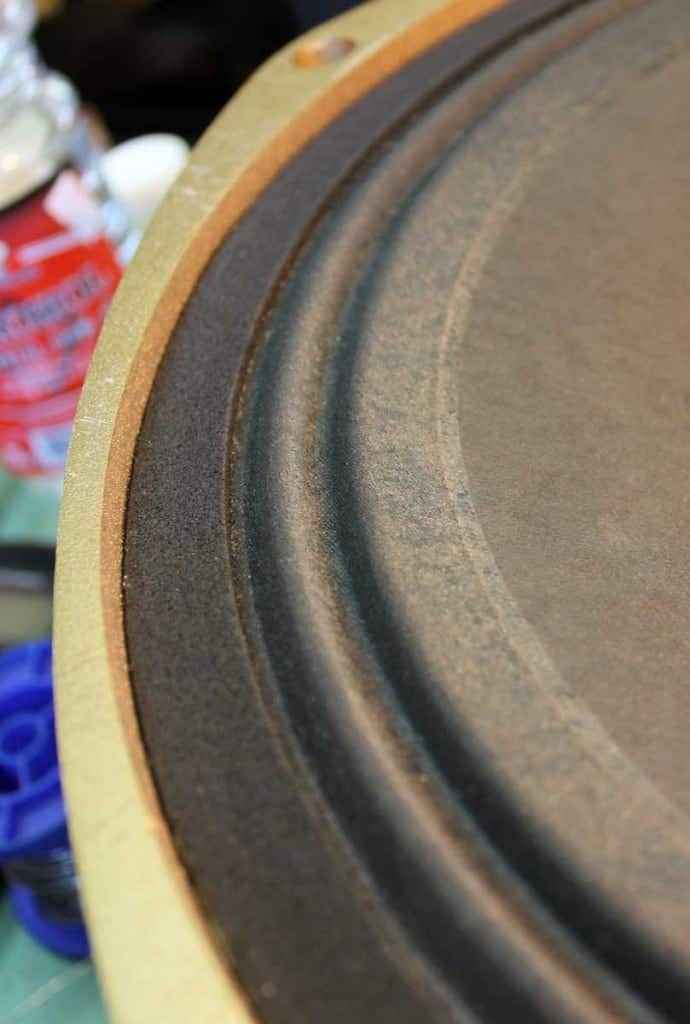
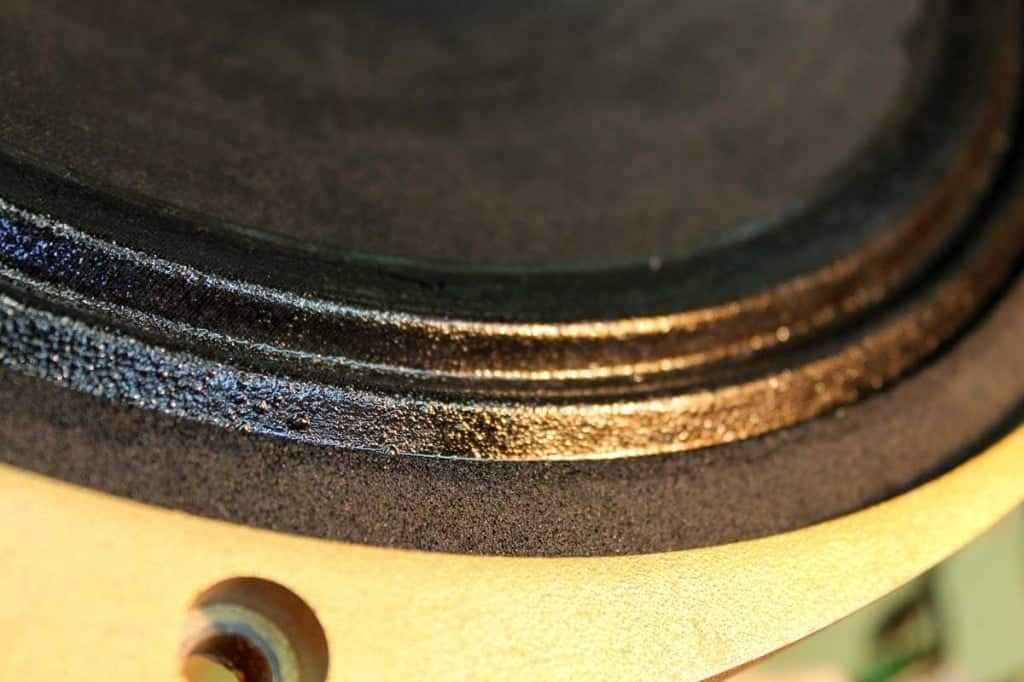
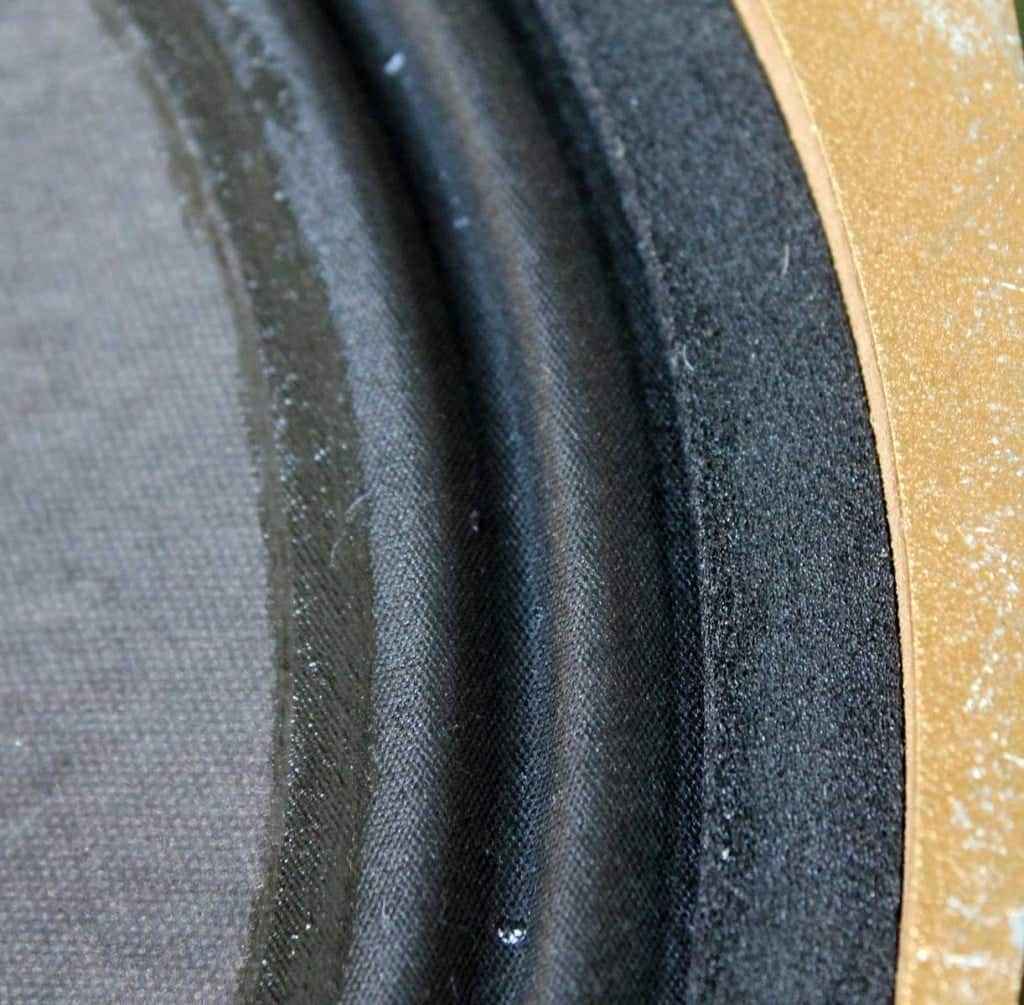
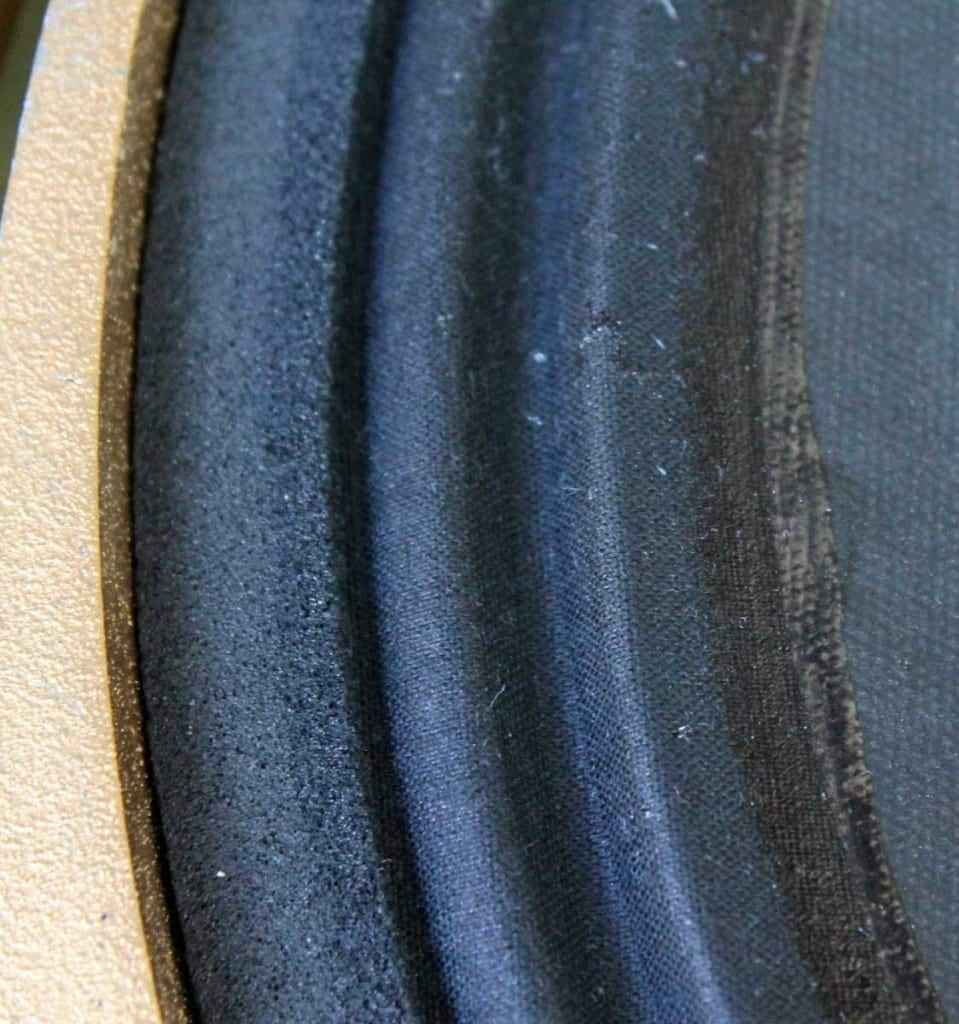
Surrounds (both drivers) are rock solid , leading to (already expected ) fact that they’re needing same procedure which I already made with my own pair of K3809 .
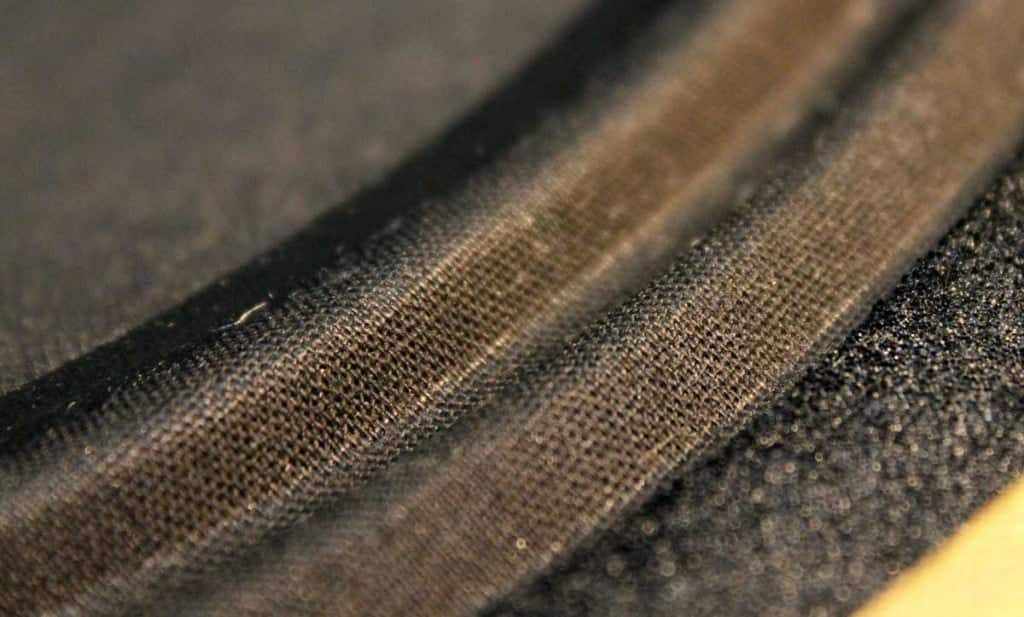
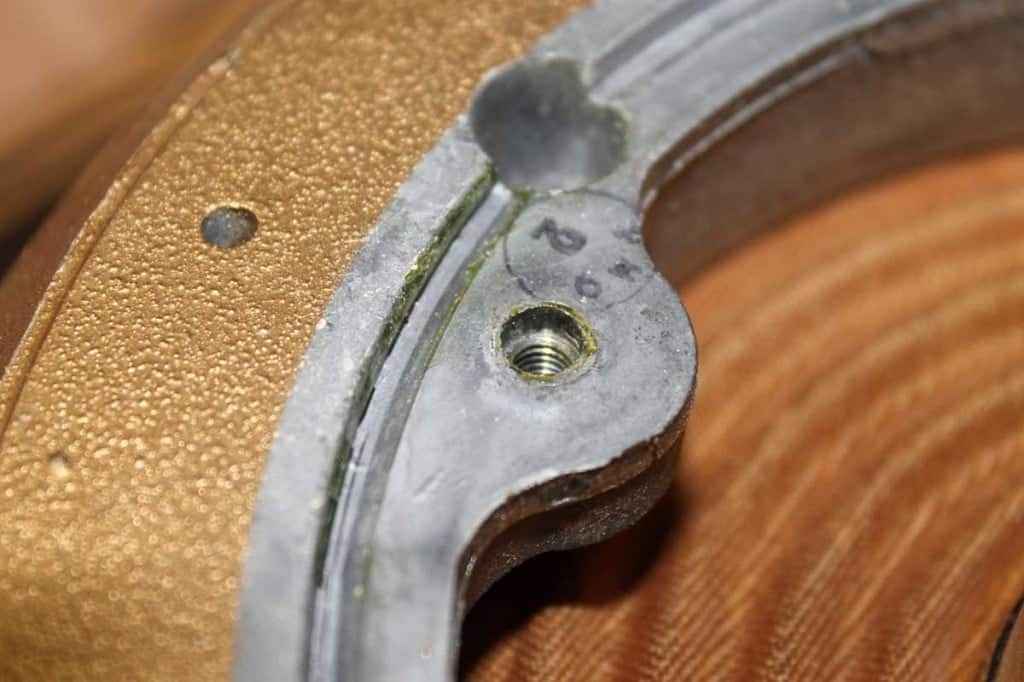
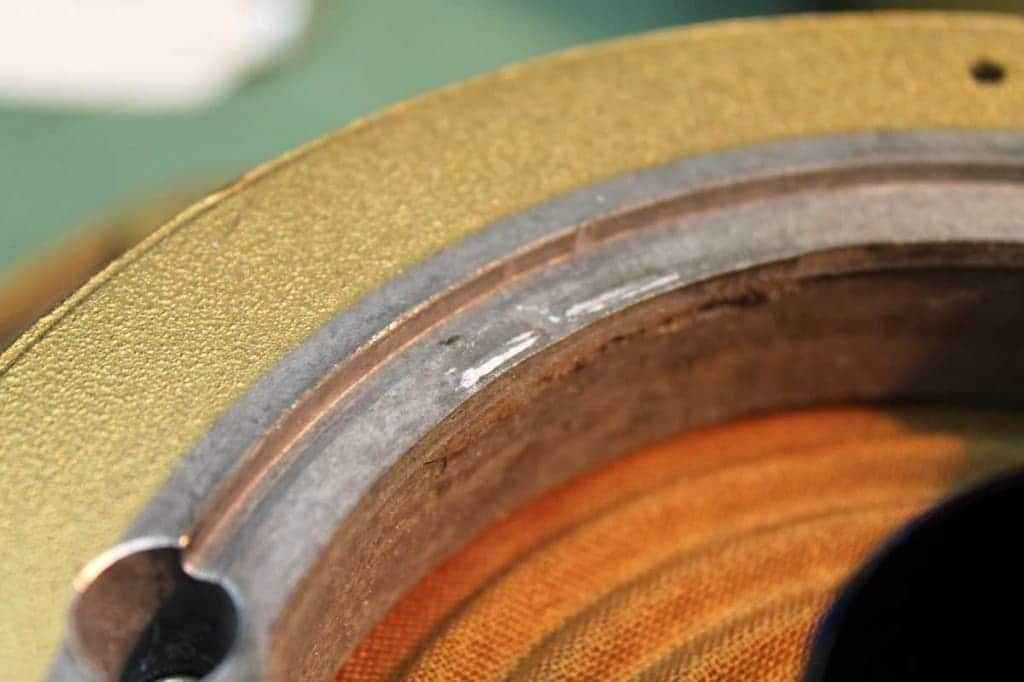
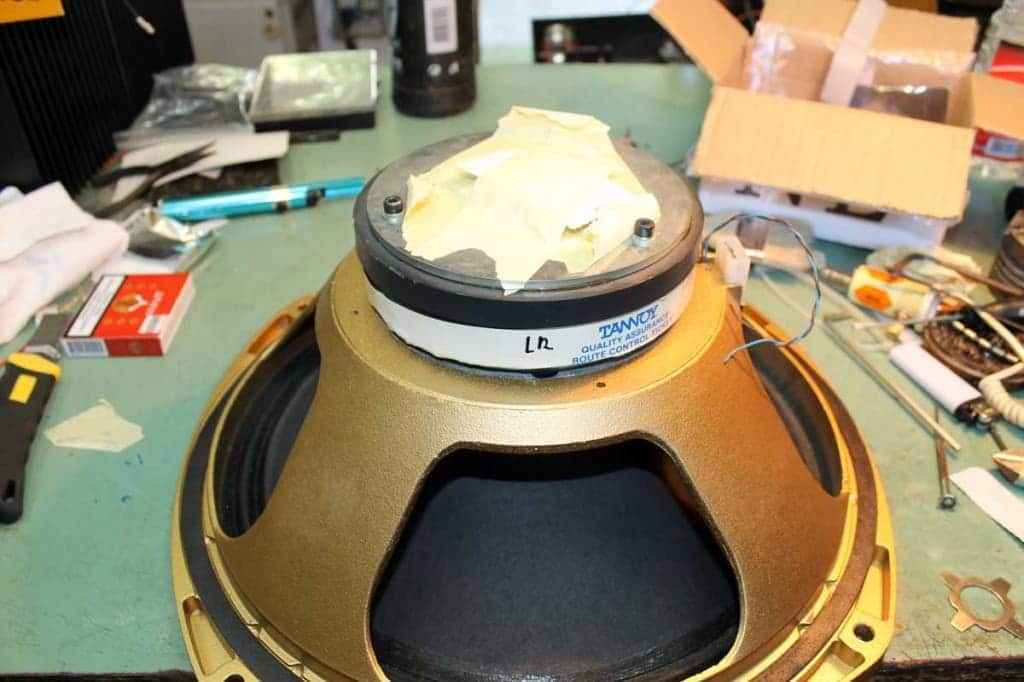
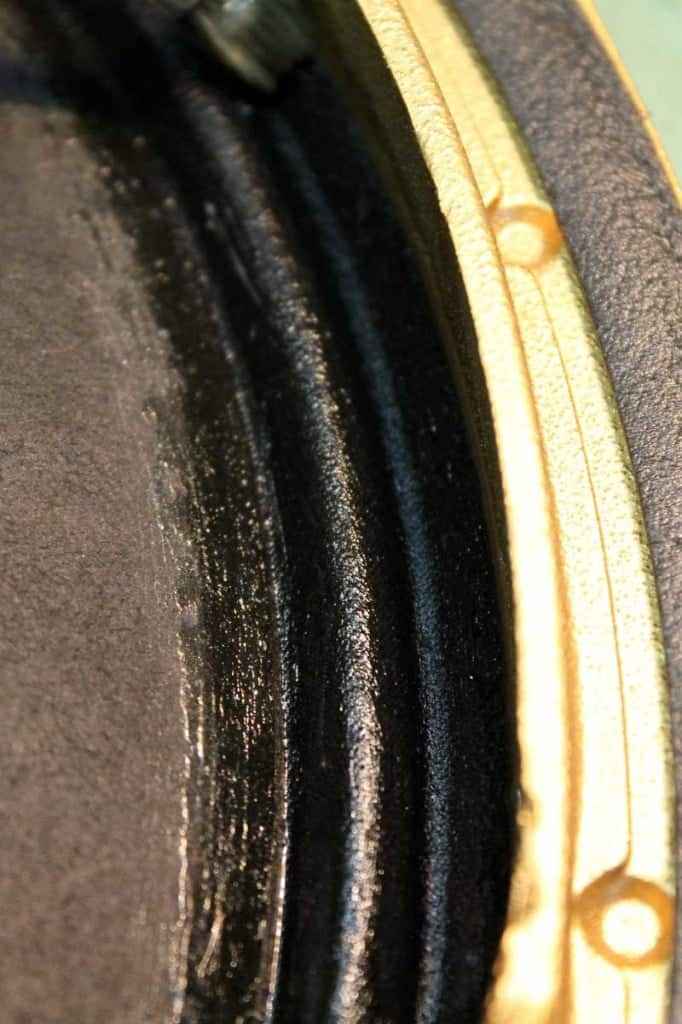
Just one picture of back side of hardened surround ; good to see that there are no splits or cracks, anywhere on perimeter , on both drivers :
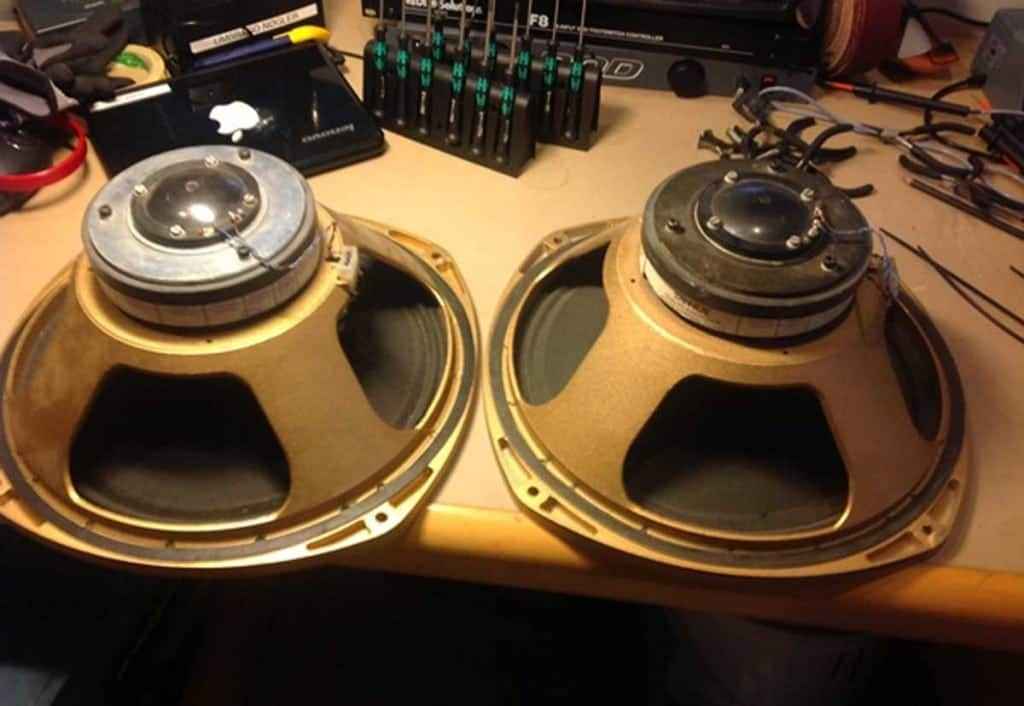
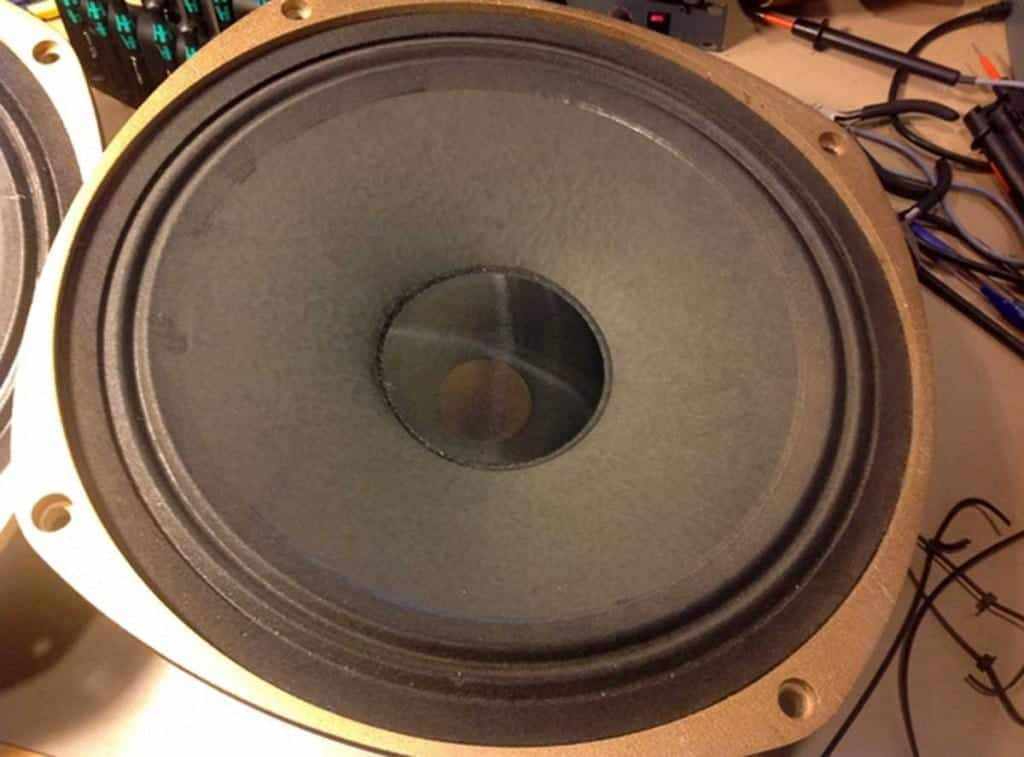
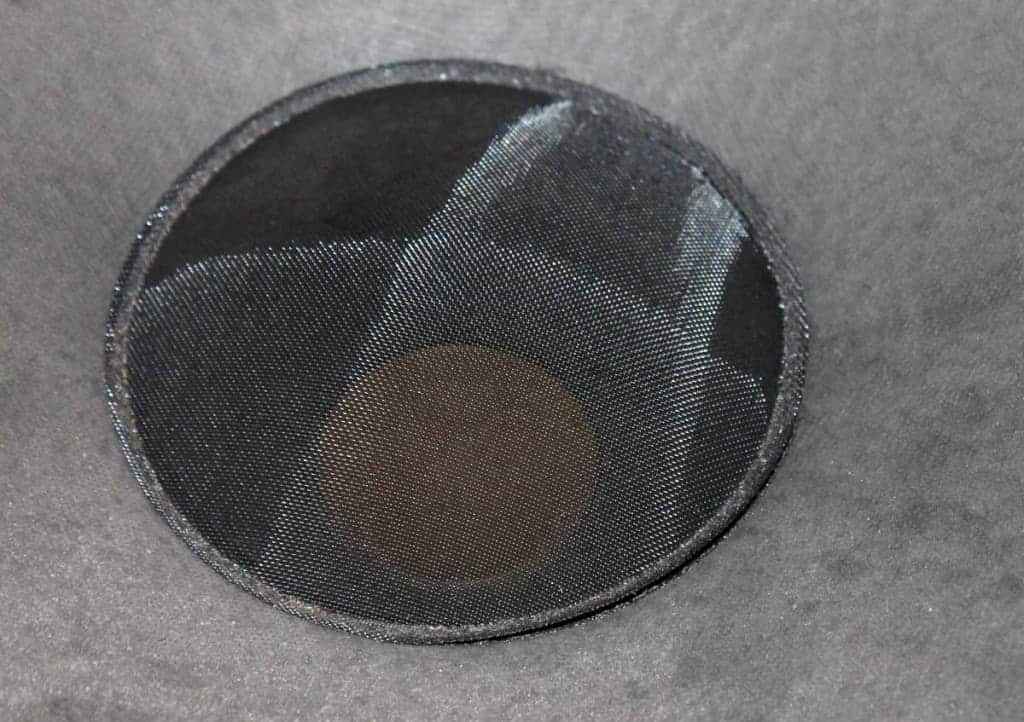
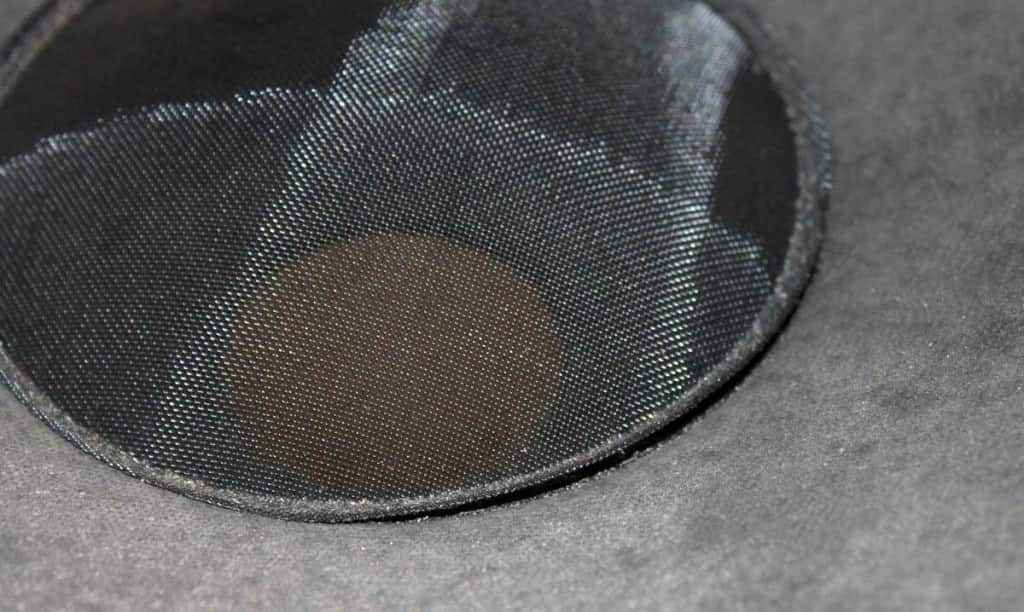
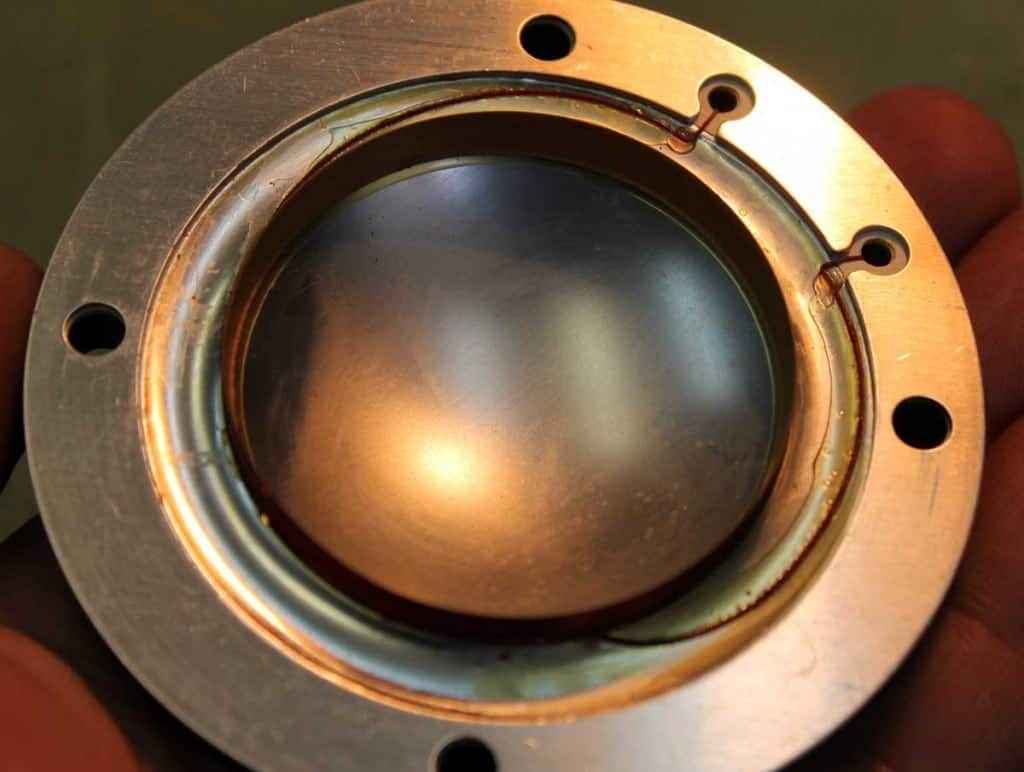
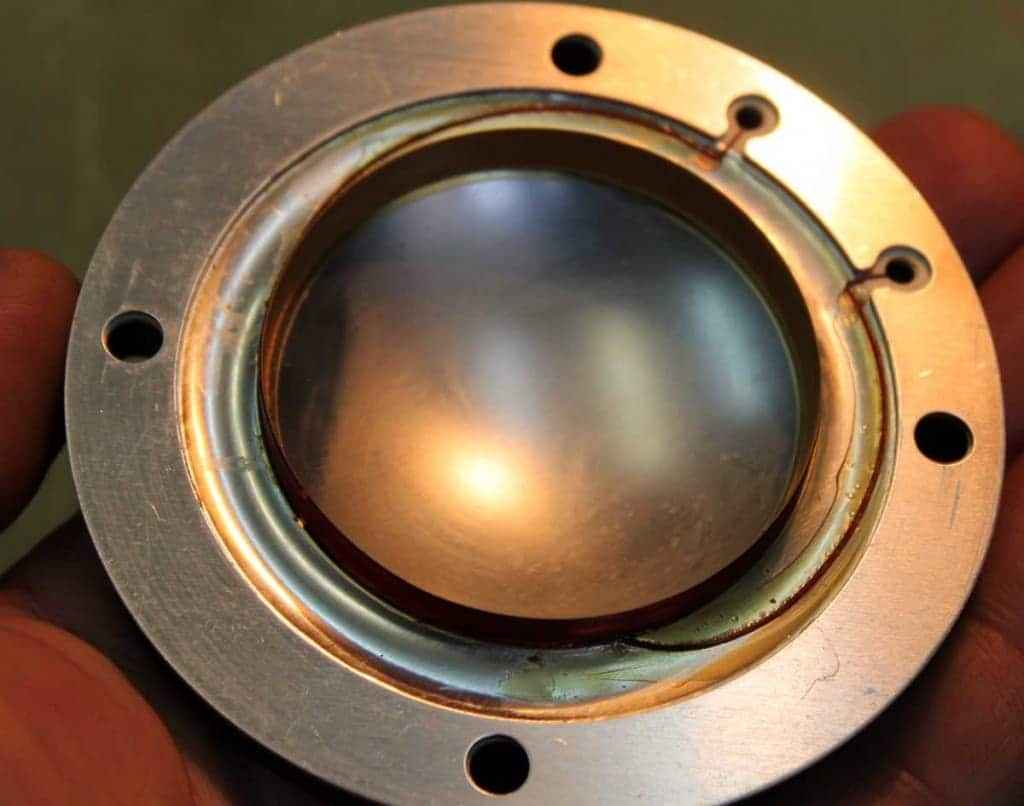
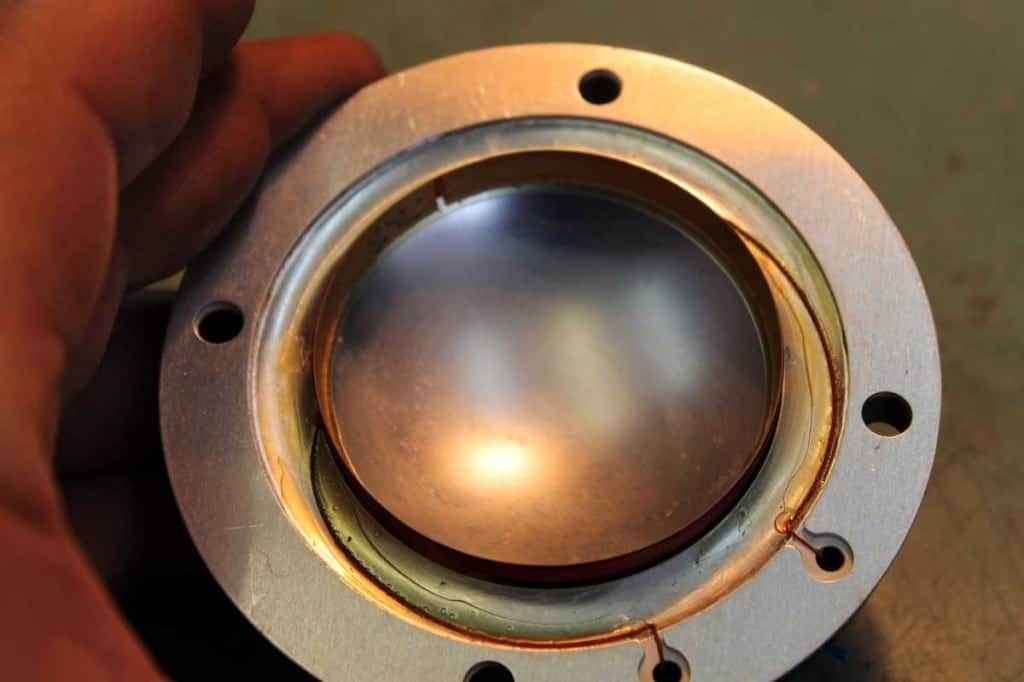
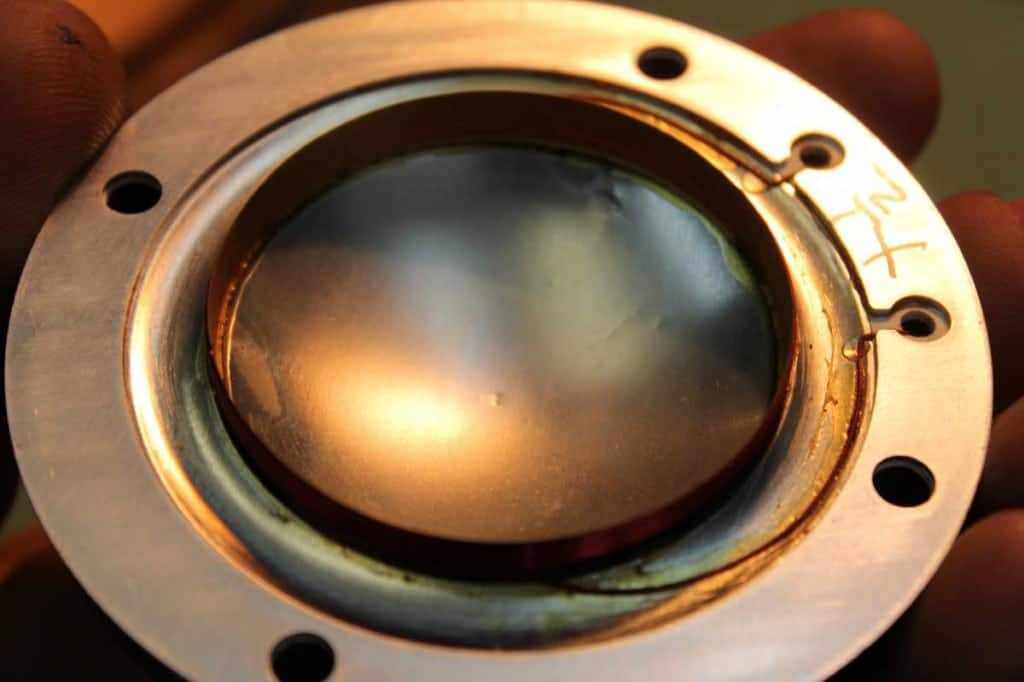
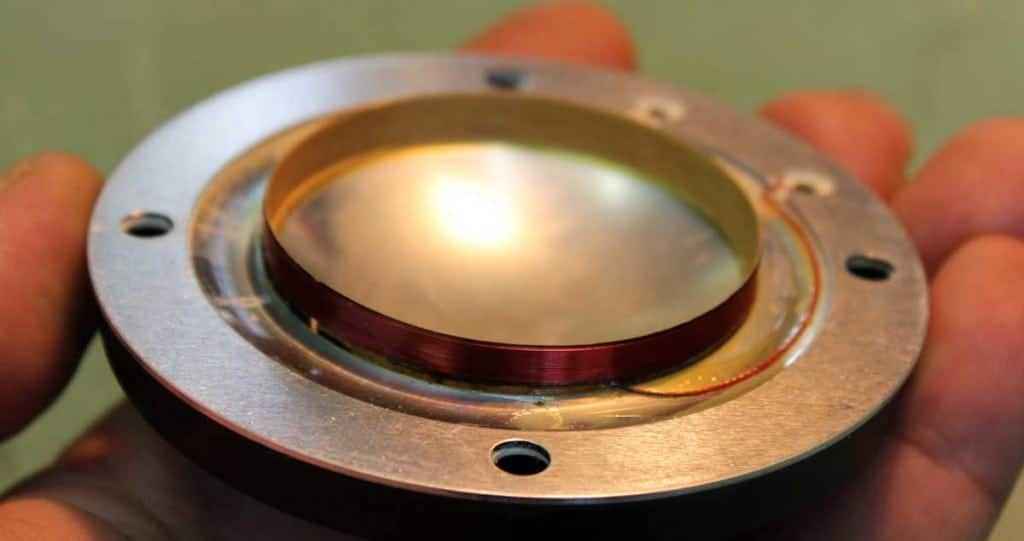
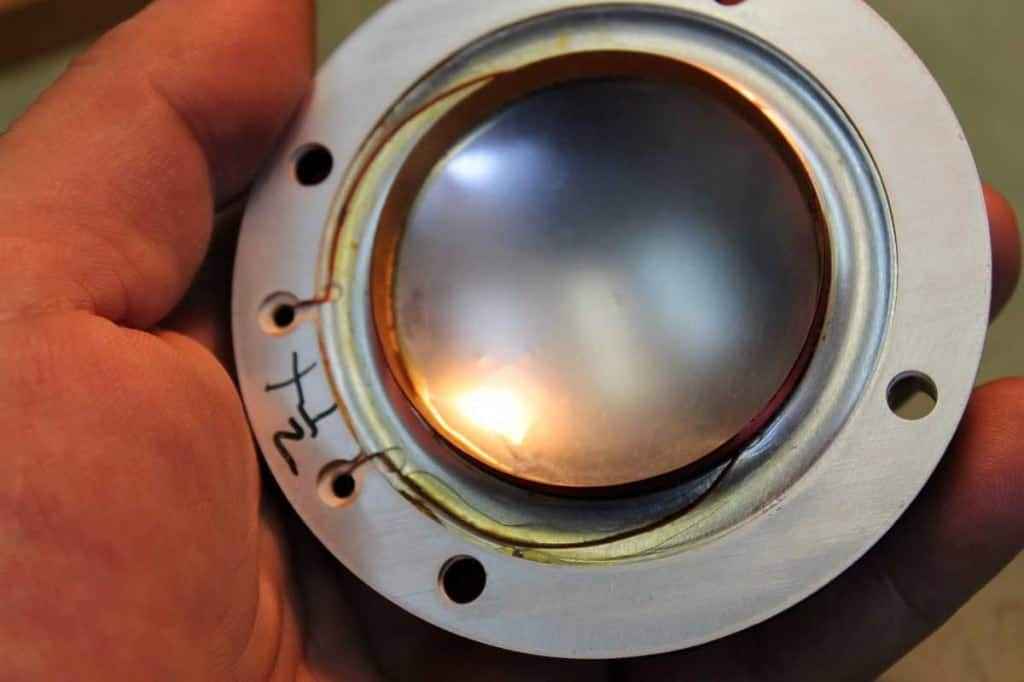
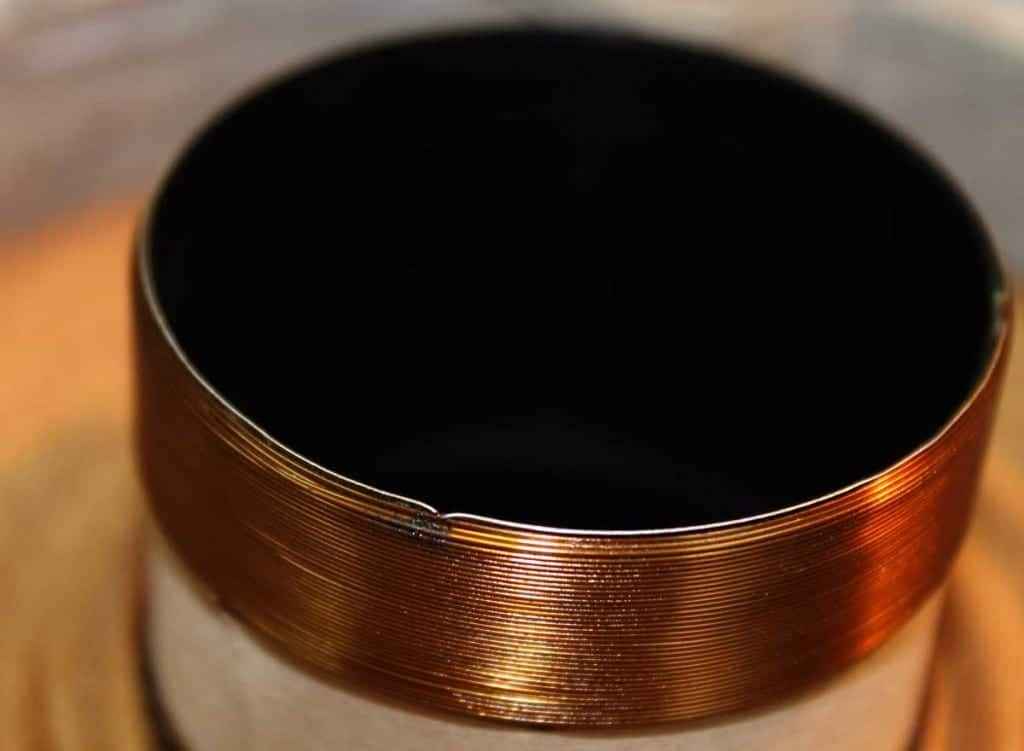
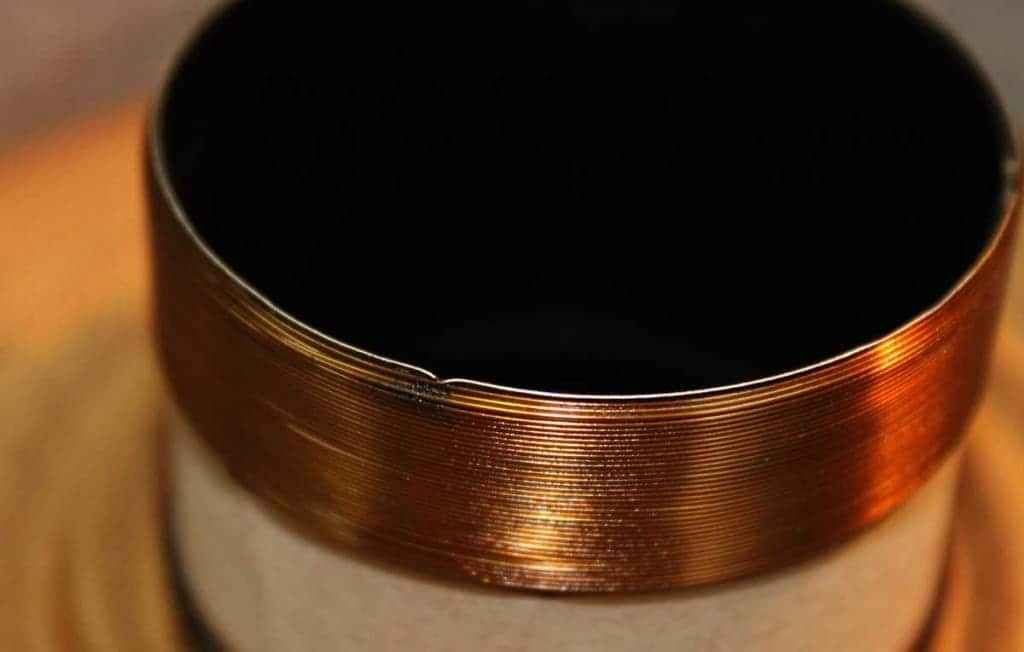
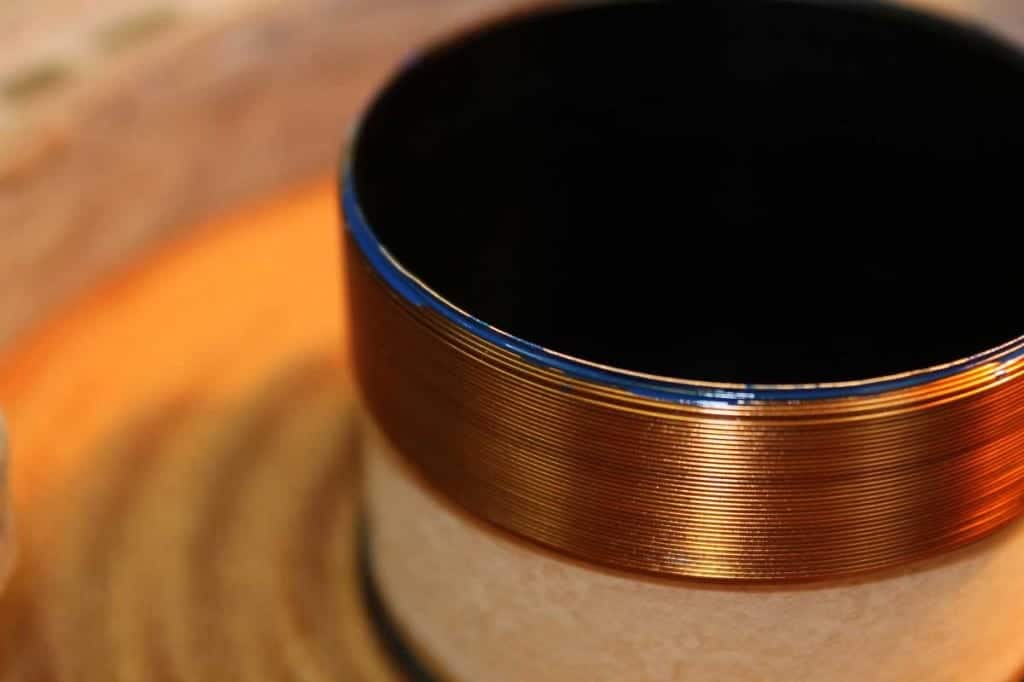
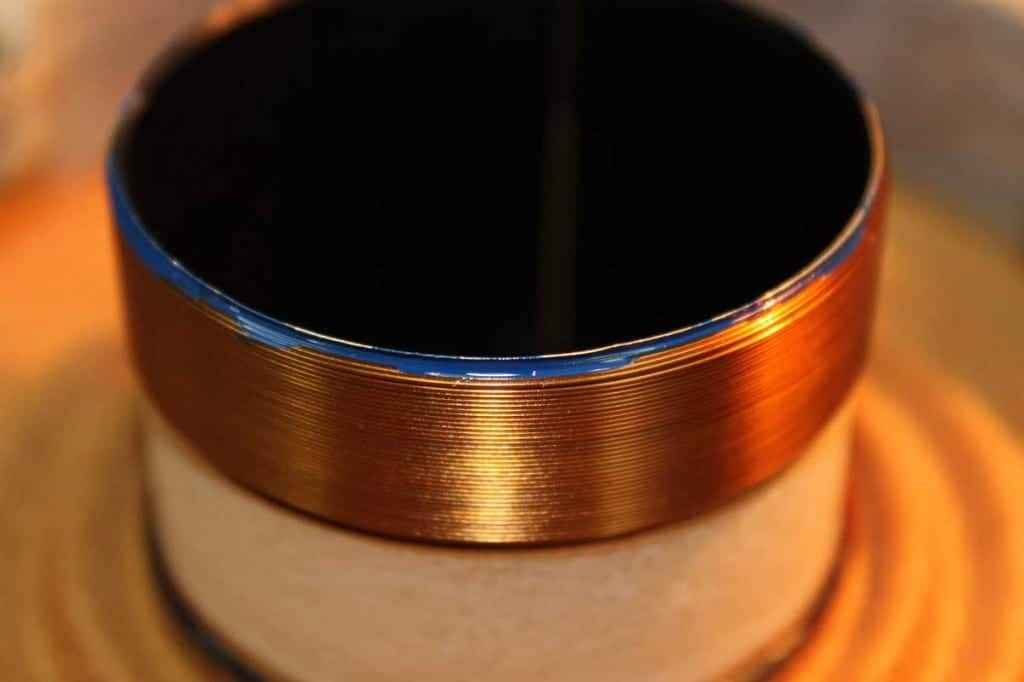
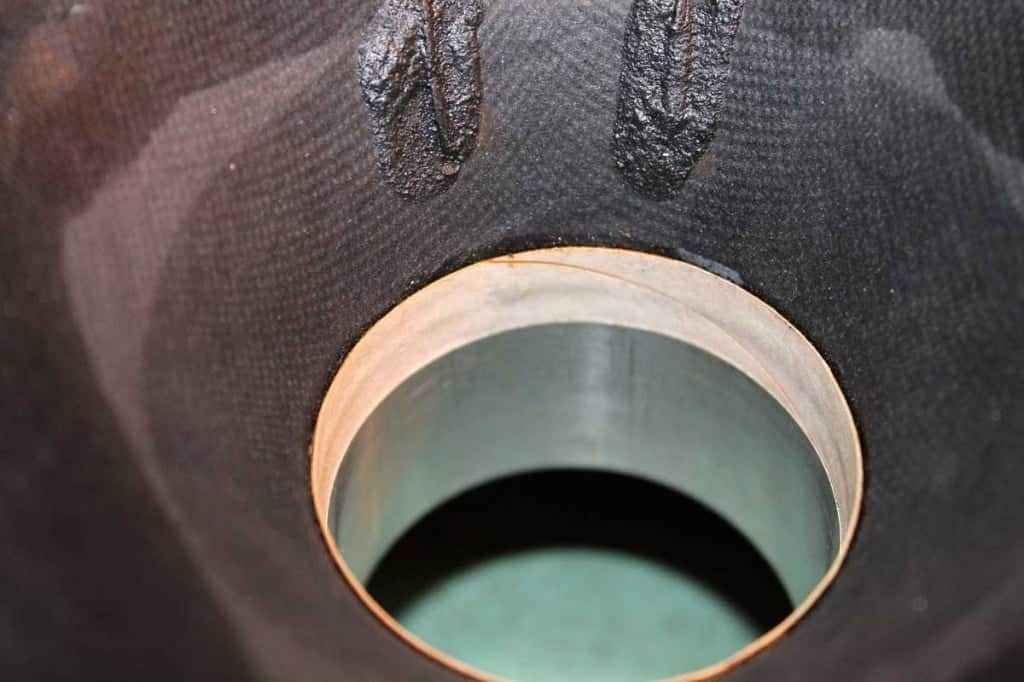
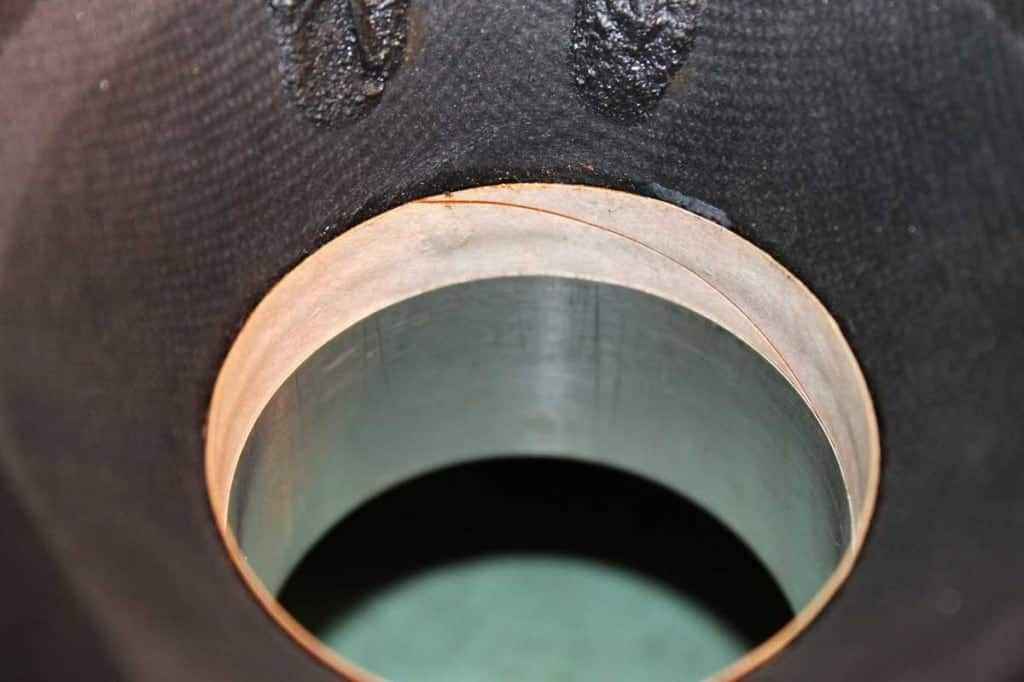
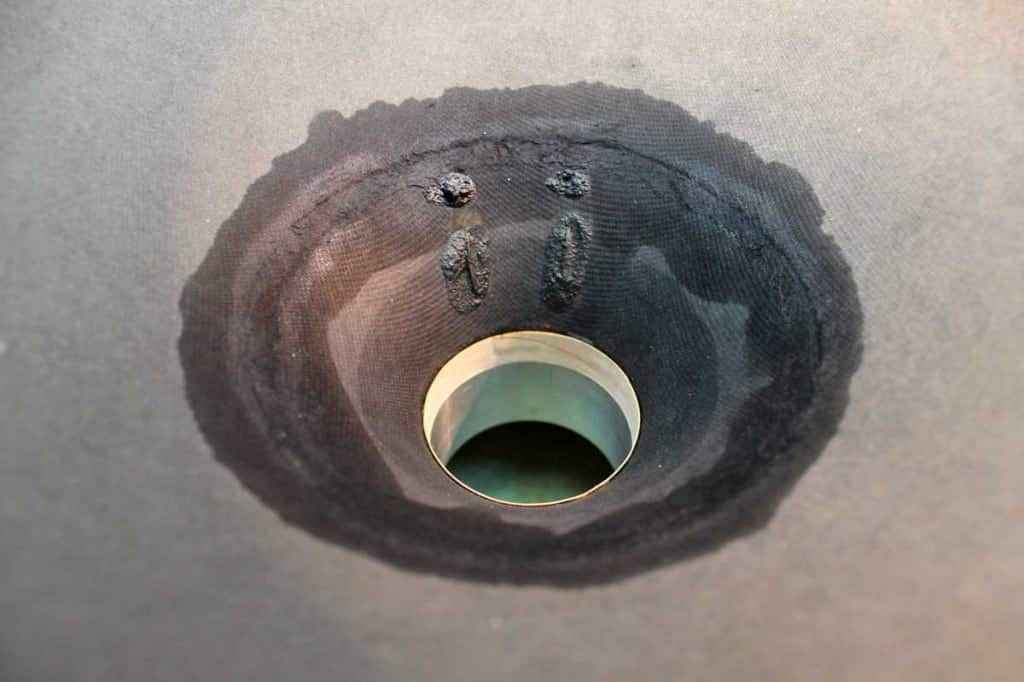
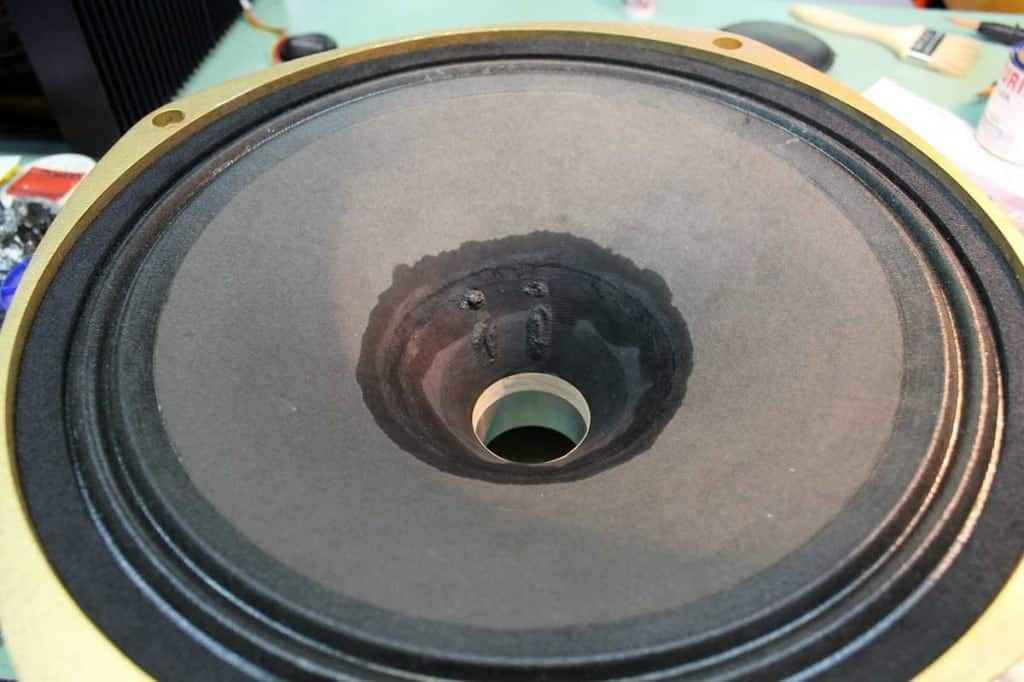
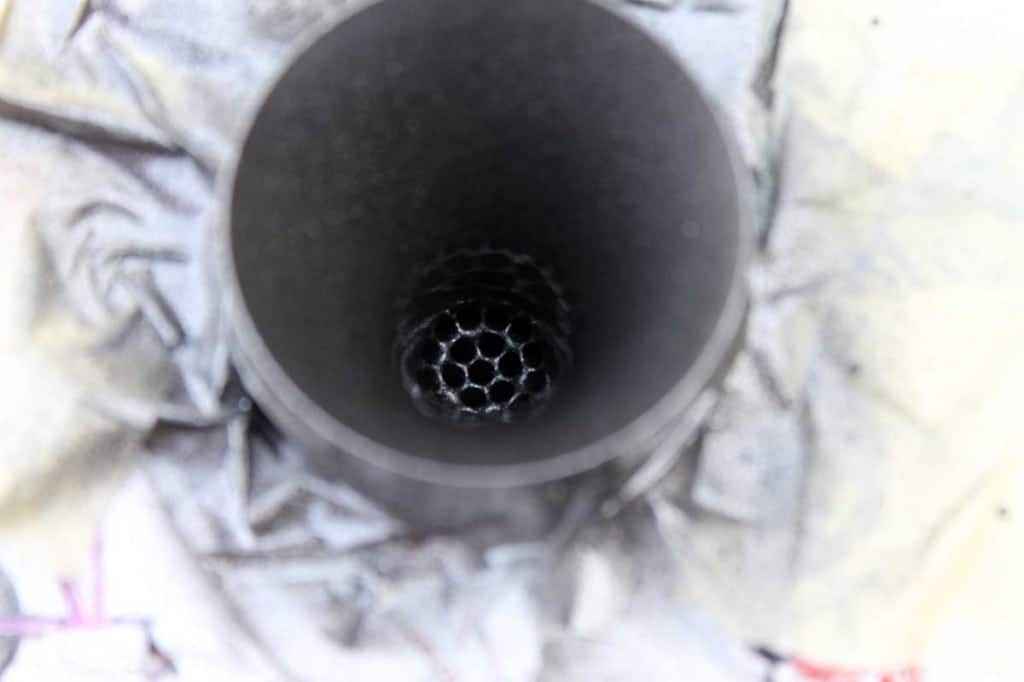
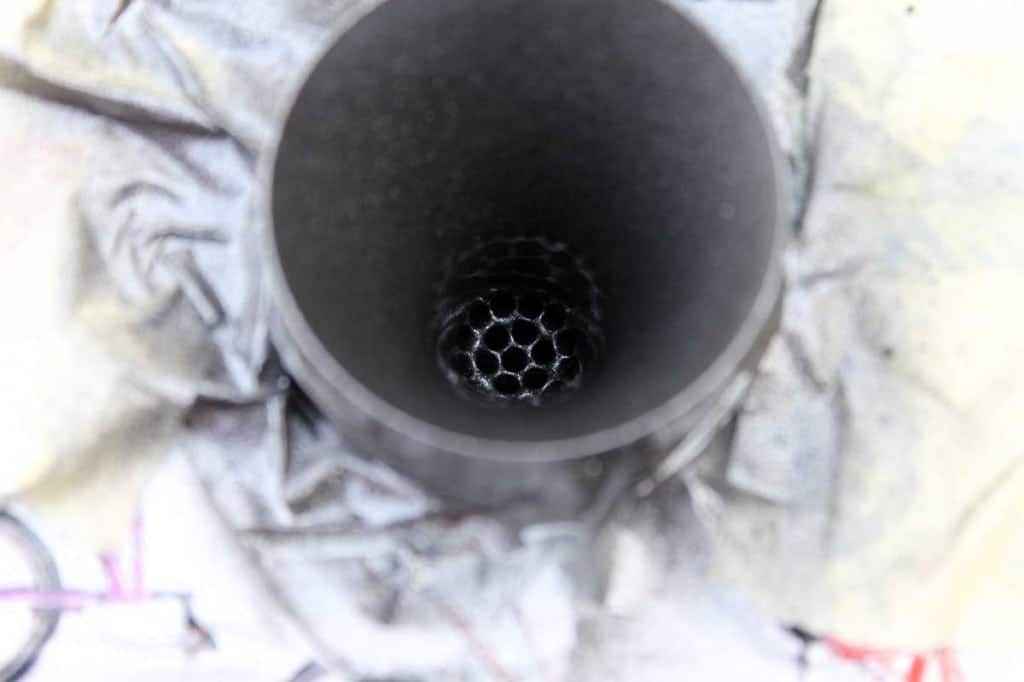
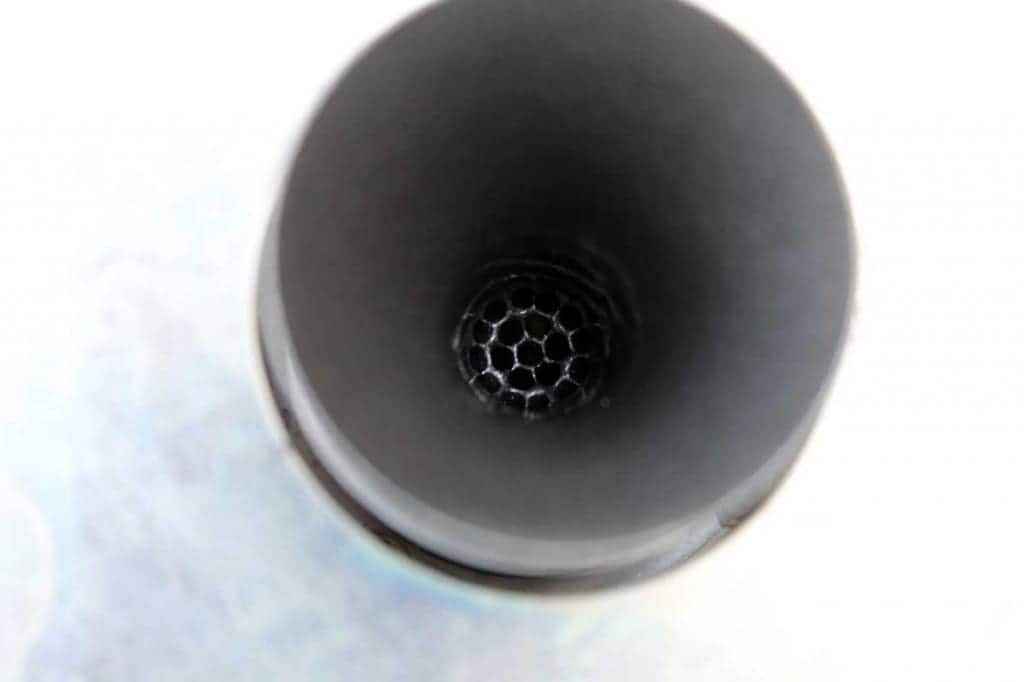
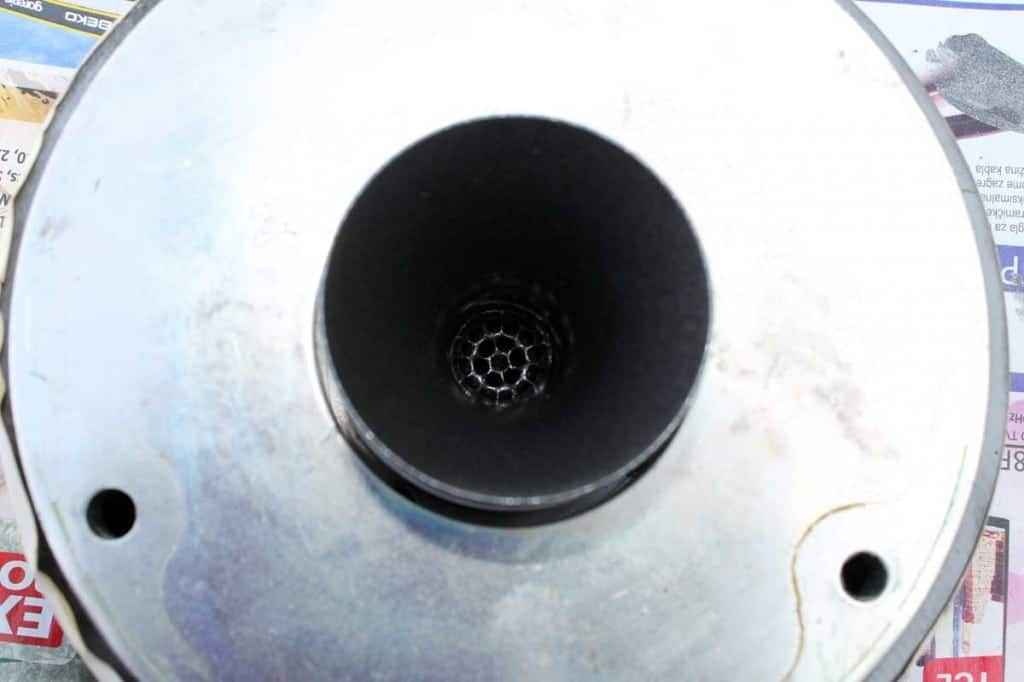
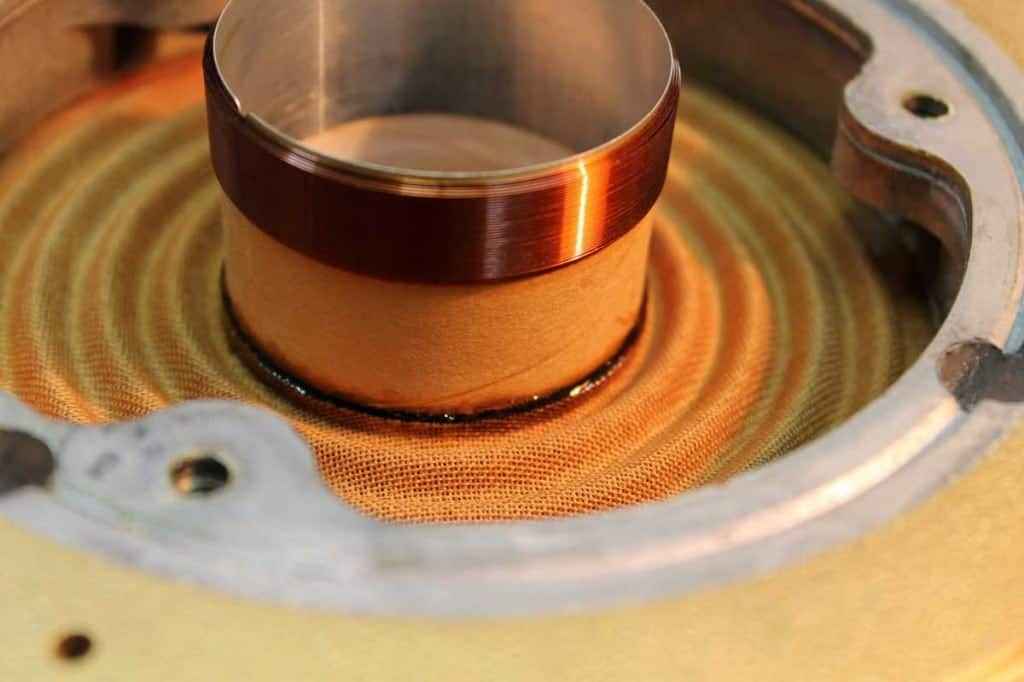
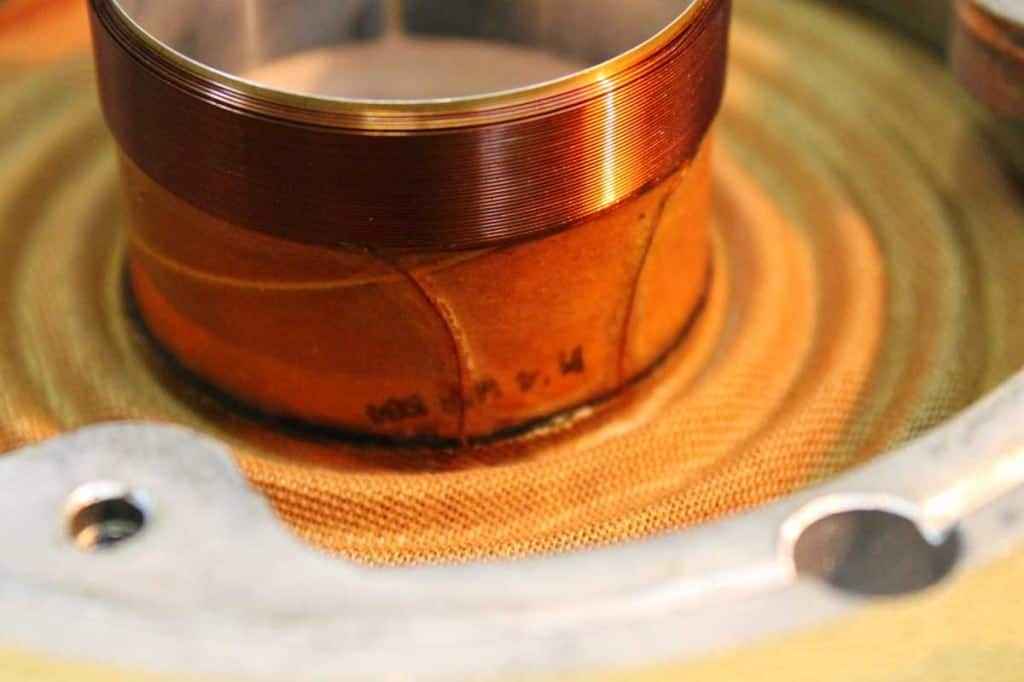
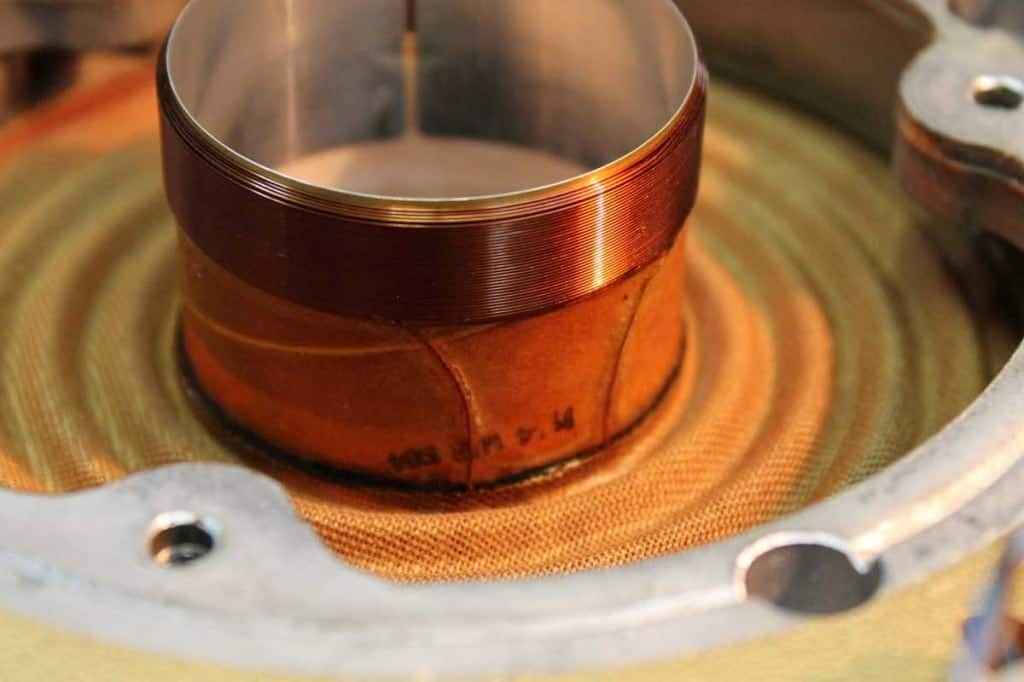
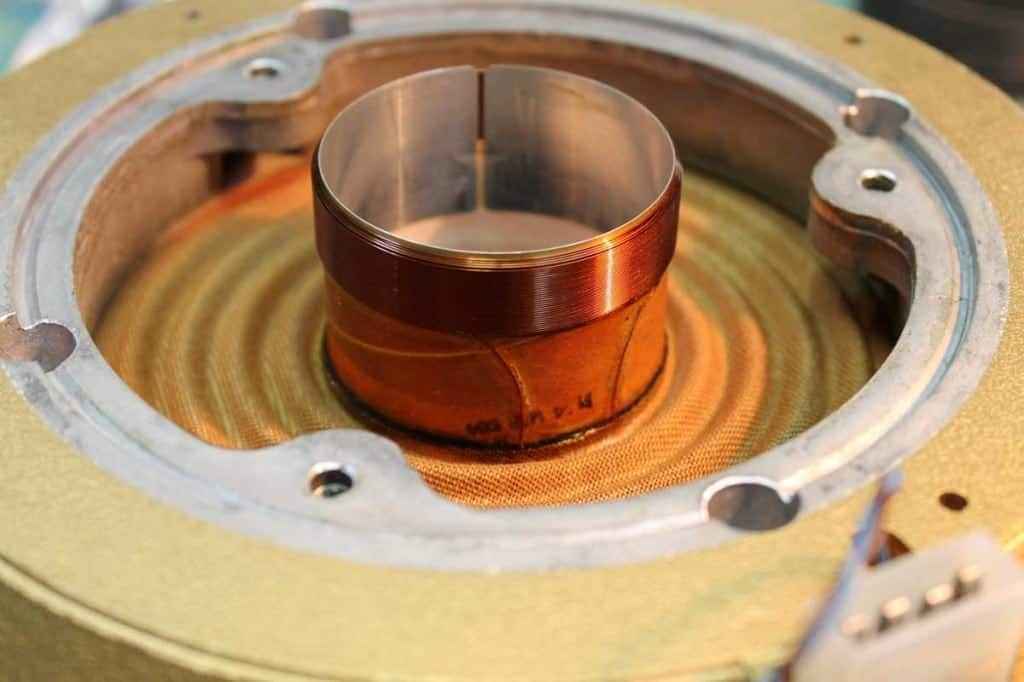
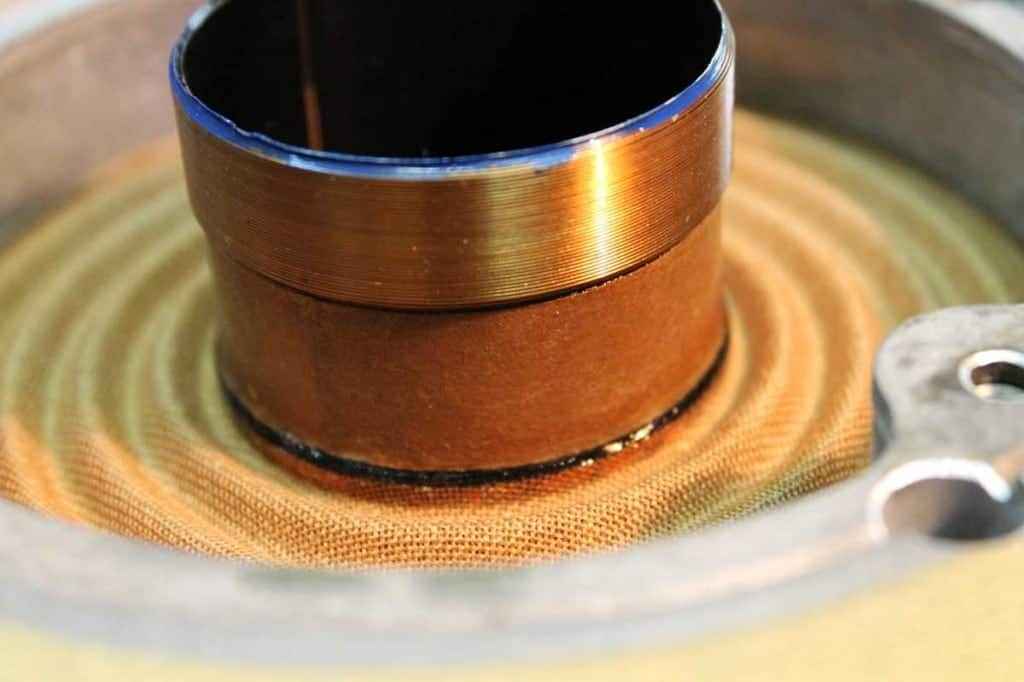
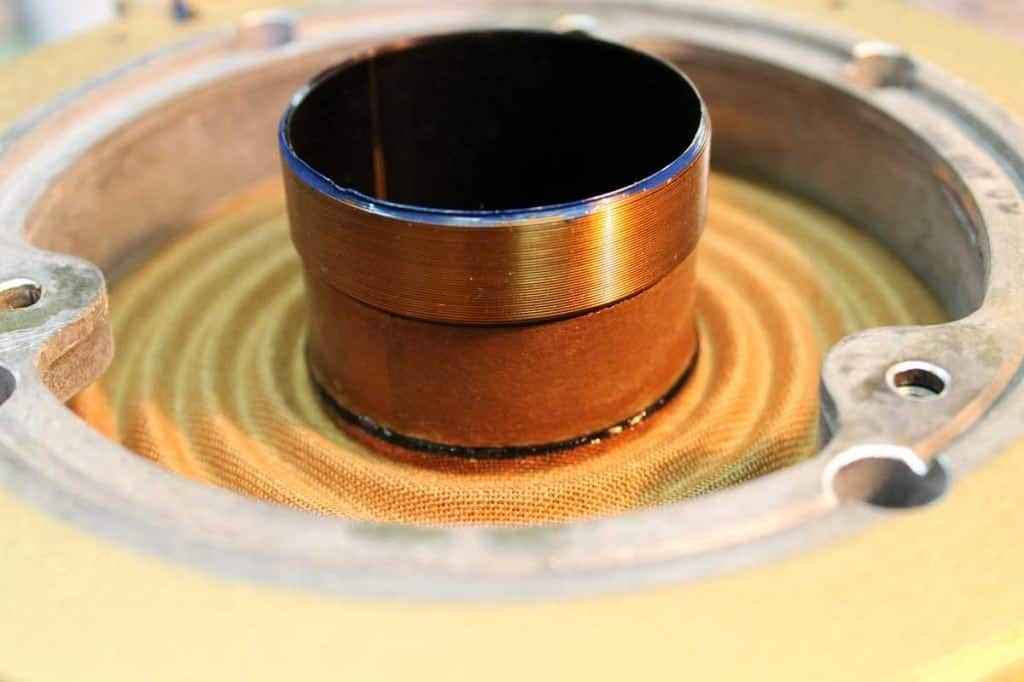
Anticipating need for proper VC centering later , I removed dustcaps ; interesting – then were clearly visible differences between two cones :
– black magnet equipped driver , having K3809 sticker , is having gold paint sprayed horn throat, and full height Al VC former ;
-white magnet equipped driver (not having type sticker ) is having silver horn throat, and 3/4 height natural color Al VC former ……
However , due to fact that my own pair of K3809 is having exactly same (3/4 height Al ) VC formers , I came to conclusion – from all facts – that both drivers in case are K3809 , while differences are irrelevant and normal for Tannoy production .
….. further – cleaning magnets with compressed air , painting both throats to be matched in color , reassembly with VC centering , surround revitalization , two Dammar layers for cones.
Considering previous experience ….. I believe some 35+ hours of work are needed for entire procedure …….. 😉
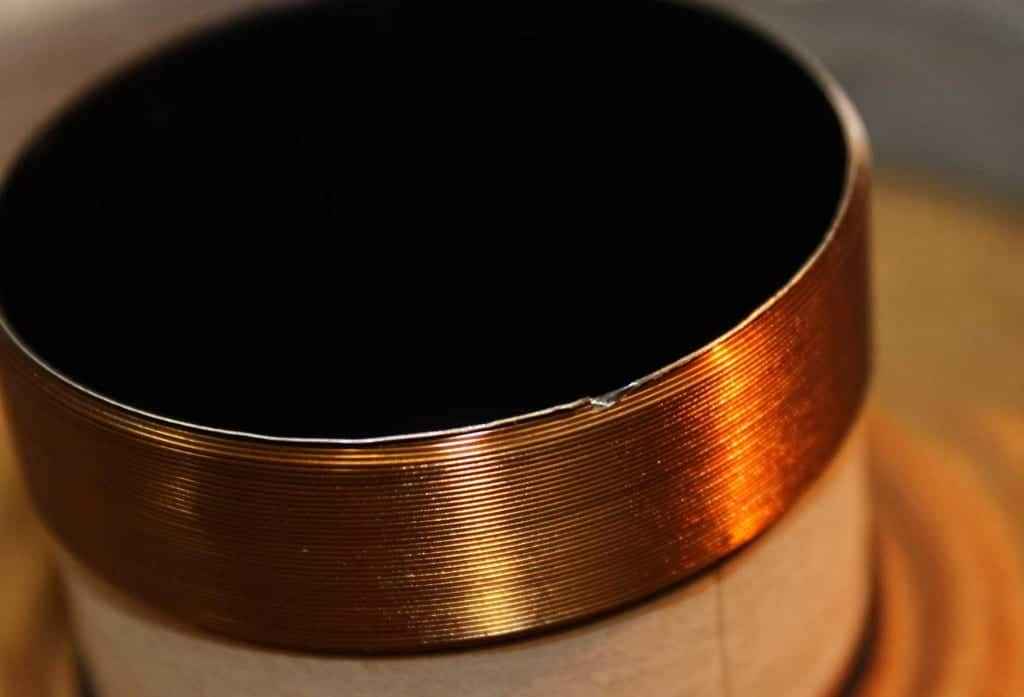
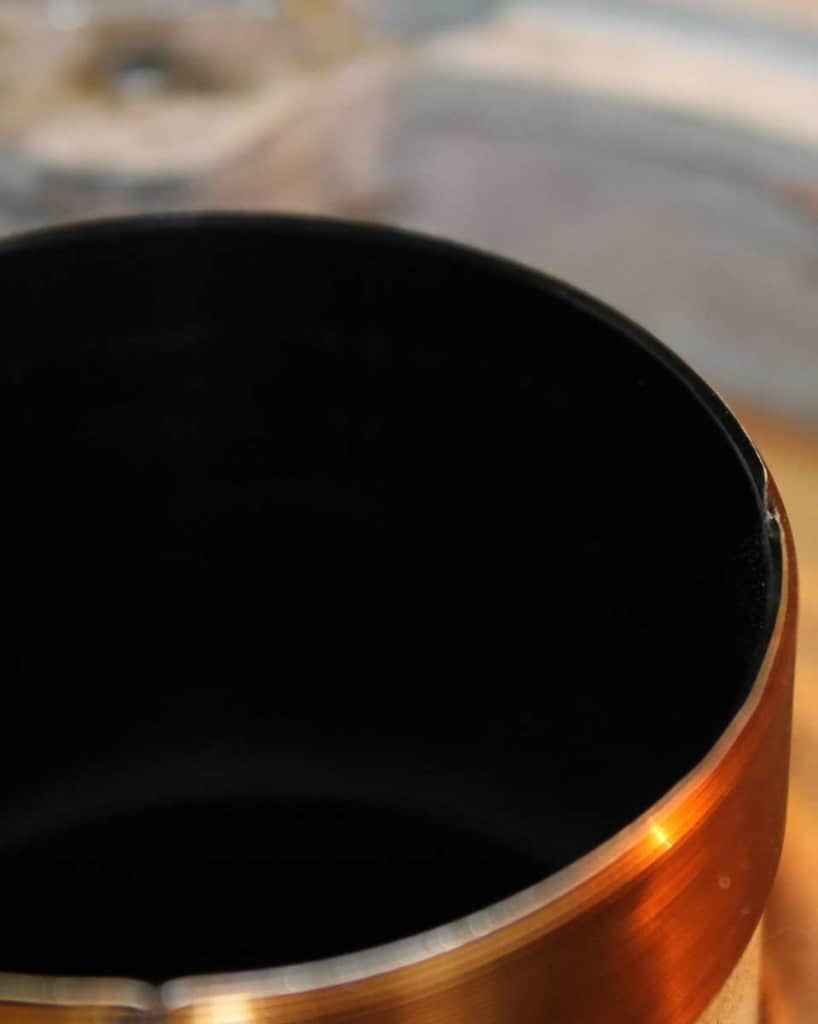
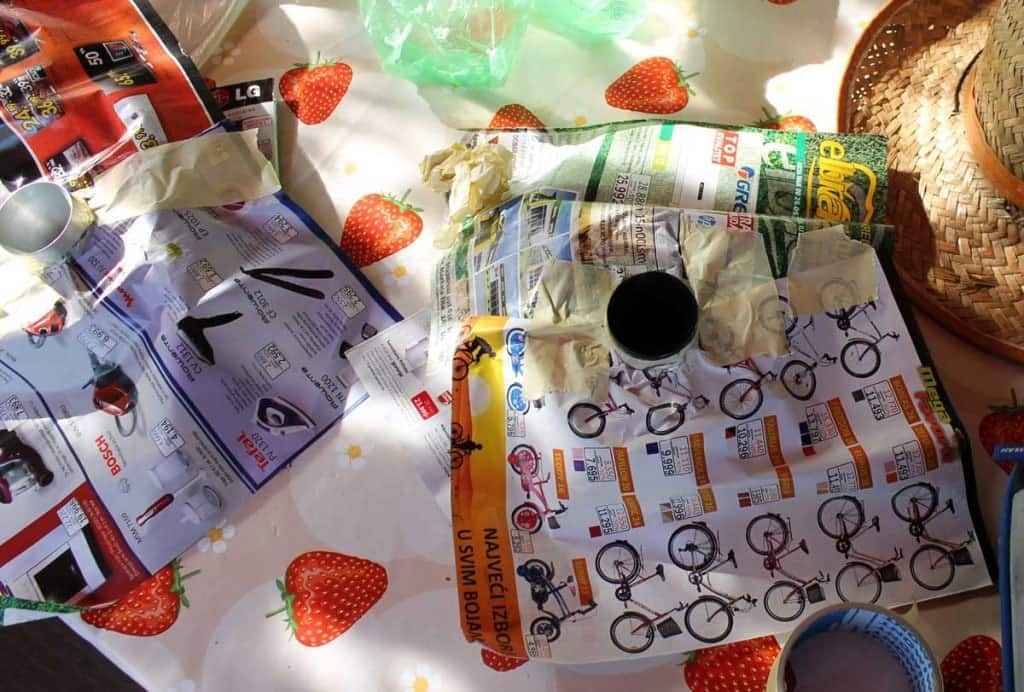
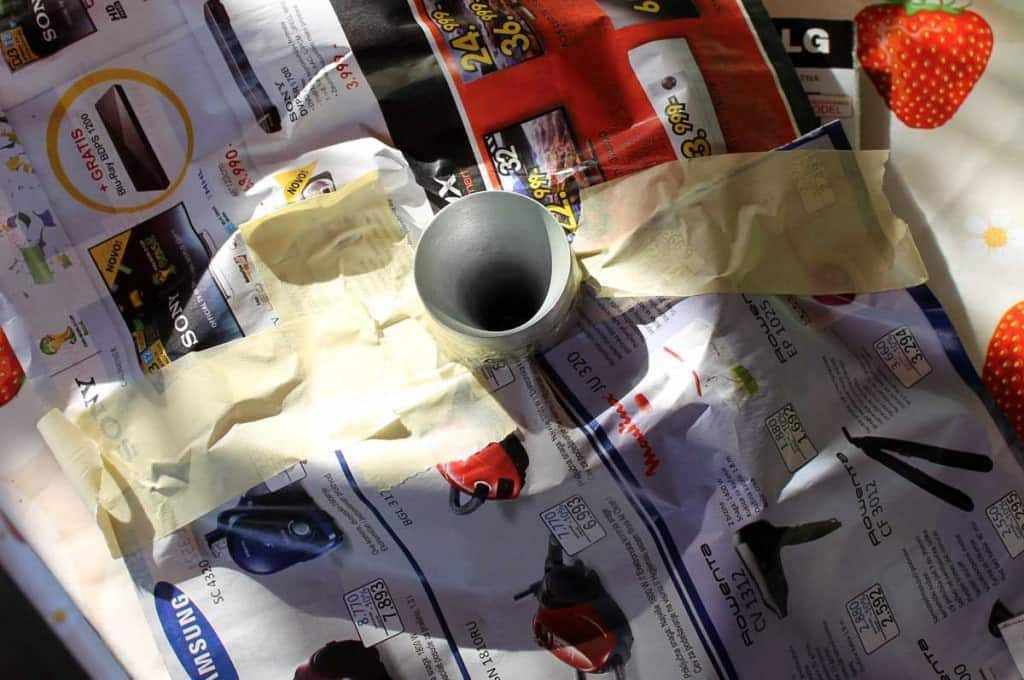
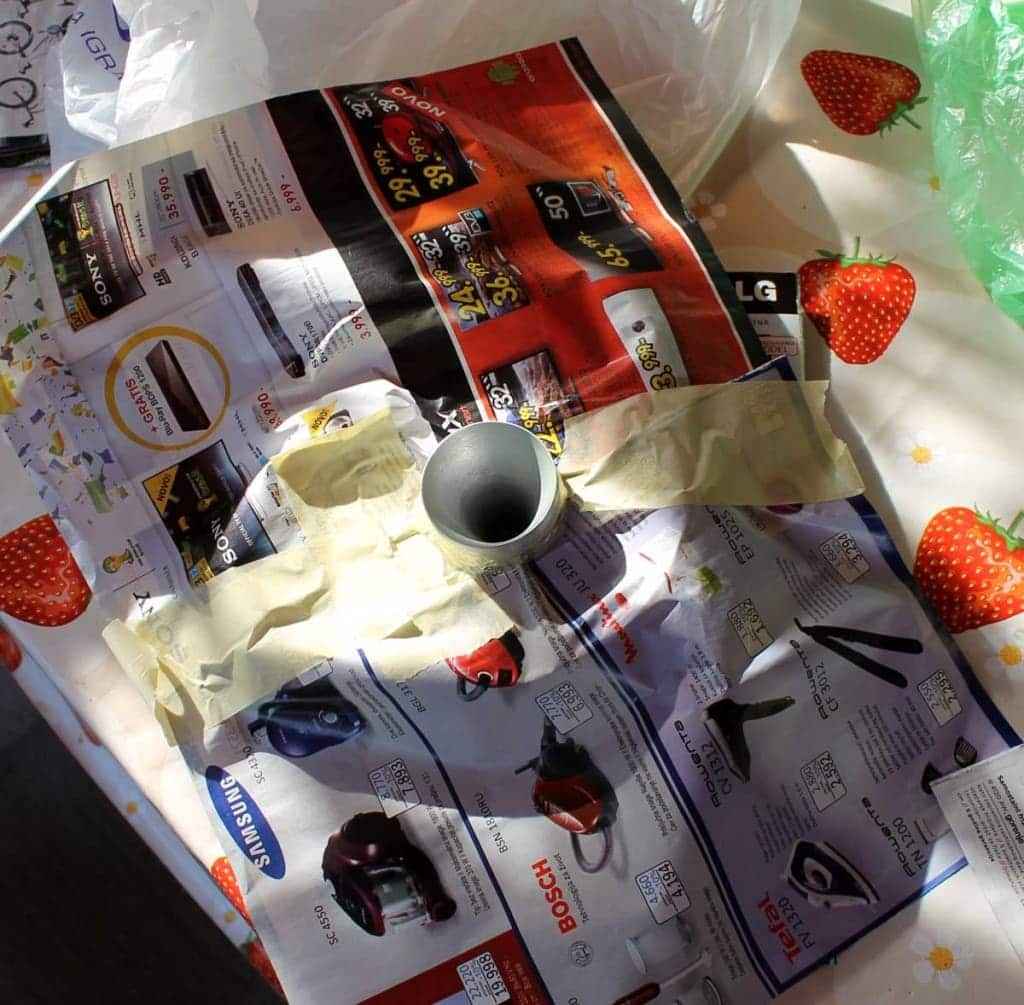
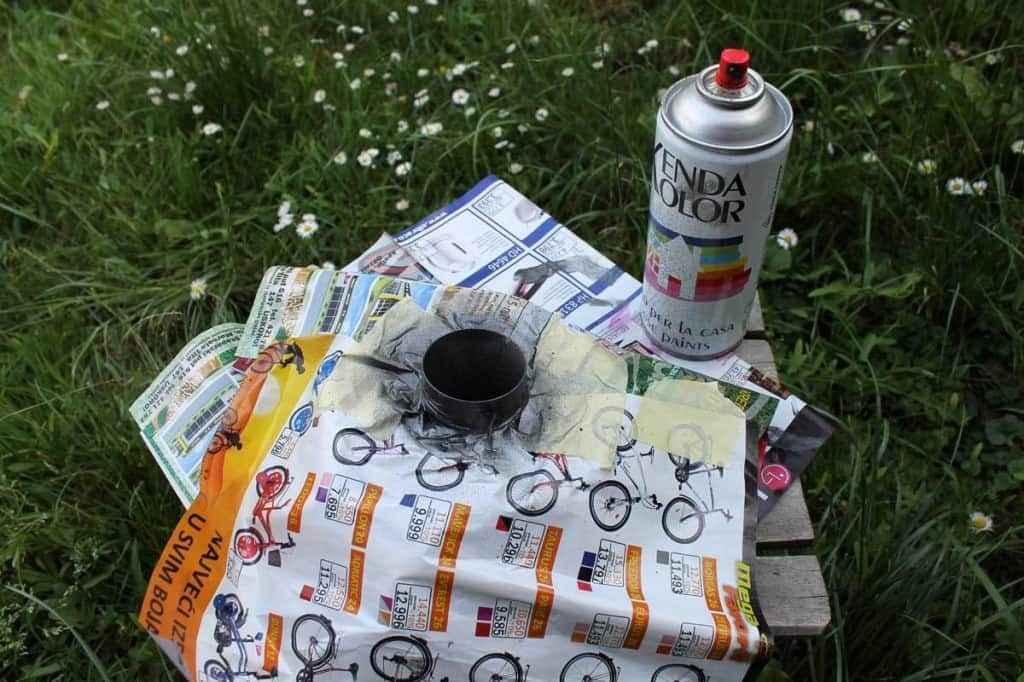
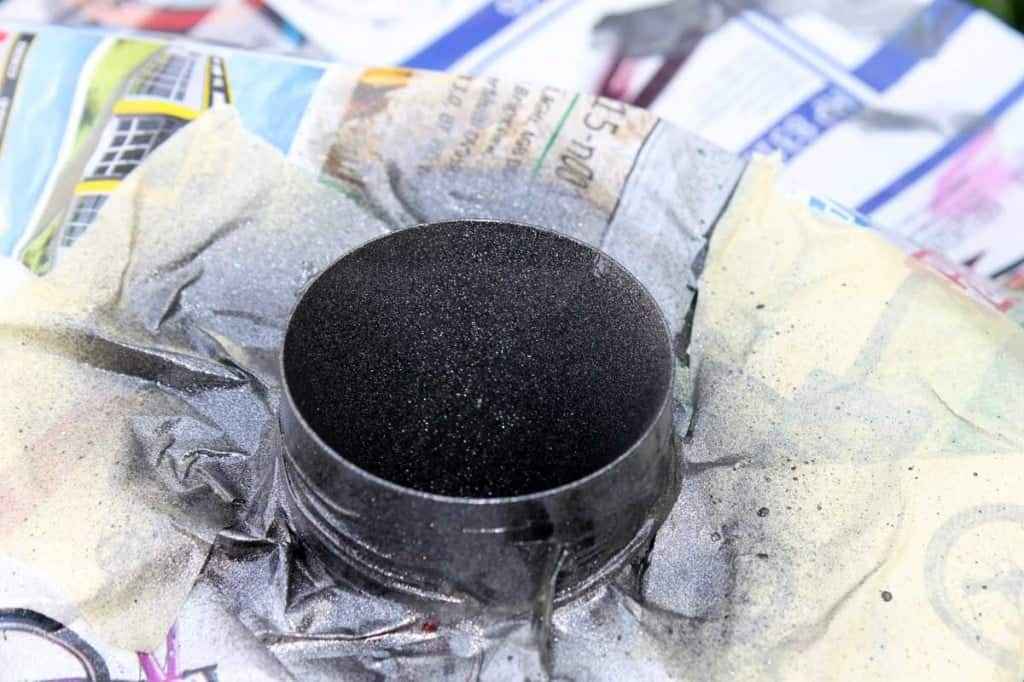
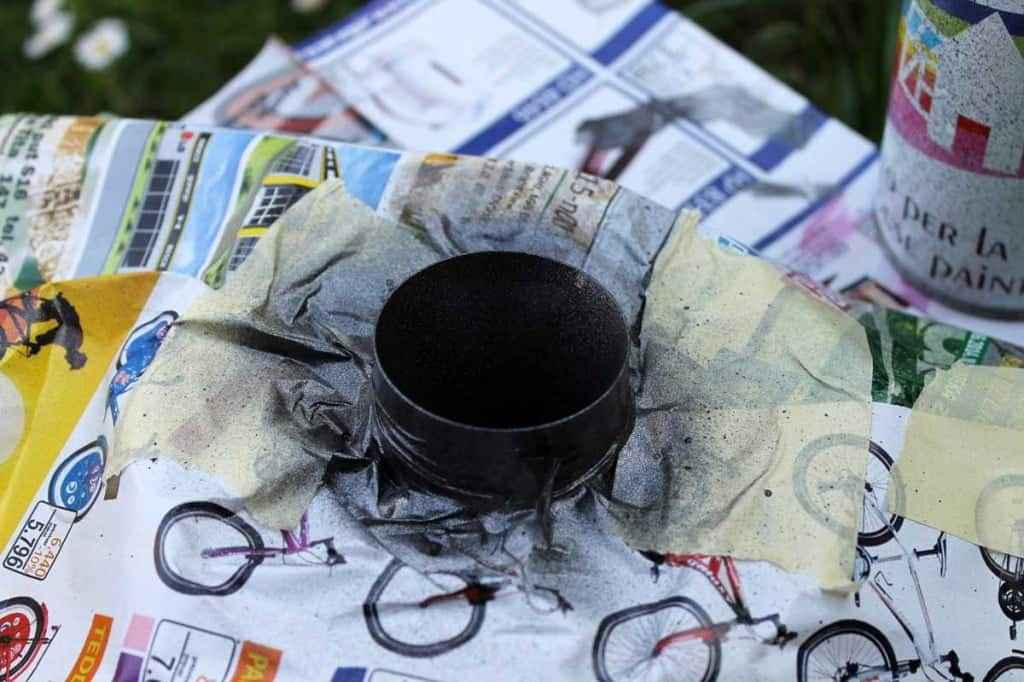
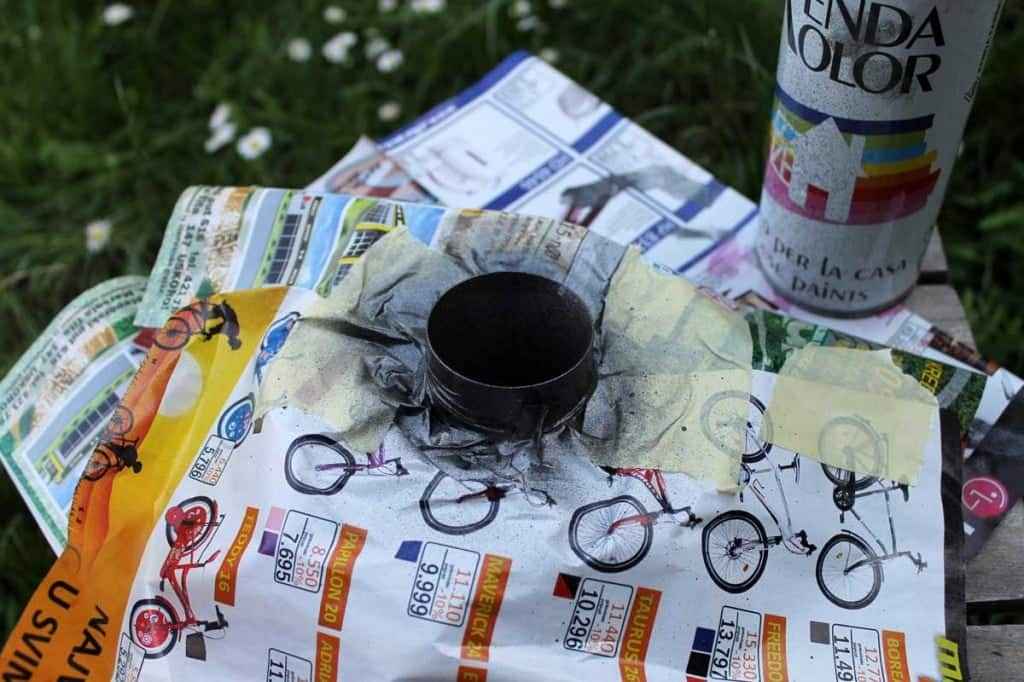
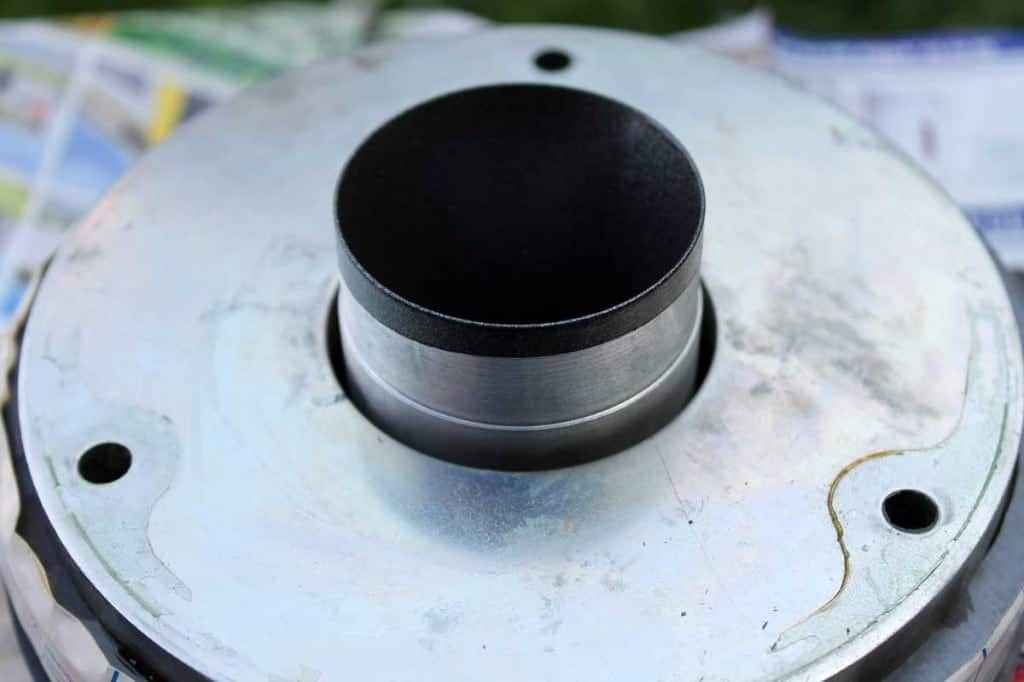
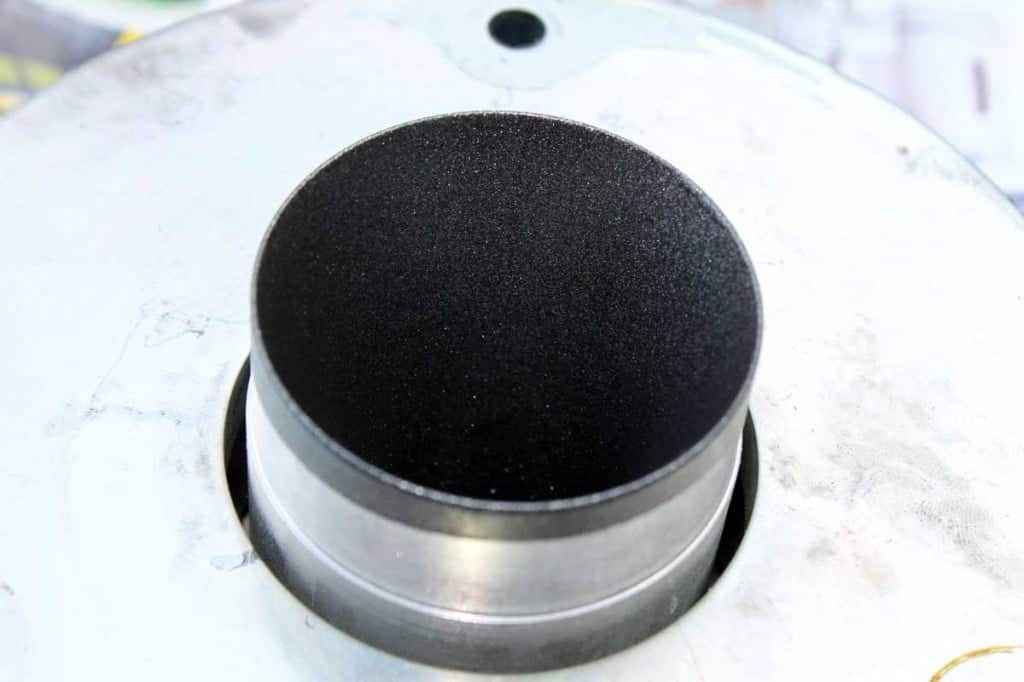
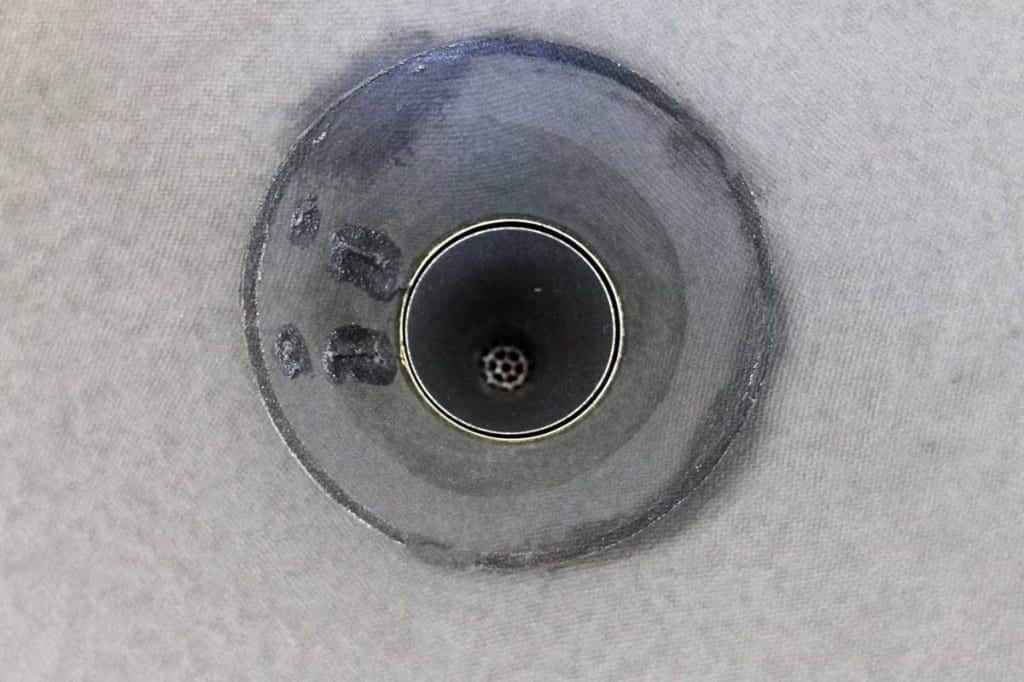
First thing was to sand Pepperpot throats , clean them and magnets with compressed air , degrease throats with nitro-solvent and put some paper skirt , prior to spraying . I chose Graphite Black Kenda spray paint .
While they were drying , some work was made on basket and cones – correcting some rough edges around holes on basket and cleaning residue of old glue , positioned between basket and pole plate . Later I cleaned glue from pole plates too :
Then,adding some two component glue to cone/spider/former joint , and one layer of Dammar to paper part of VC formers :
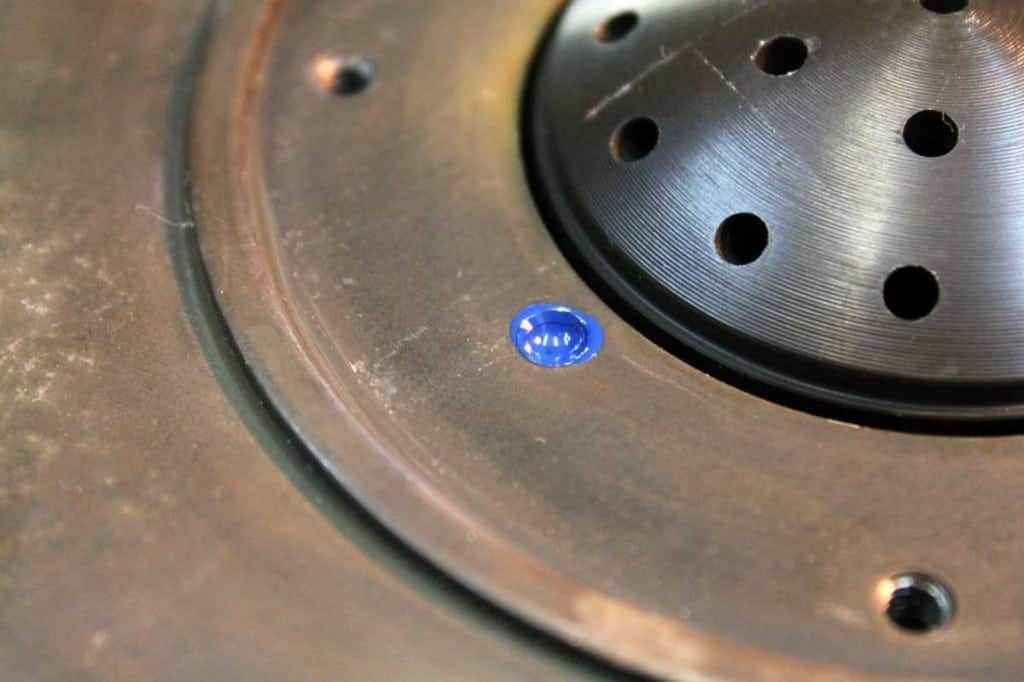
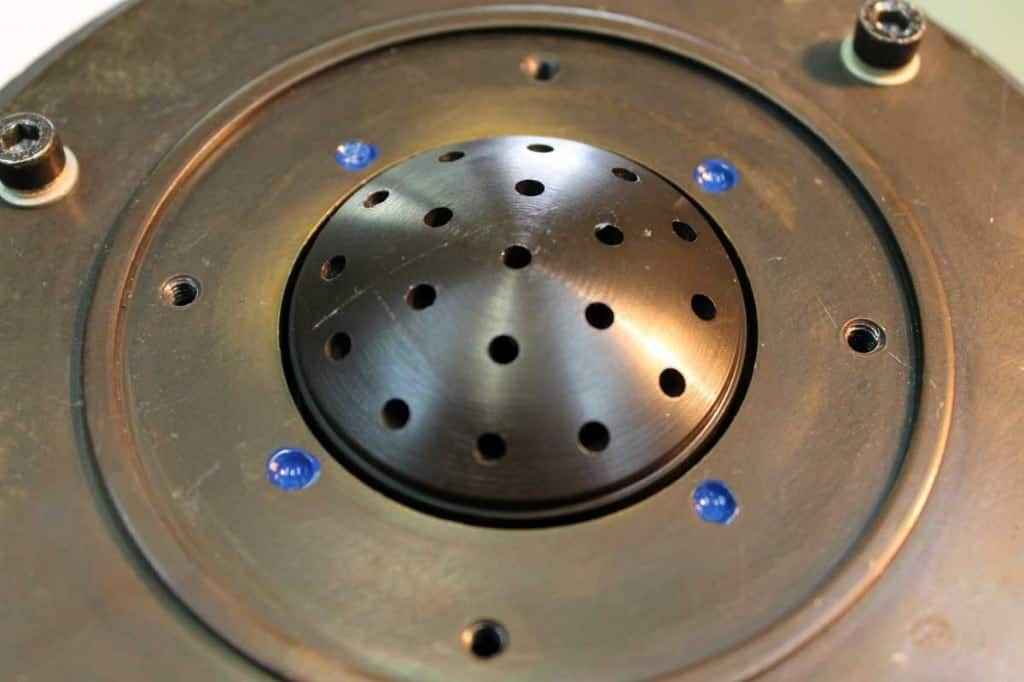
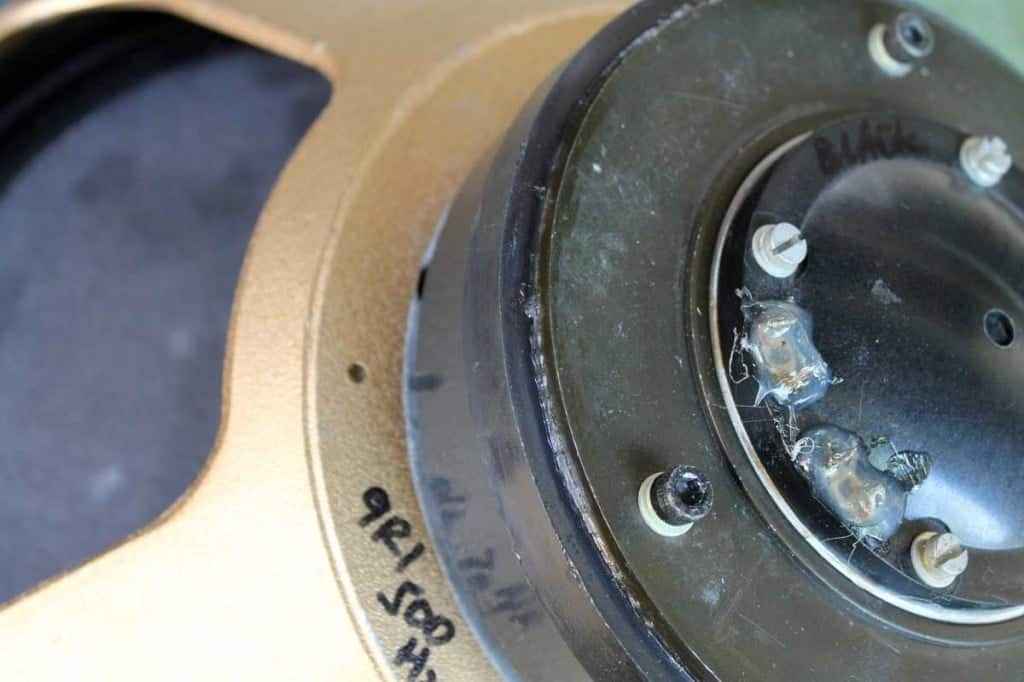
Back of magnet work – removed peeling patches of old glue on top of screws , putting some nytro paint instead , gap cleaned with paper sticky tape .
Magnets – cleaning the gap with paper sticky tape, then on to assembly . No need for shims (centering ! ) , just eyes (ok – sig gene ,amp and 6mm pp excursion ) were enough . Pictures of just one, second is looking pretty much the same 😉
Further …….. thorough cleaning of old surround rubber-based goo , applying special ZM mixture instead , Dammar to cones , Hf ‘fragms back in place ……..
Up to removing old hardened surround impregnation . Entire procedure is already explained here, but I’ll try to illustrate it and explain more thoroughly .
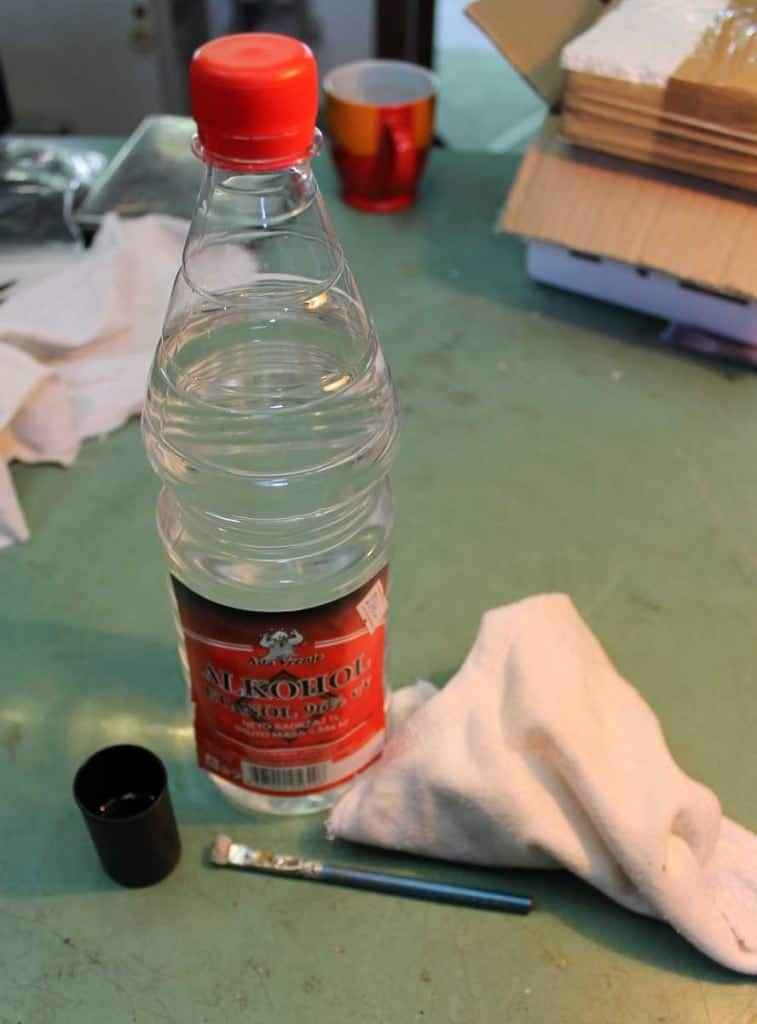
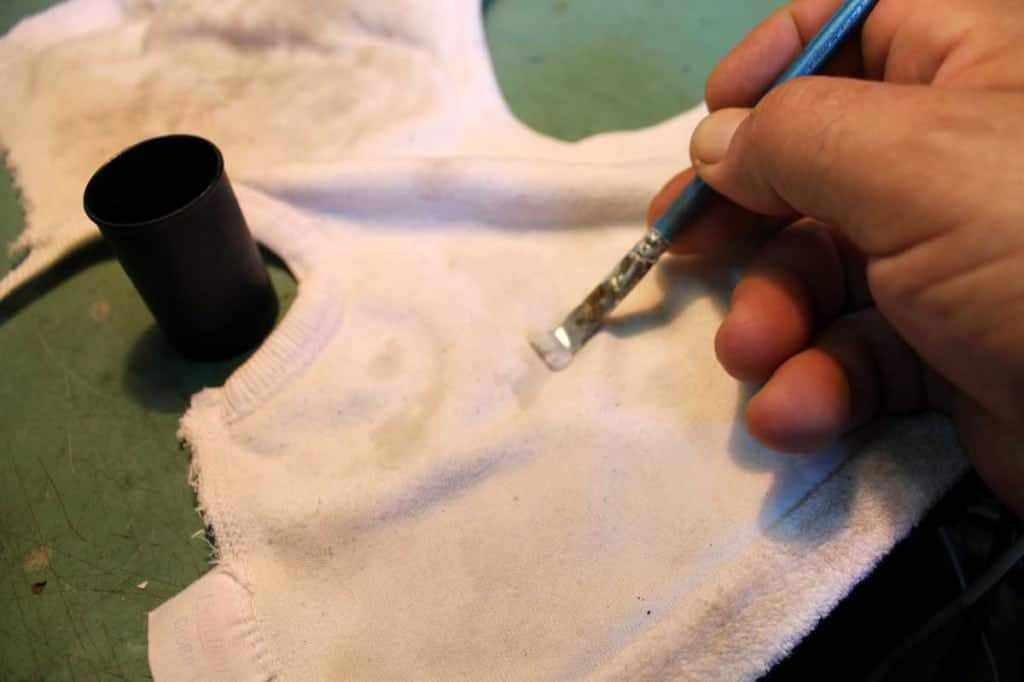
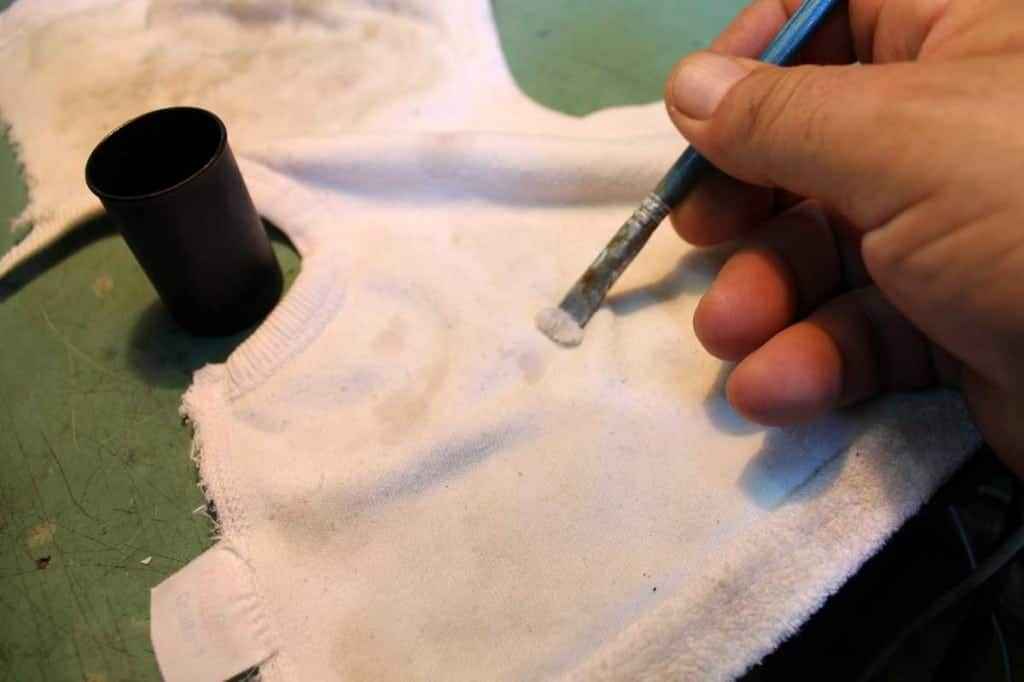
What you need is :
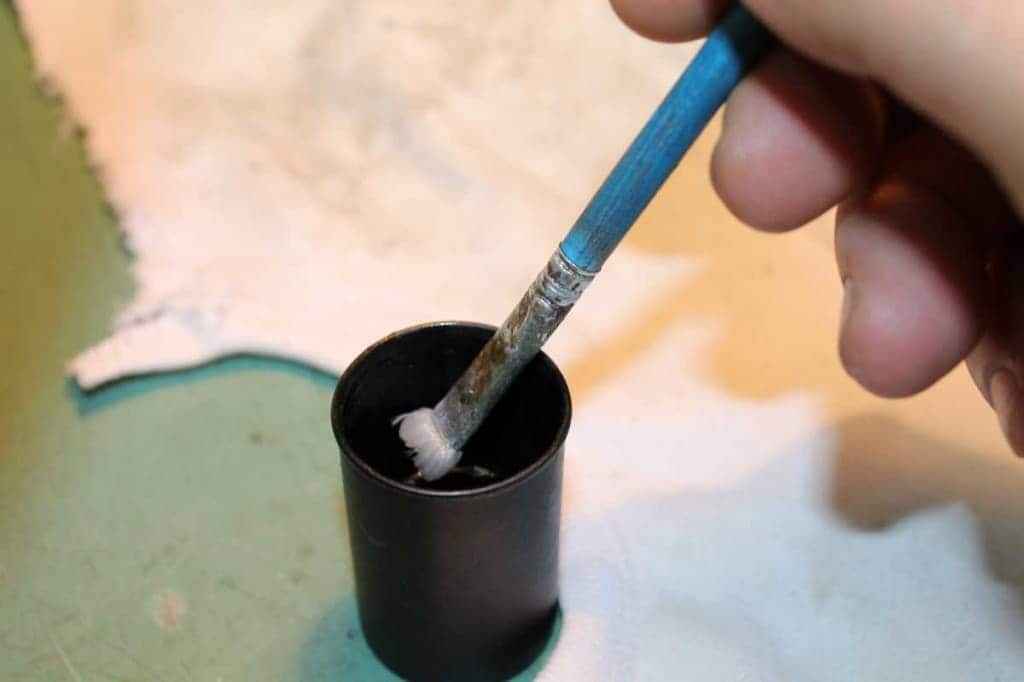
– Alcohol (Etanol) 96%
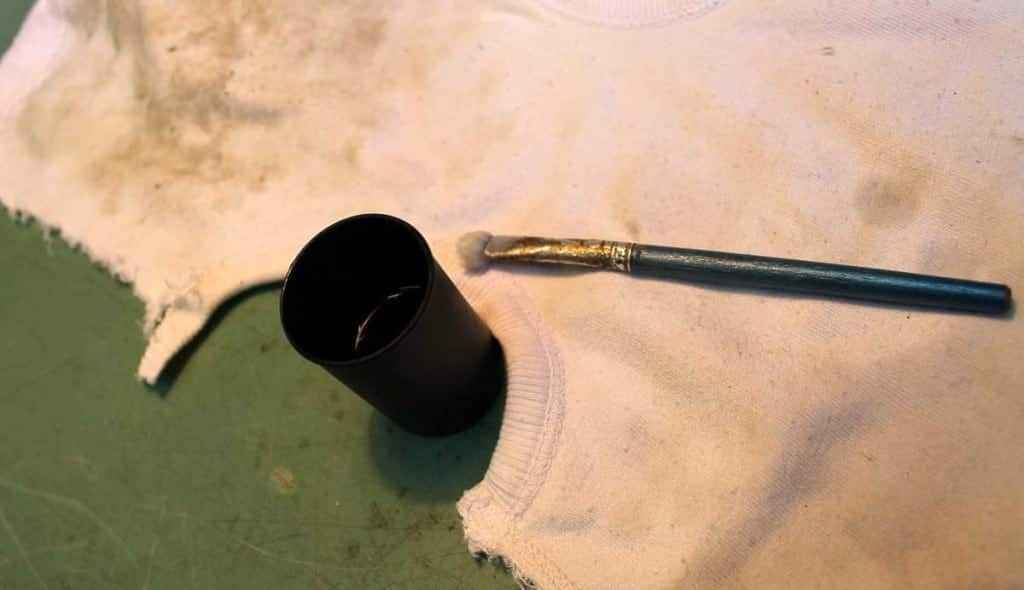
– cotton rug
– small container for Alcohol
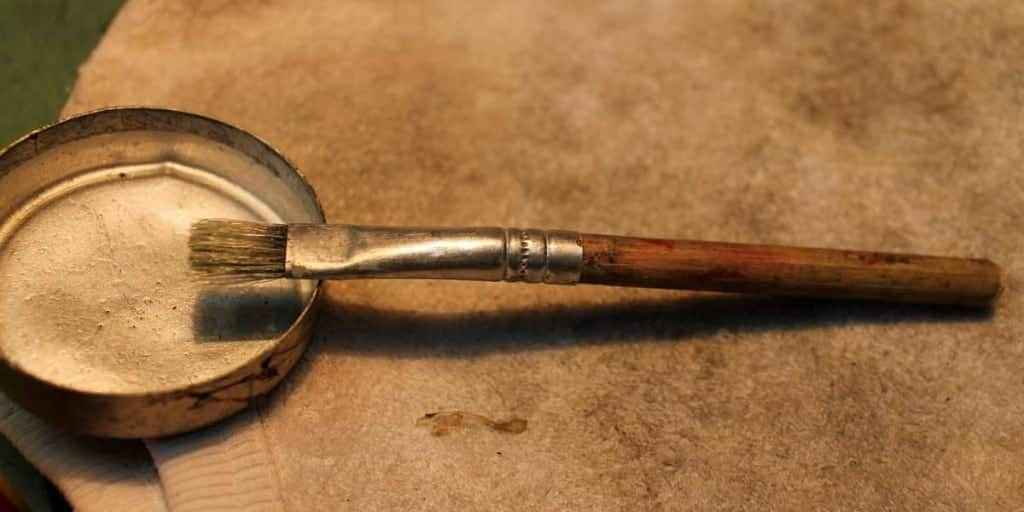
– small brush ; that sort which is bad for any painting , but perfect for purpose – around 10mm wide , plastic threads – so it is semi-hard ….. perfect for applying some force , which we really need here .
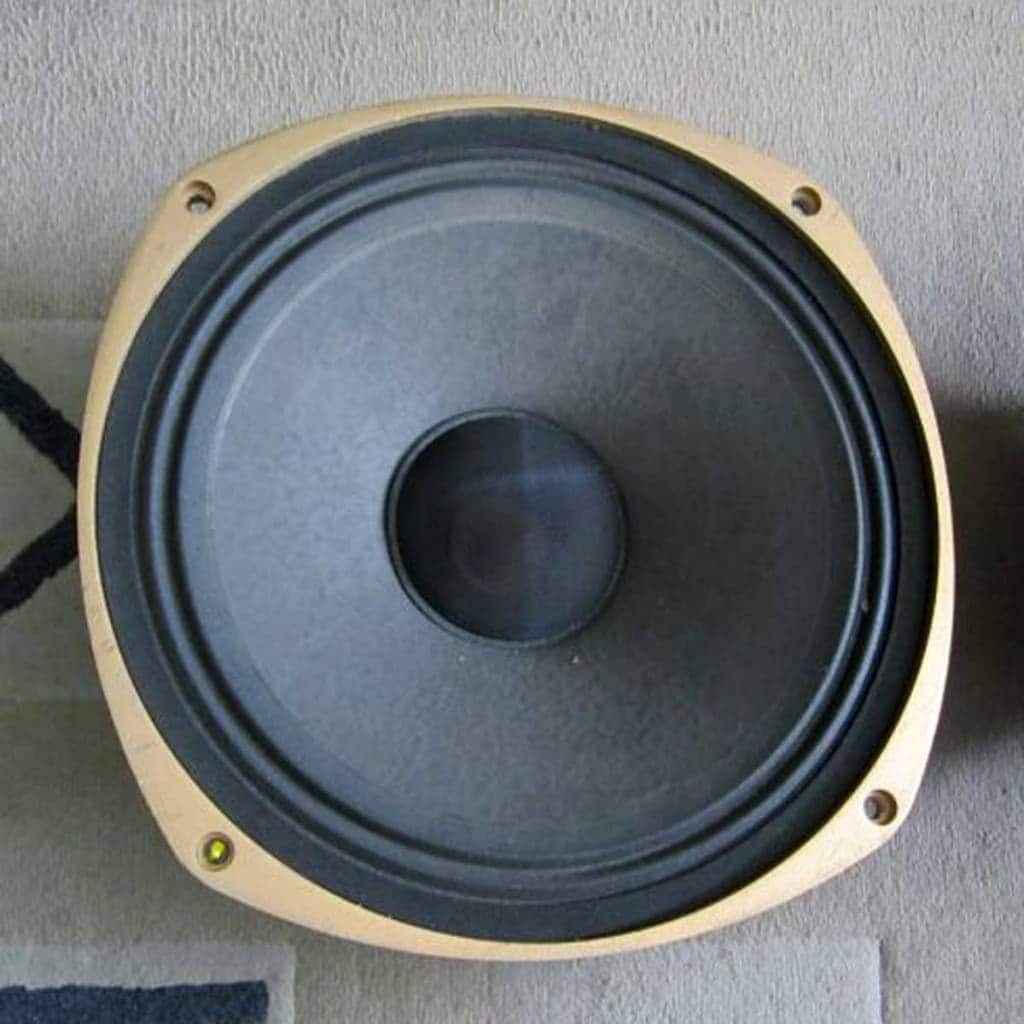
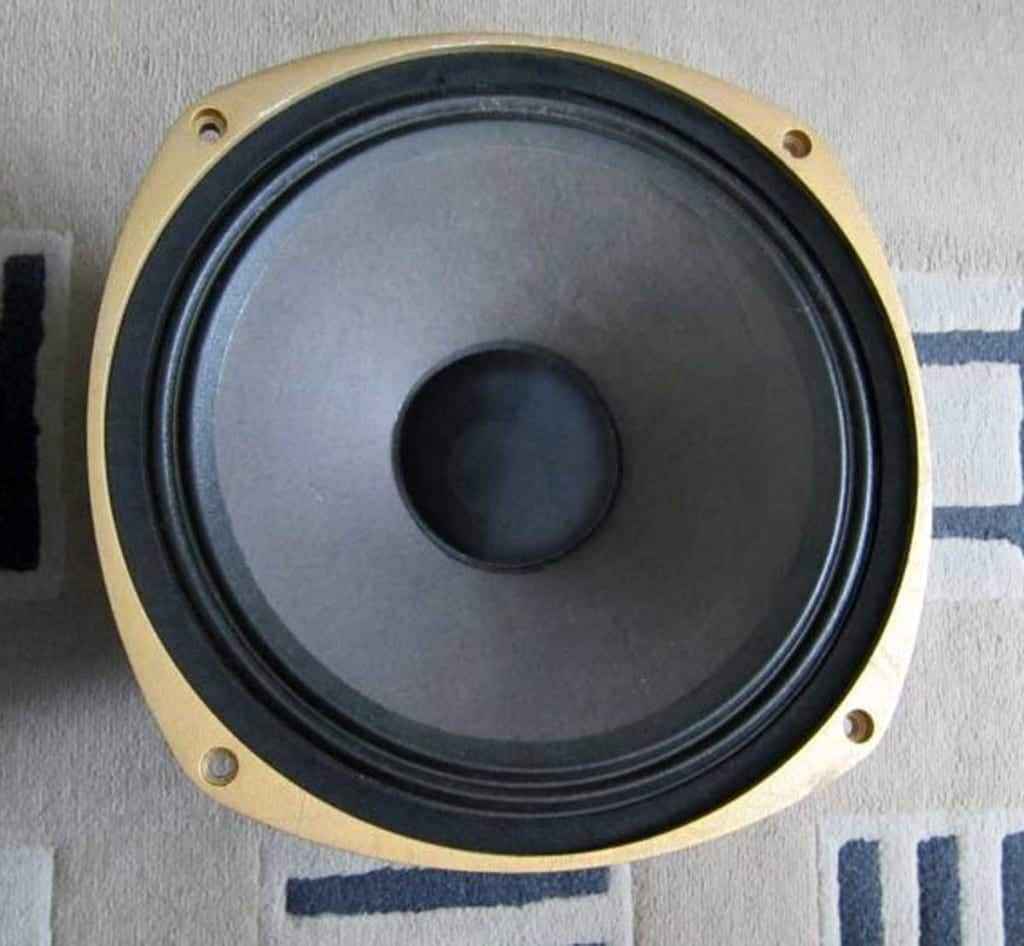
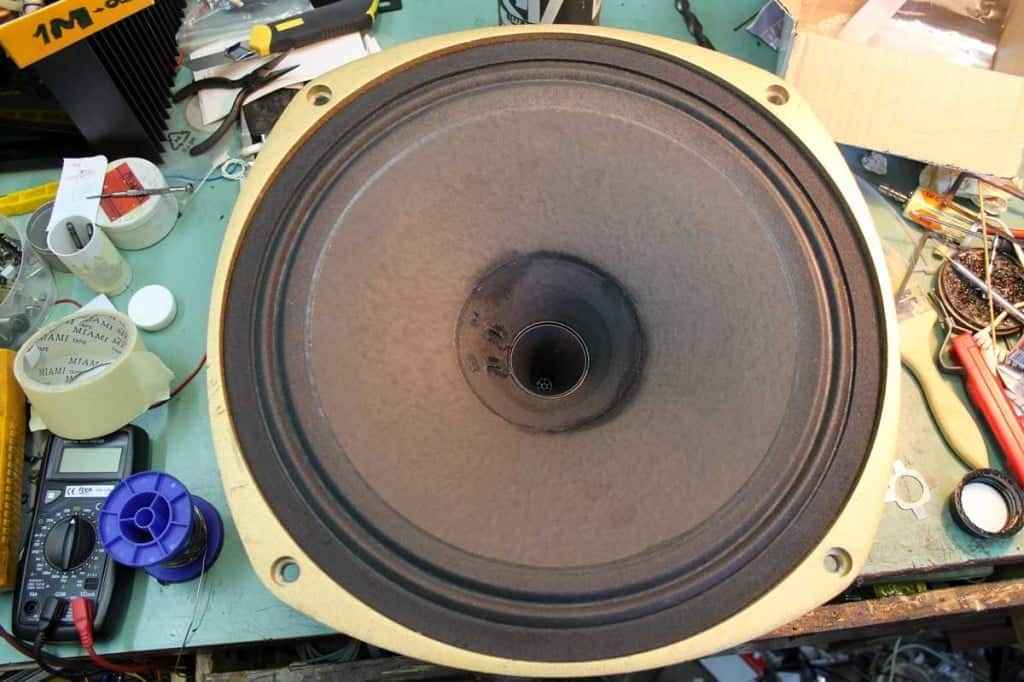
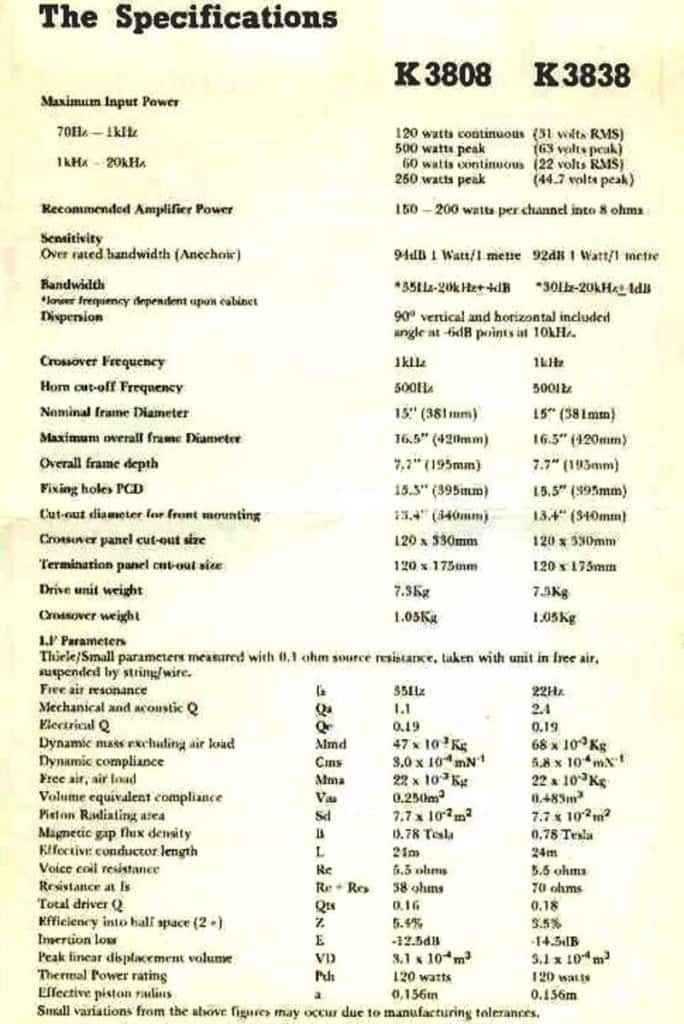
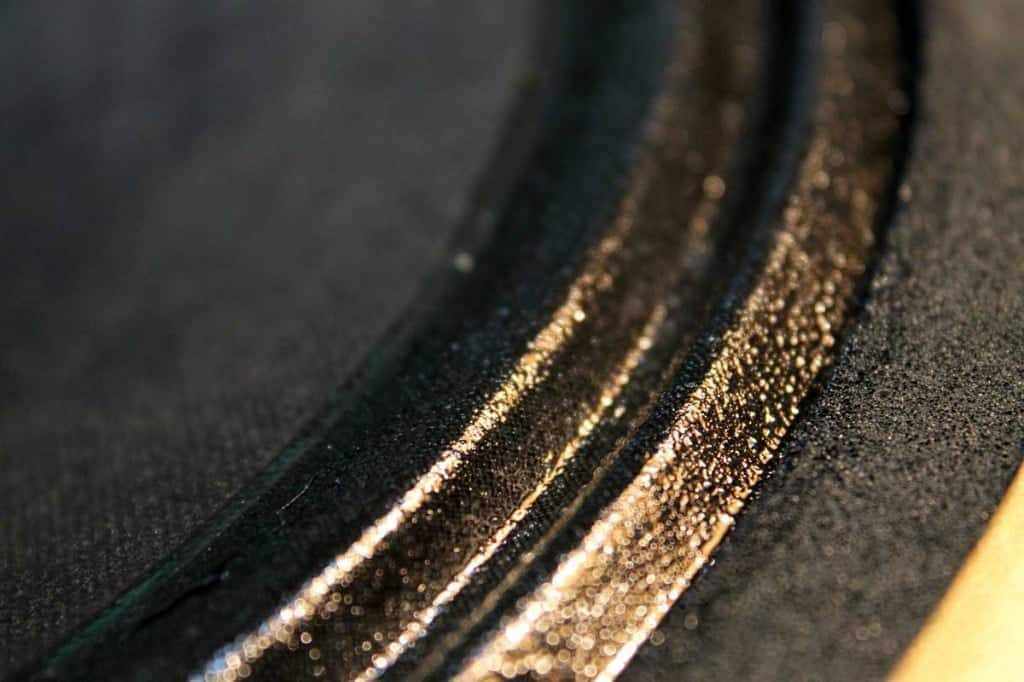
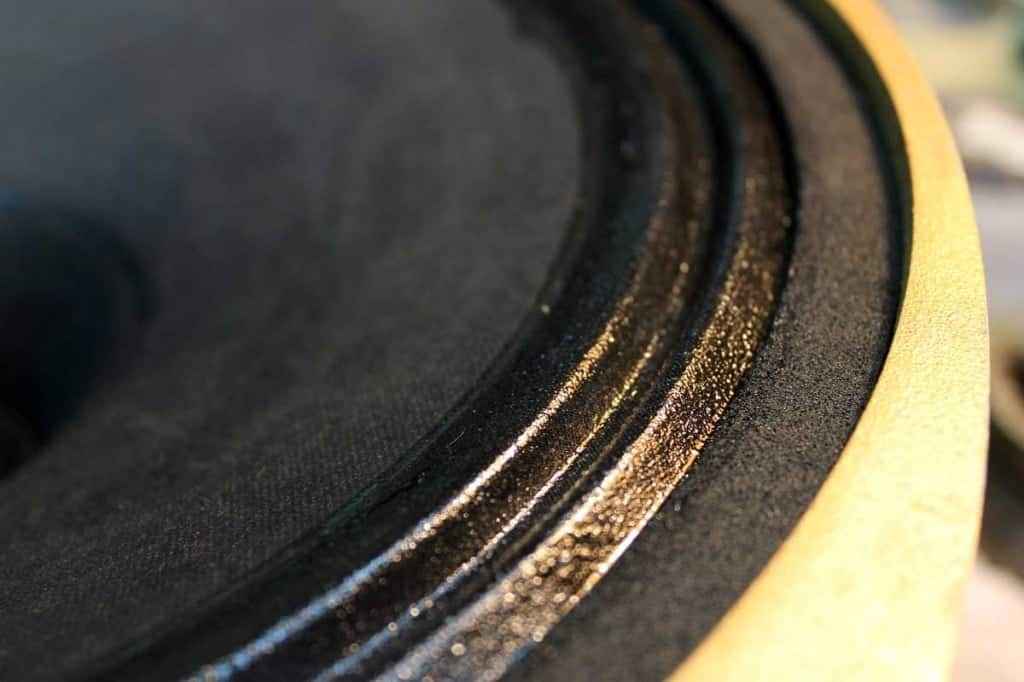
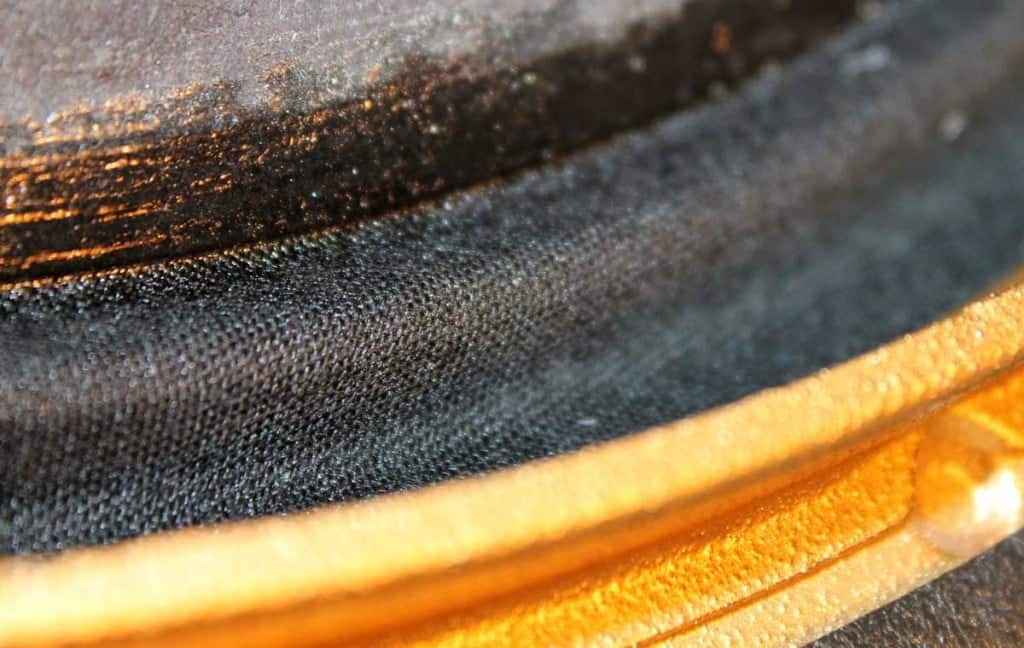
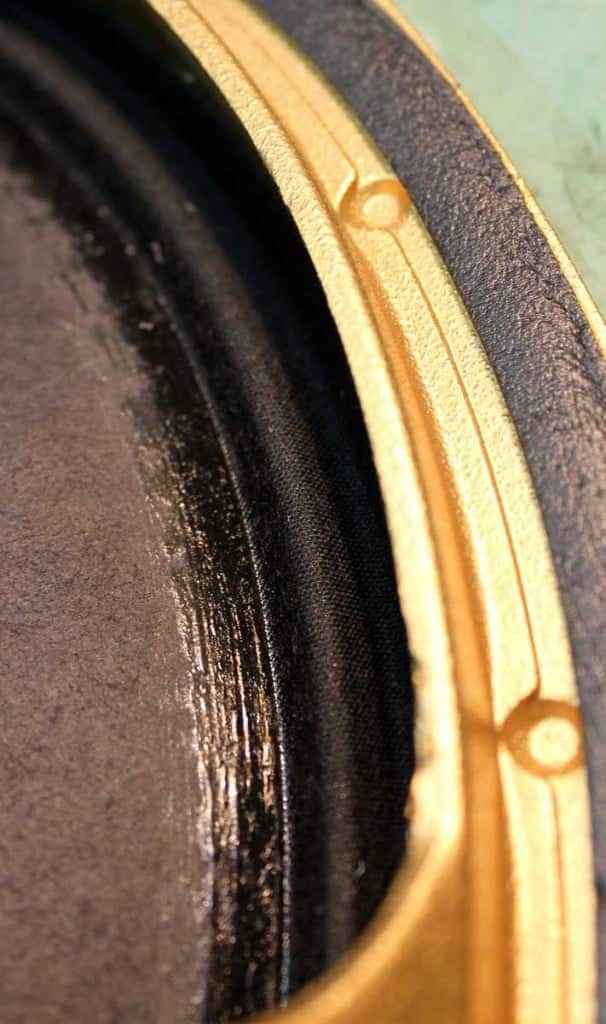
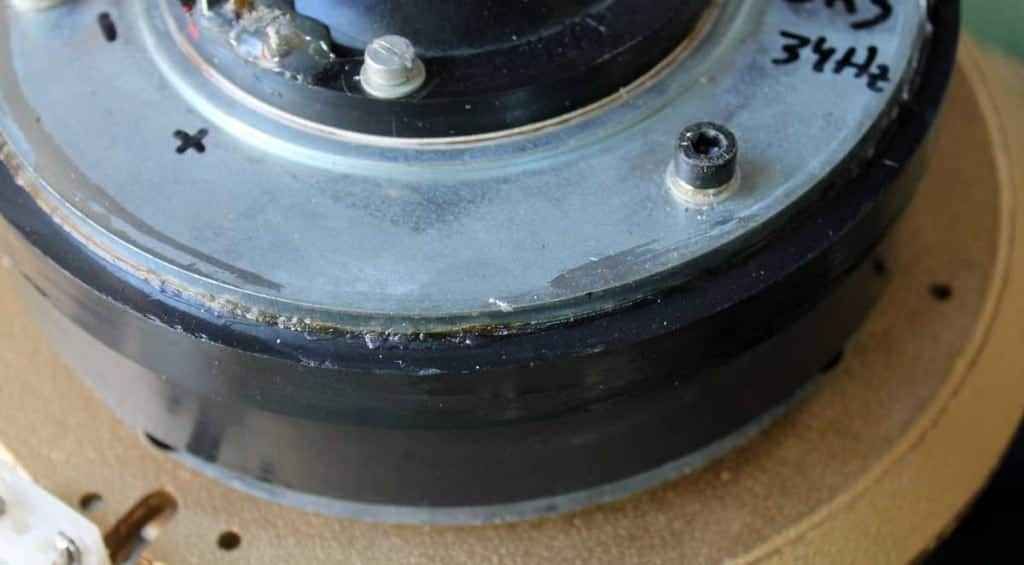
And poor old boomer’s surround is looking pretty lousy …… resulting in Fs of ~60Hz, for both of them .
K3808/K3809 is having 35Hz fresh from Tannoy , somewhere in mid of 1980-ies .
I have strong opinion that every Tannoy driver equipped with impregnated cloth surround is having exactly same issue , if older than 10 years or so …….
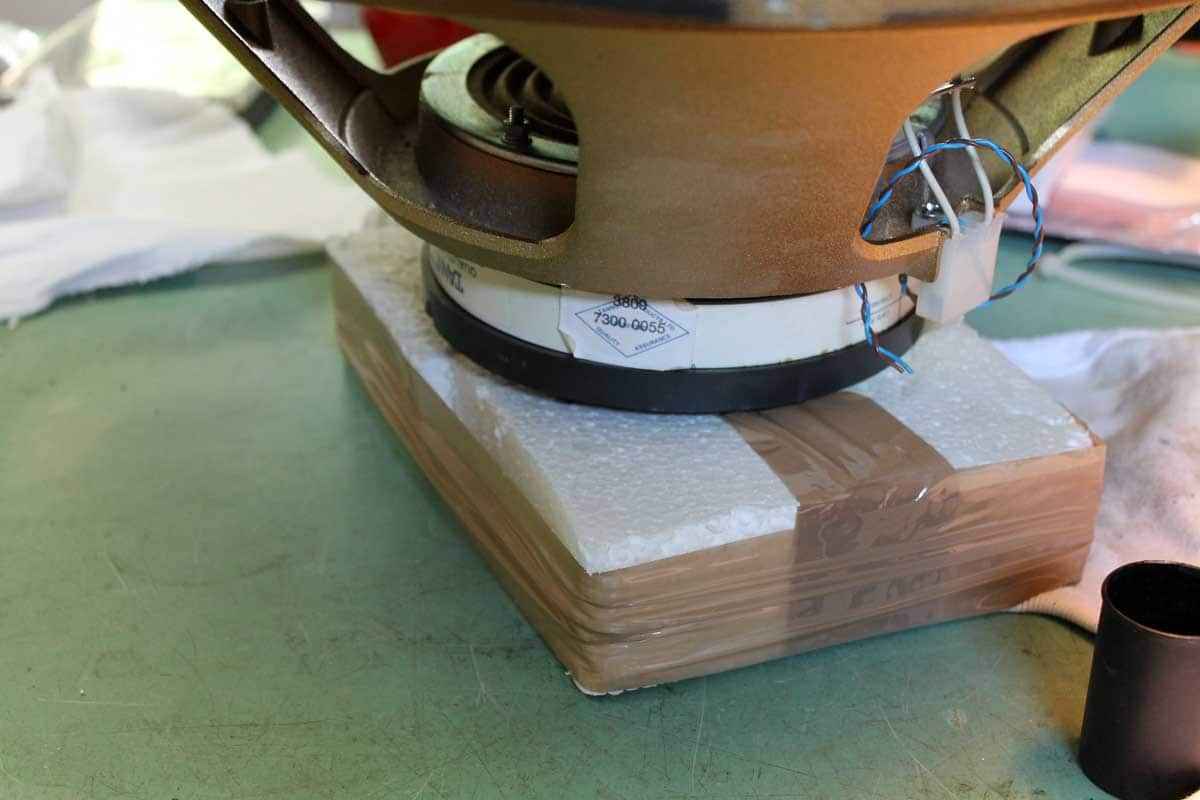
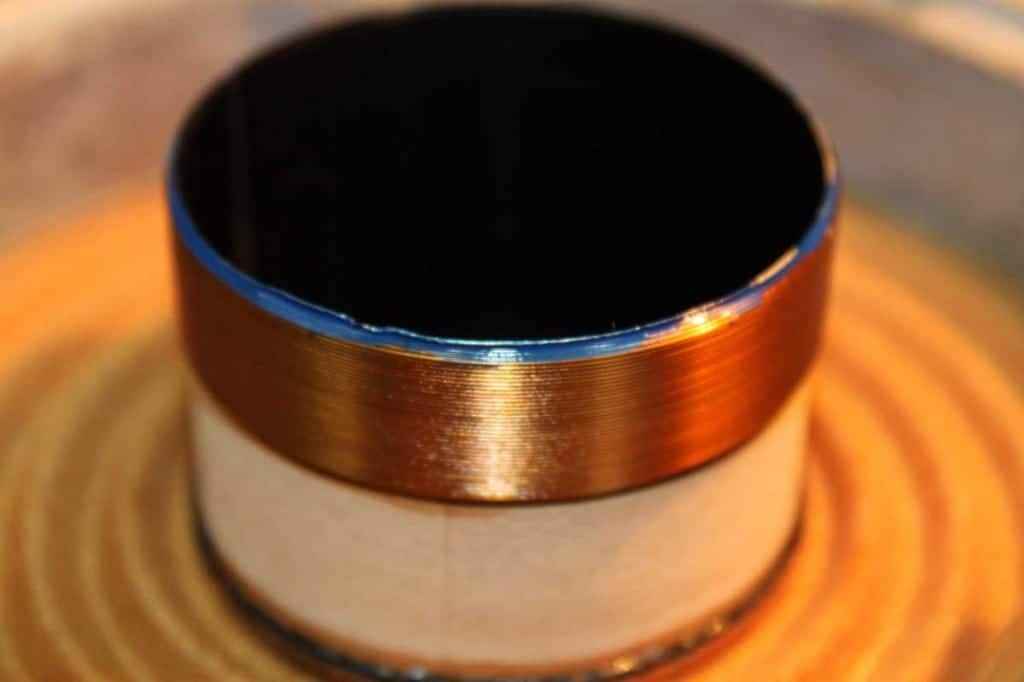
Prepare nice stand for spk – be creative 😉 …….. it will stand more firmly and rotate easy .
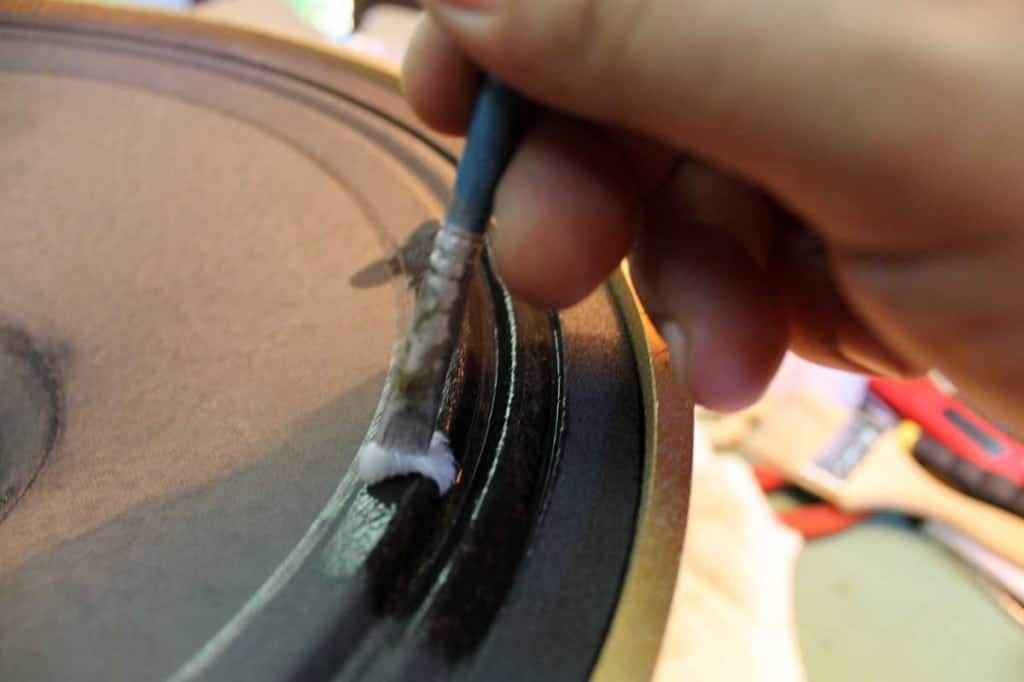
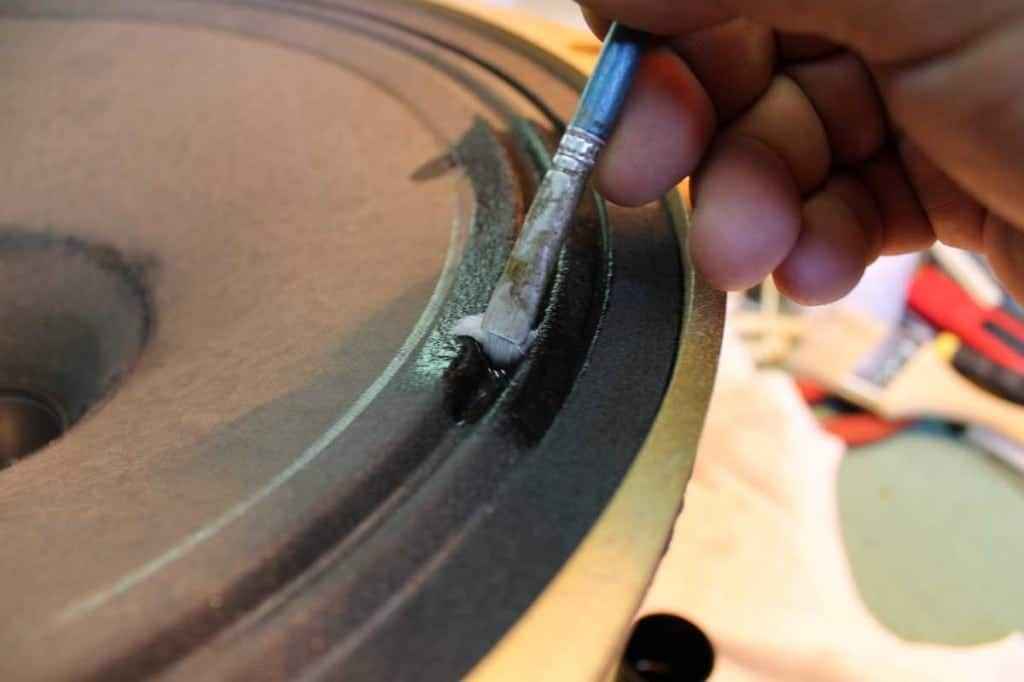
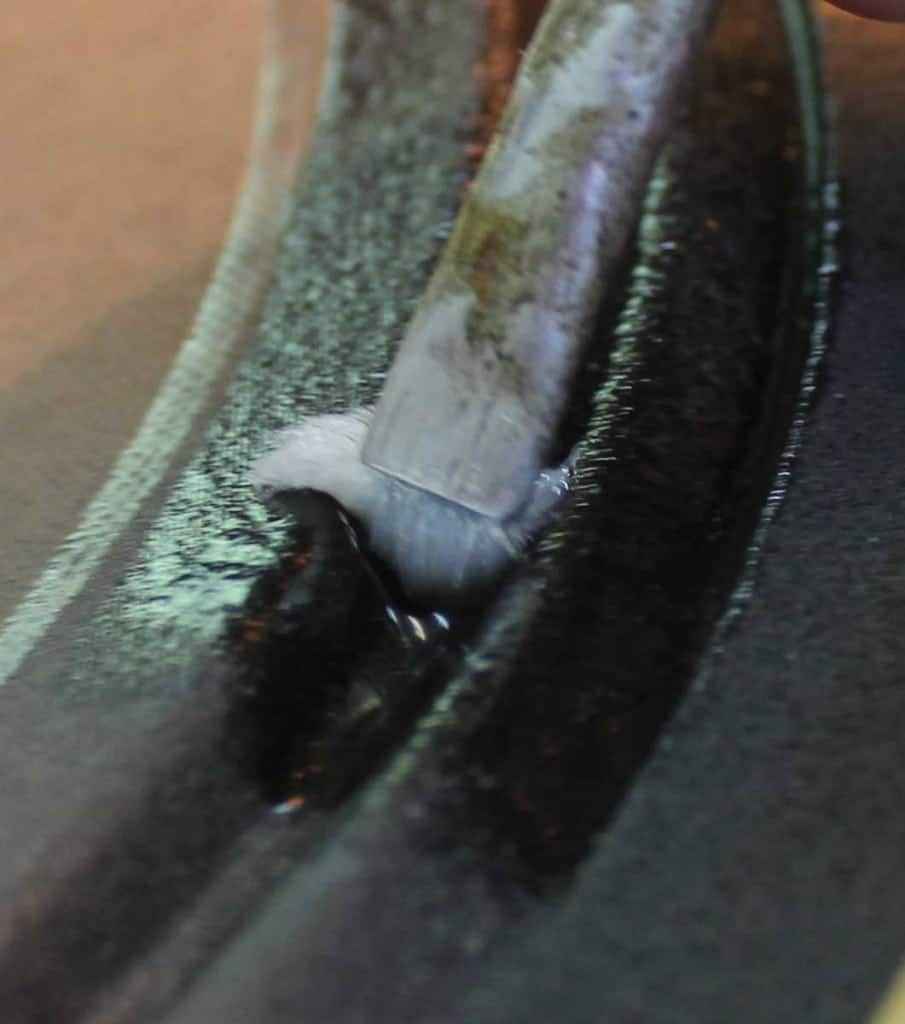
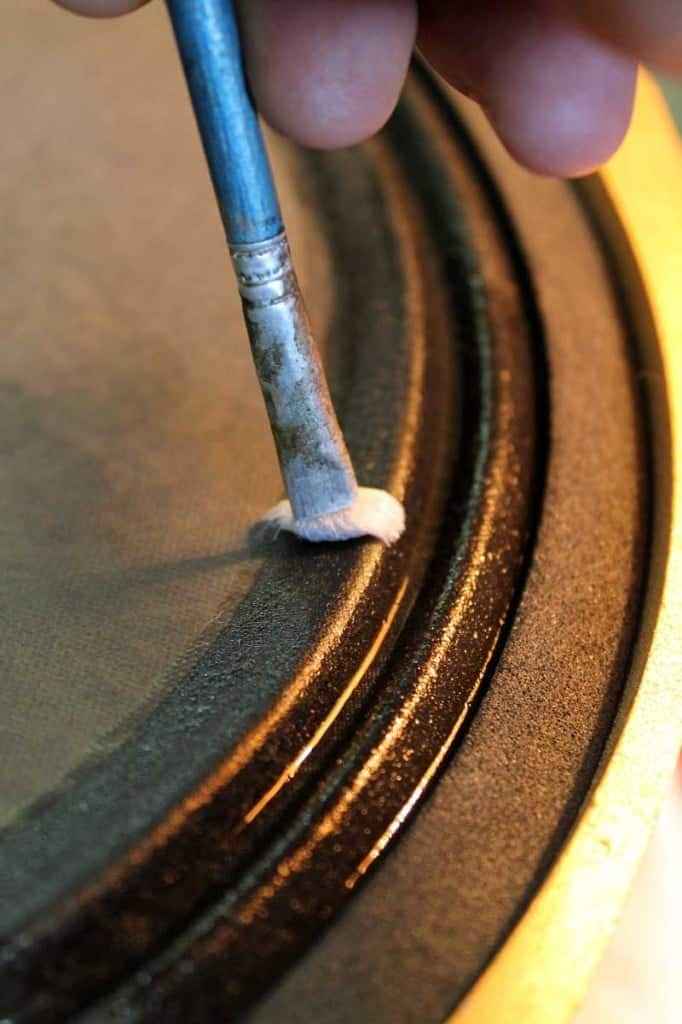
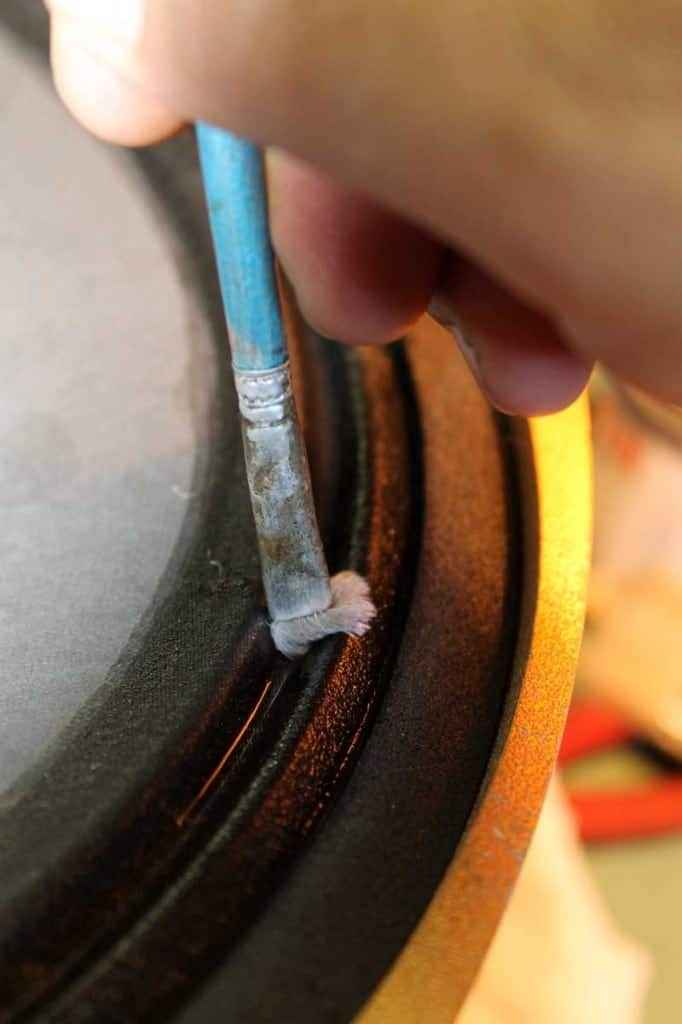
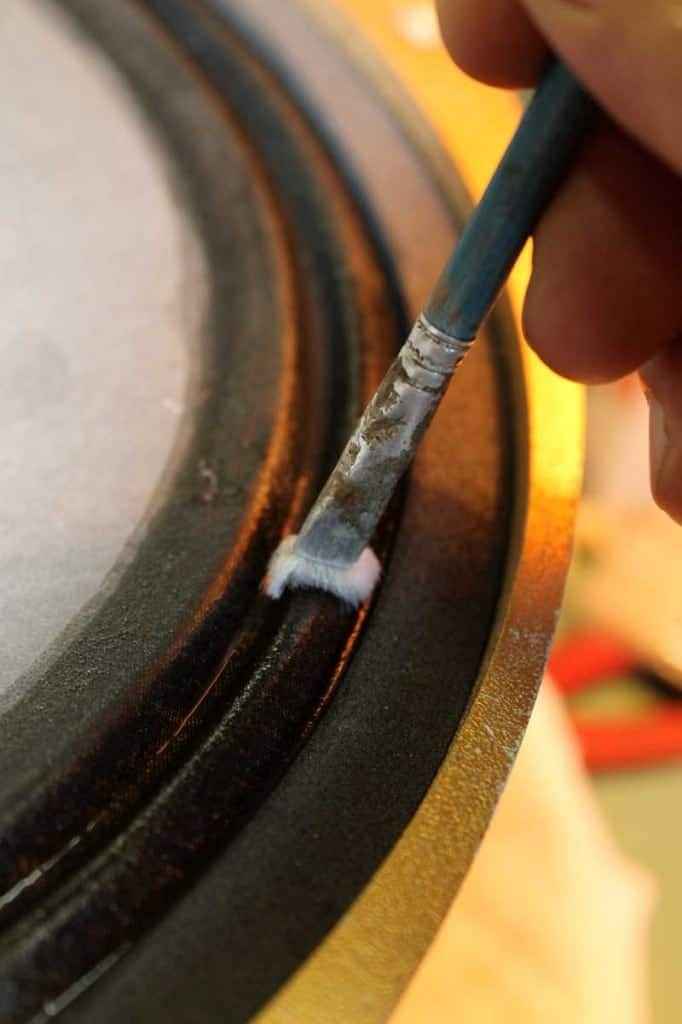
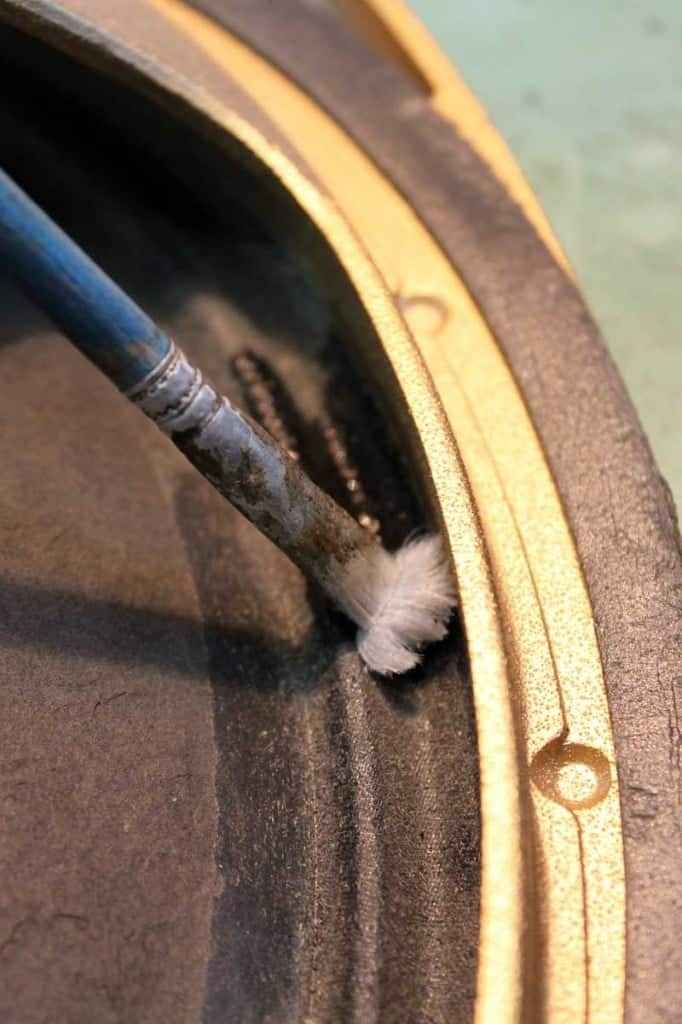
Then …….. read image captions ….
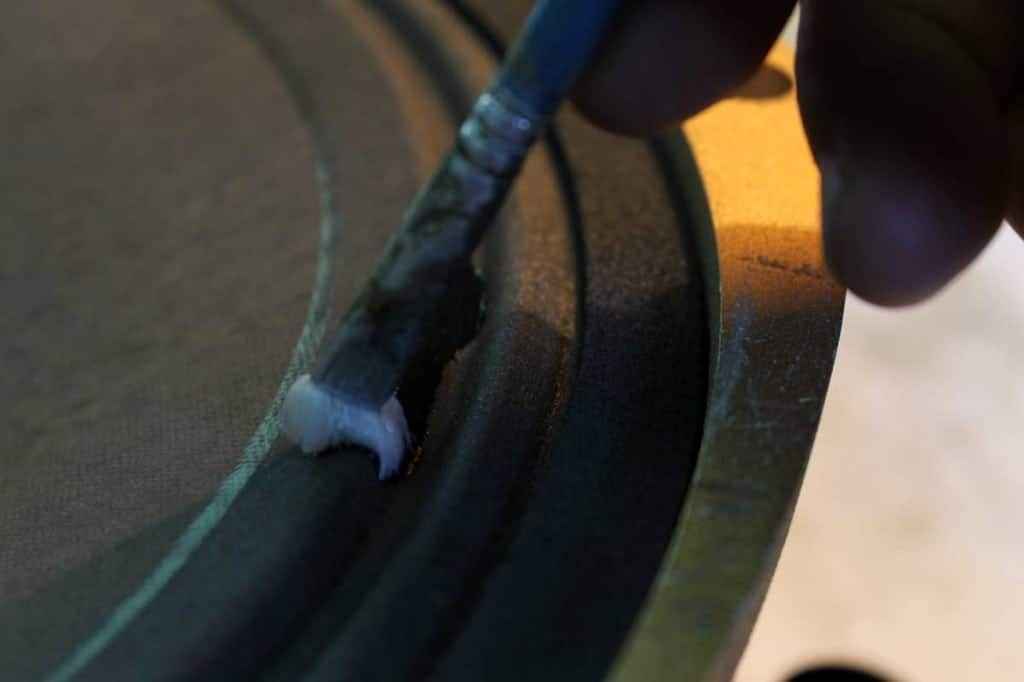
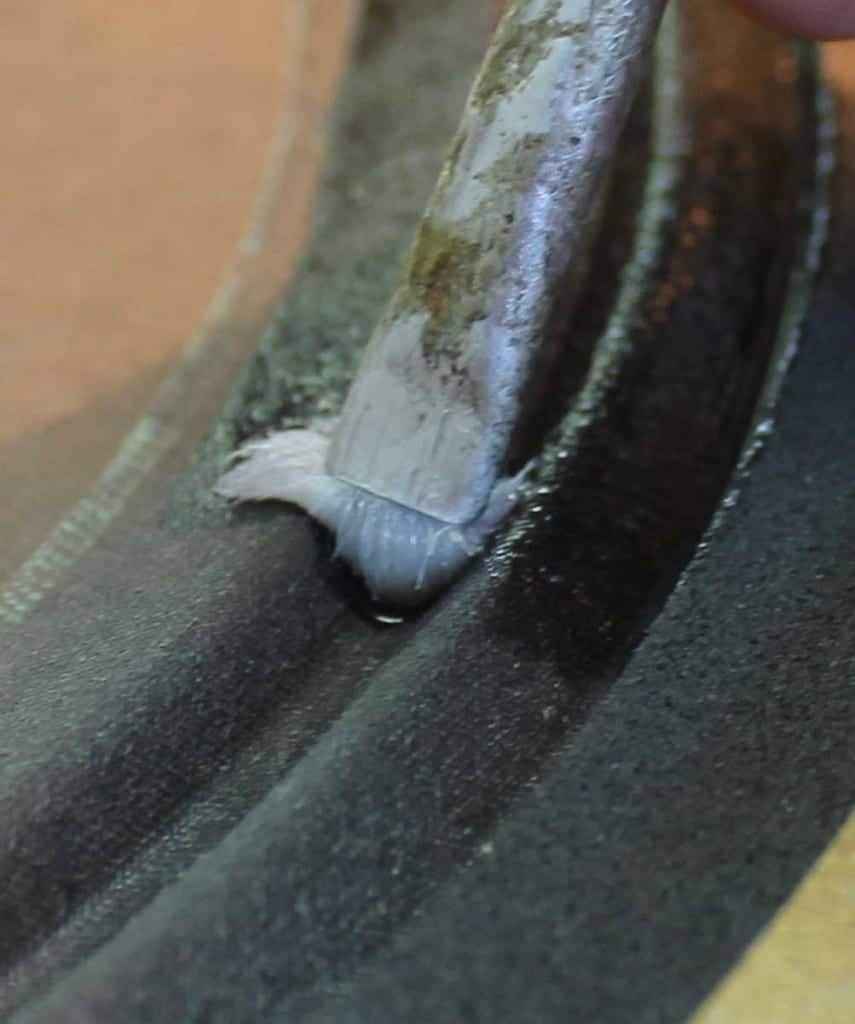
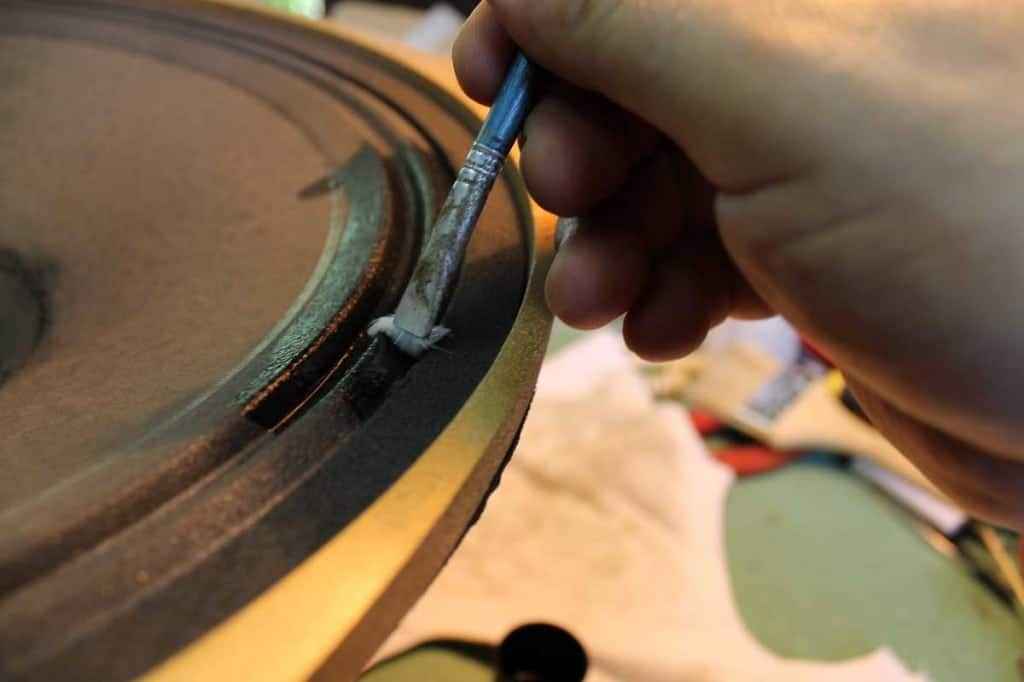
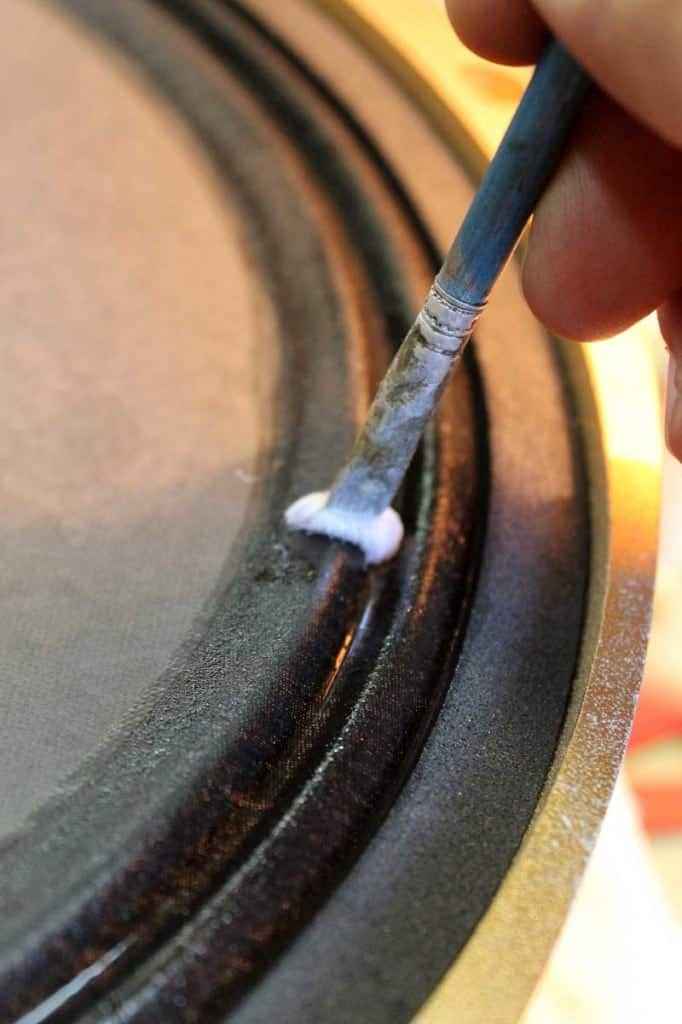
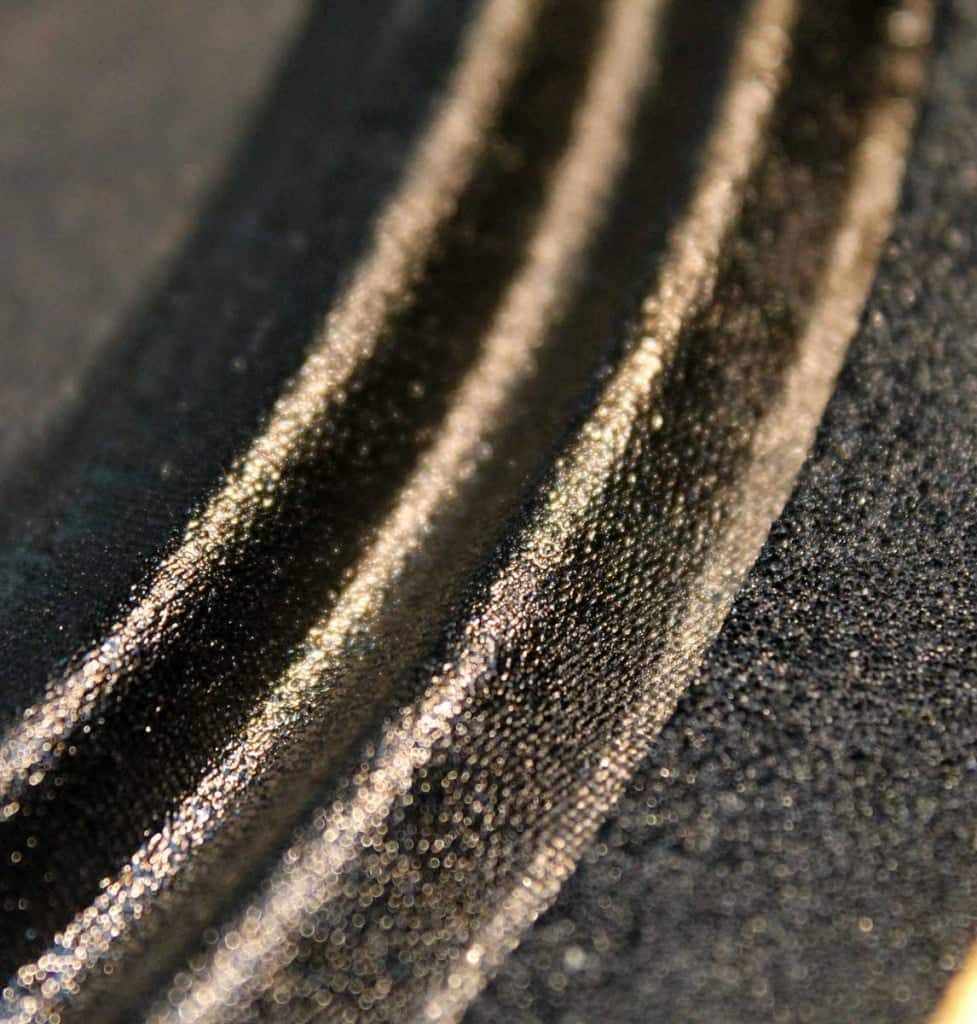
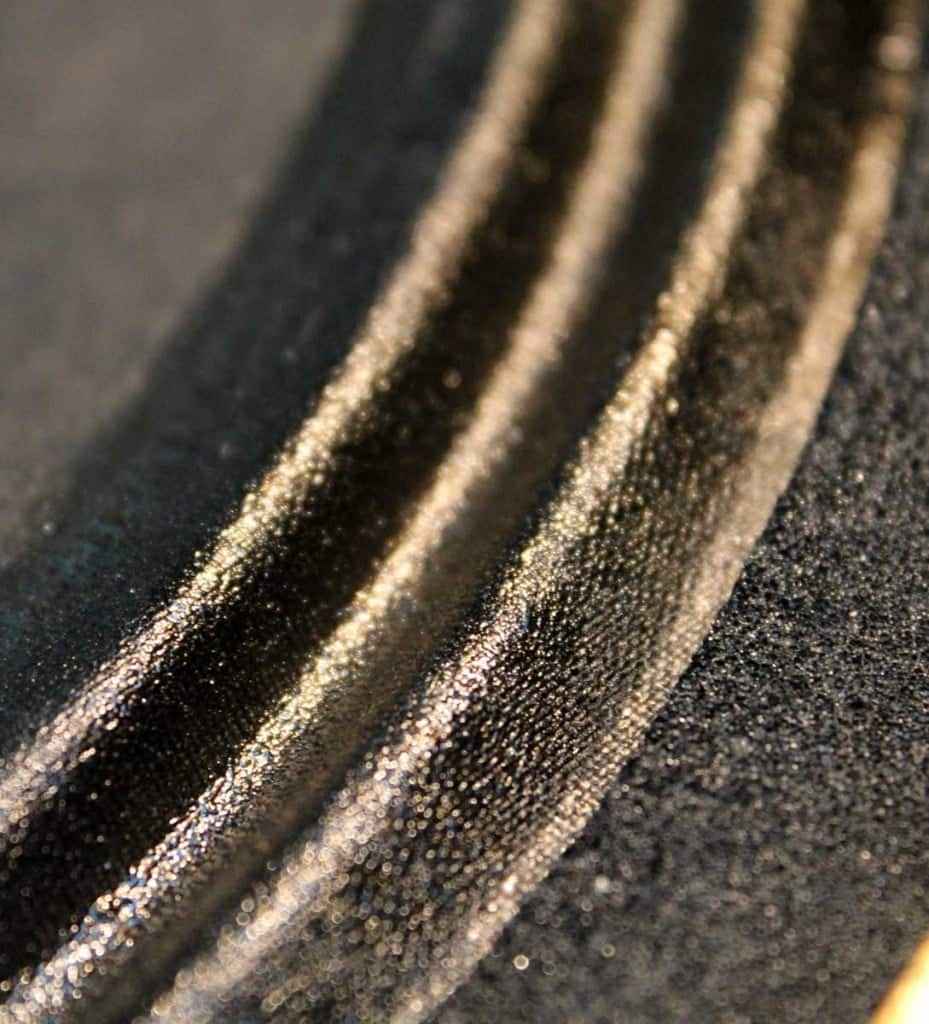
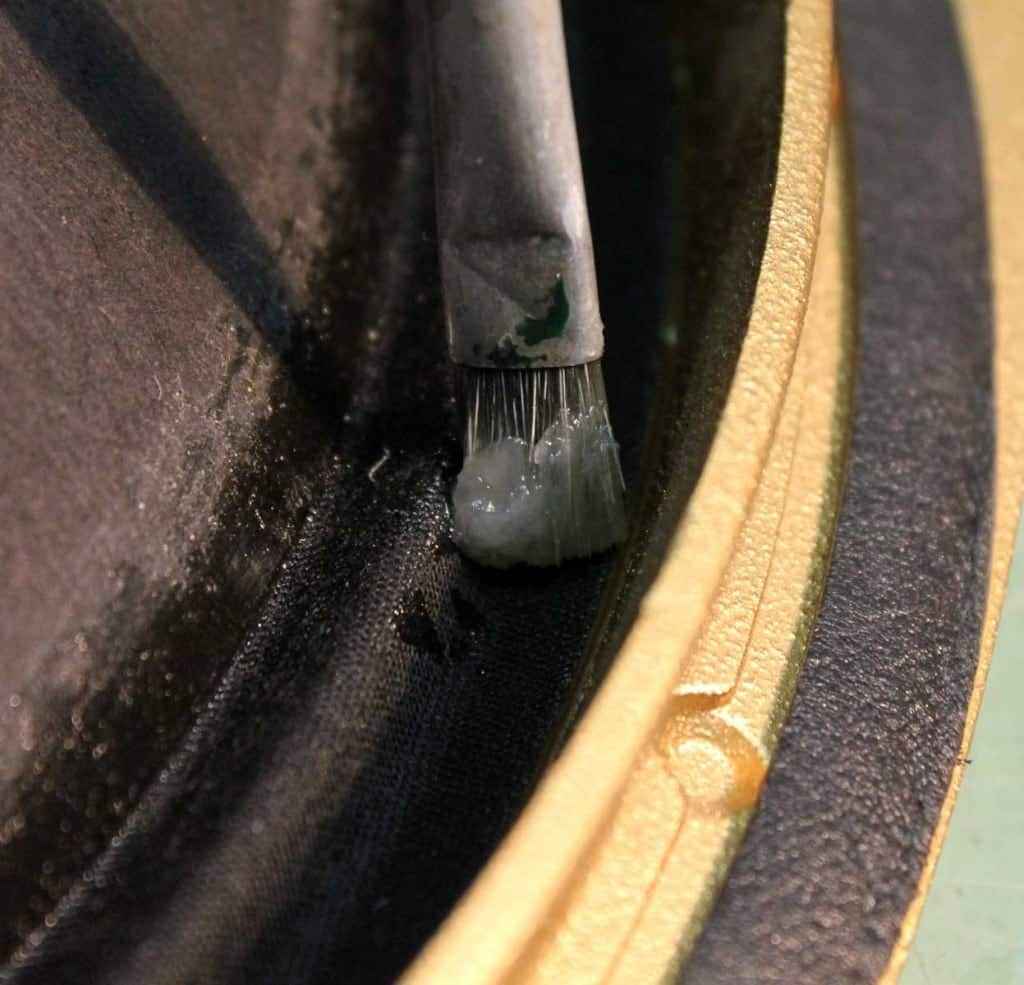
Alcohol soaking/cleaning swipe steps explained per phases ; in fact – for soaking you need less angles (slightly less wet brush for soaking per Stroke 1 , to avoid leaking alcohol to cone ) but for brushing/cleaning you need them all , always drying a brush between strokes :
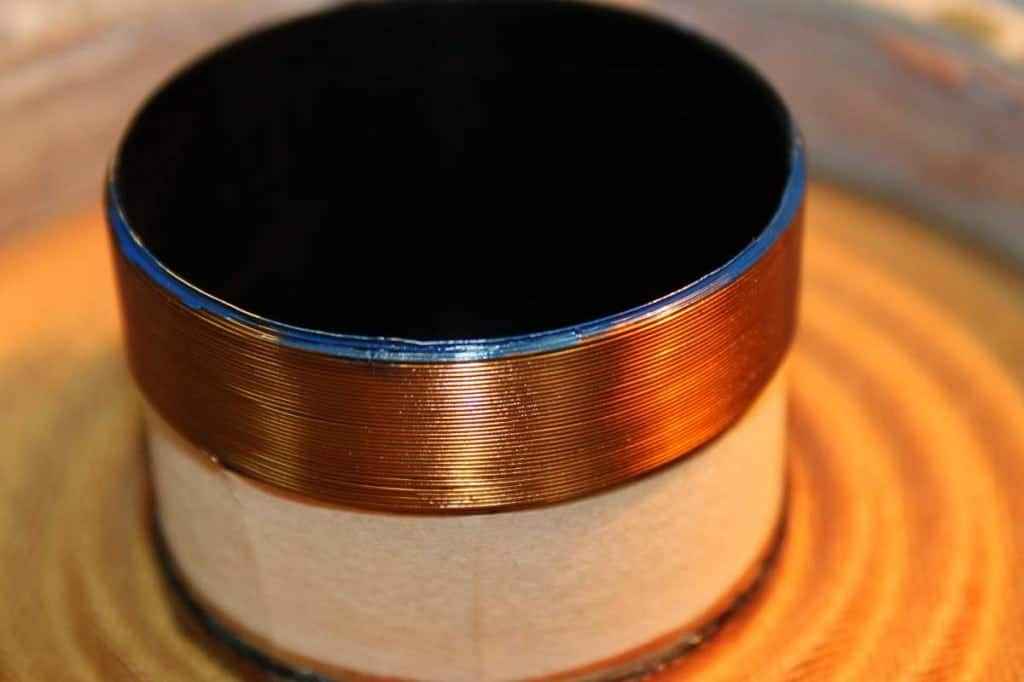
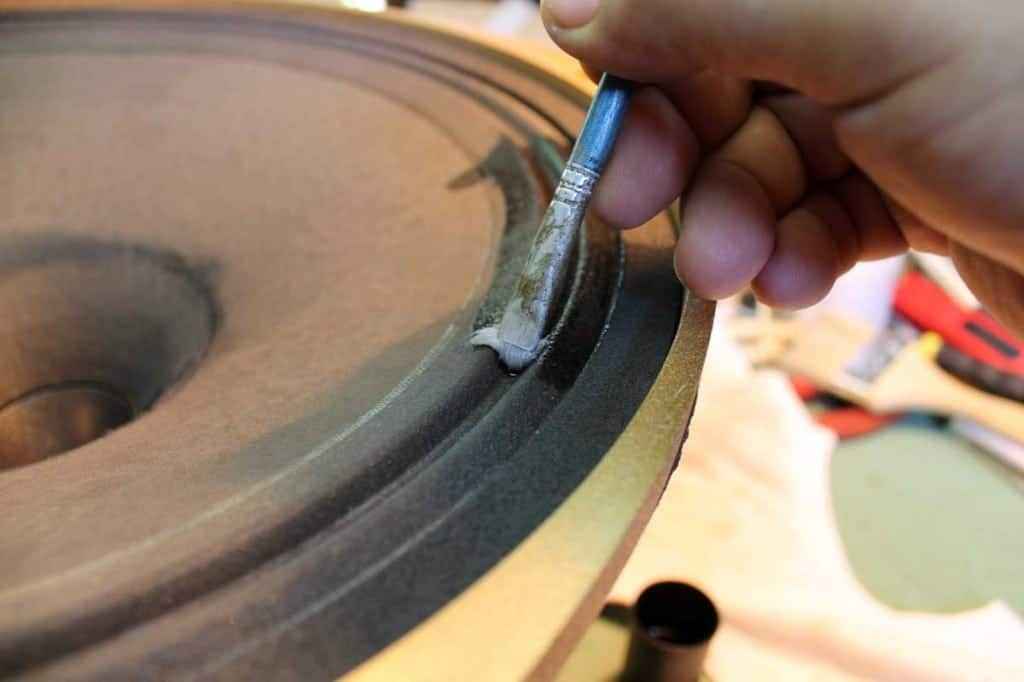
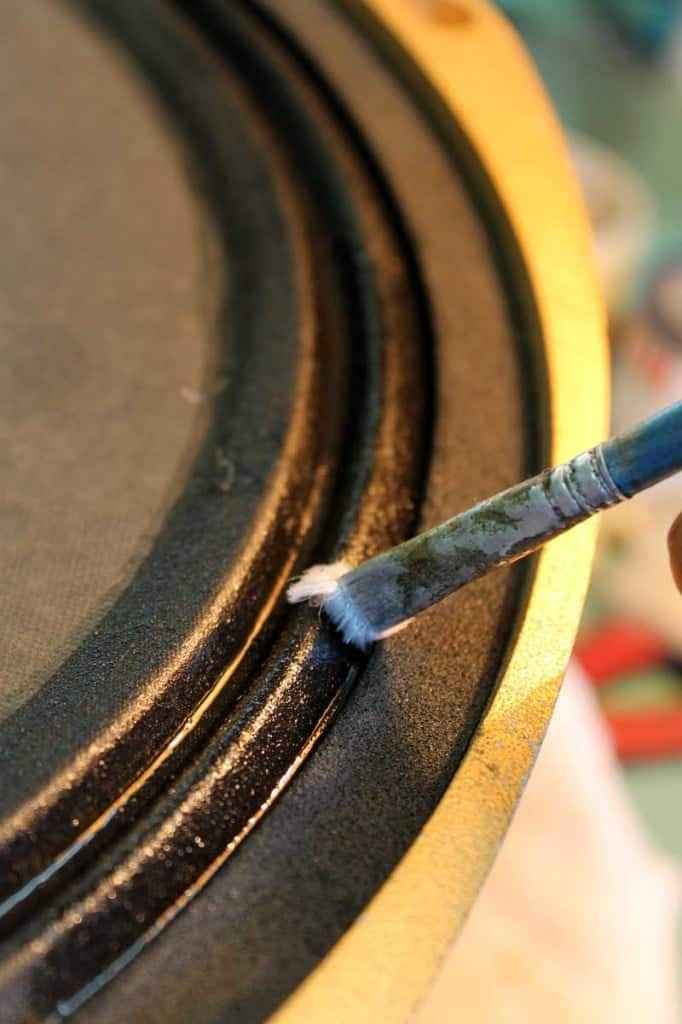
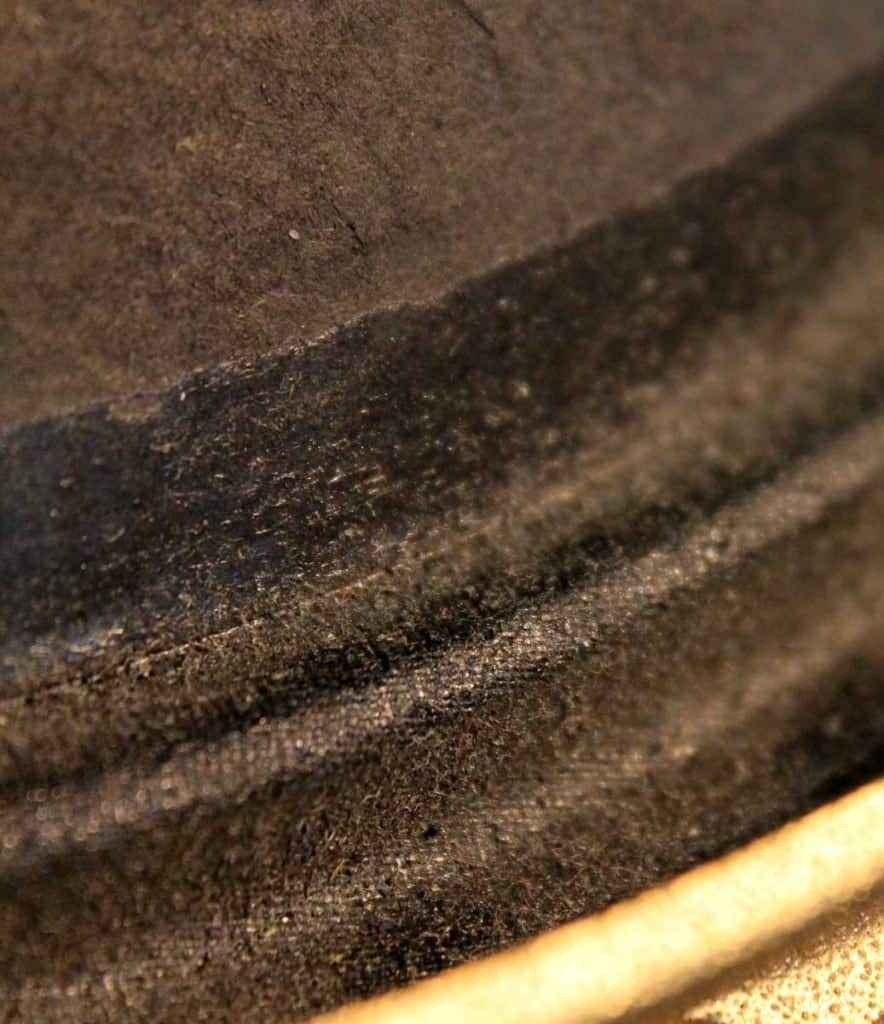
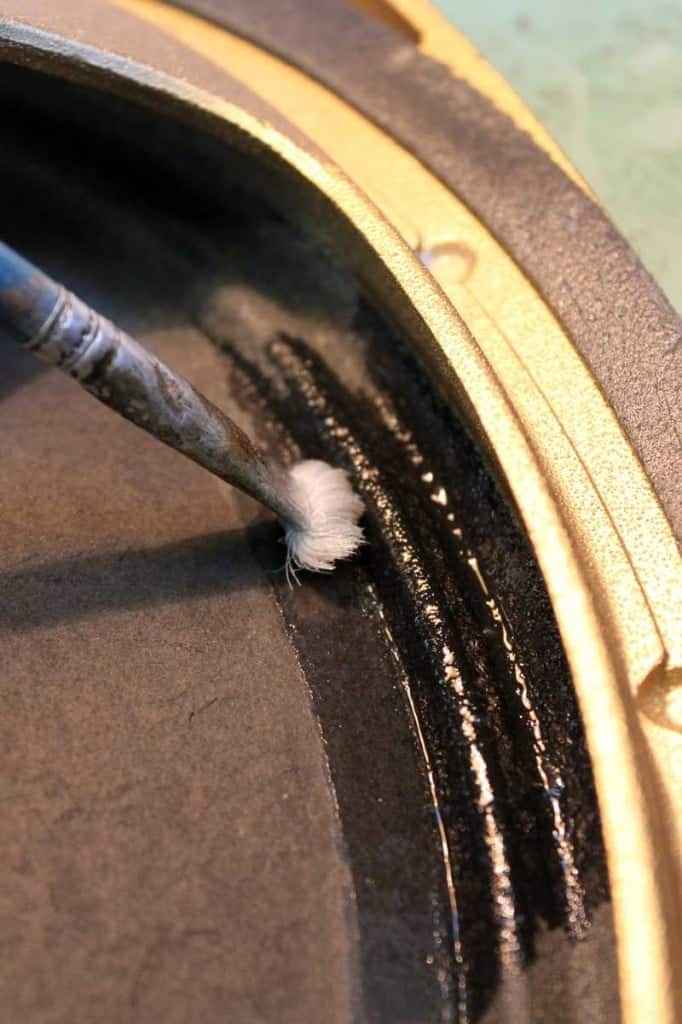
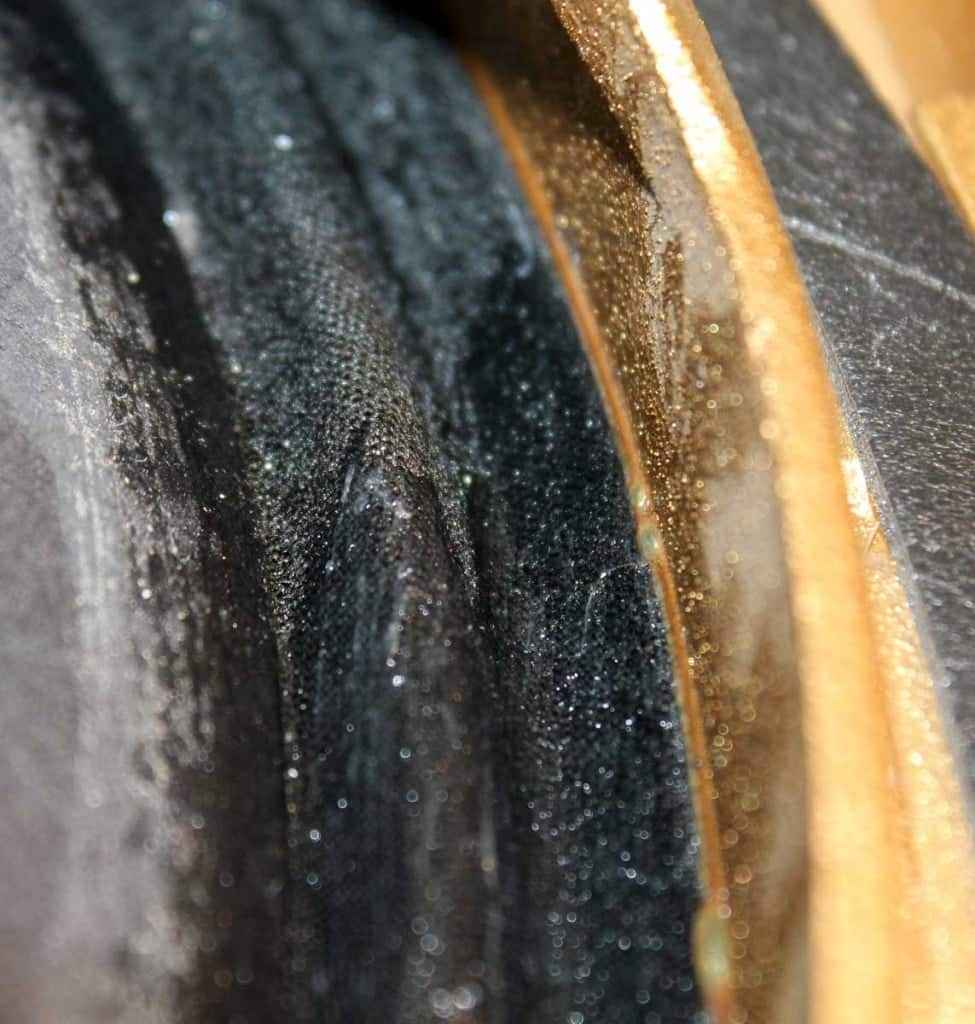
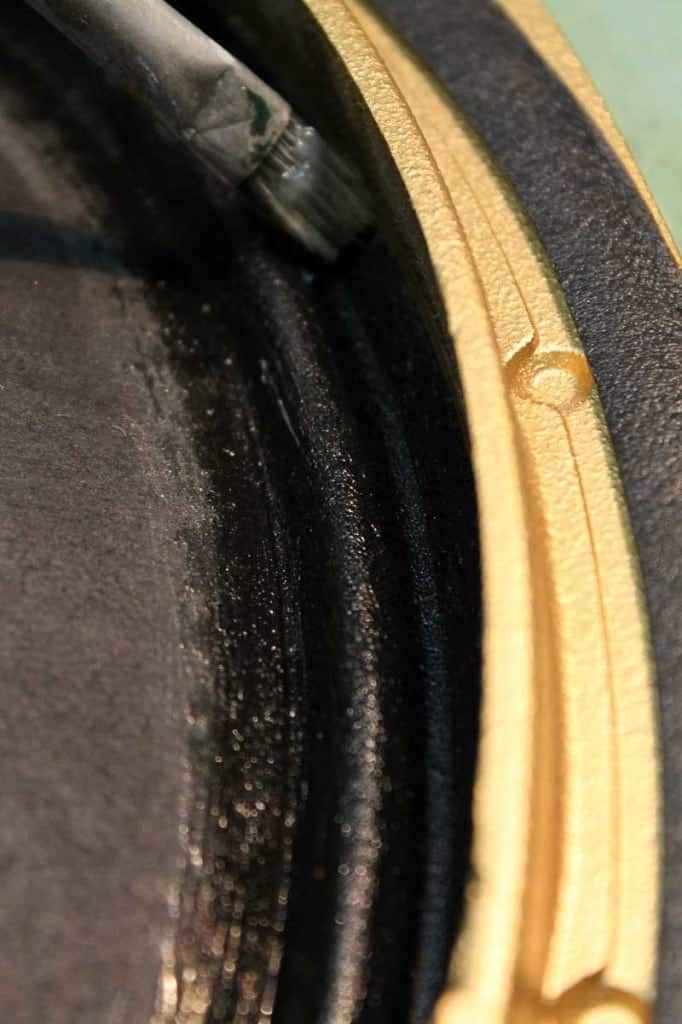
Say that 3 times circling around are enough for a day ; in fact , you can do back side of surround (no more than 2 circles for it ) same day :
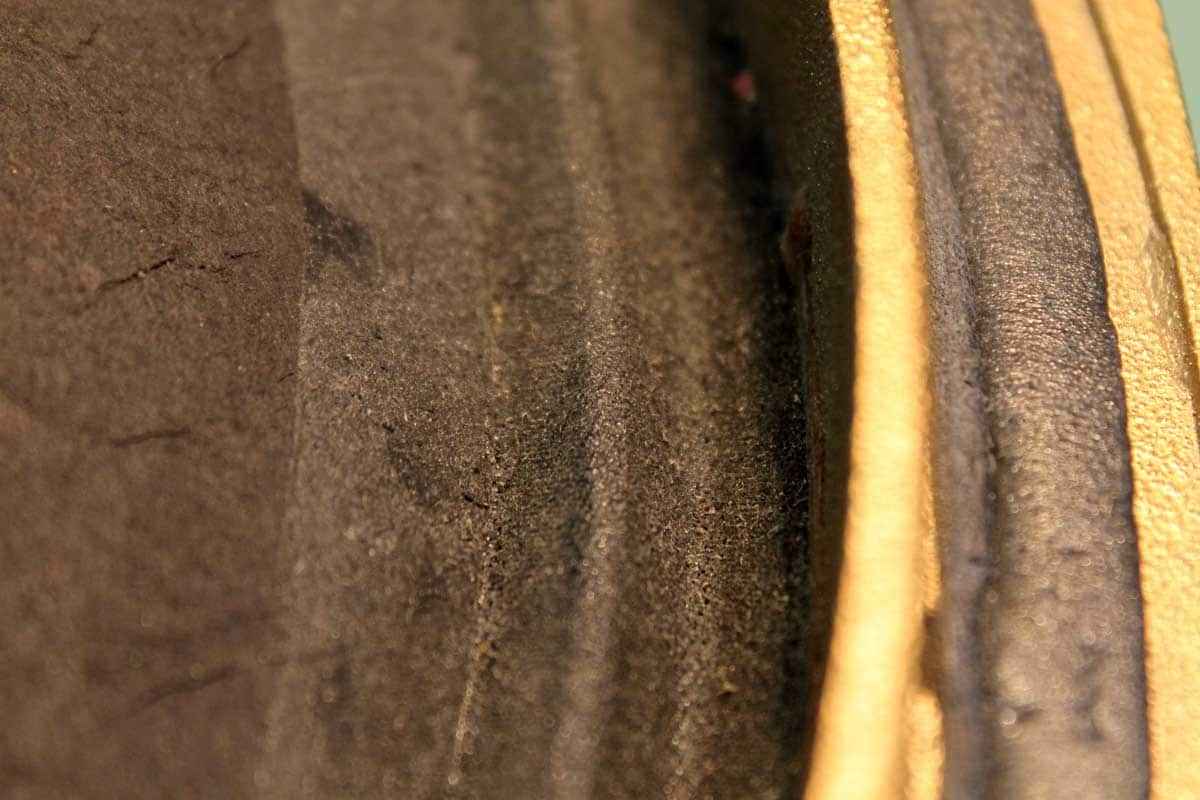
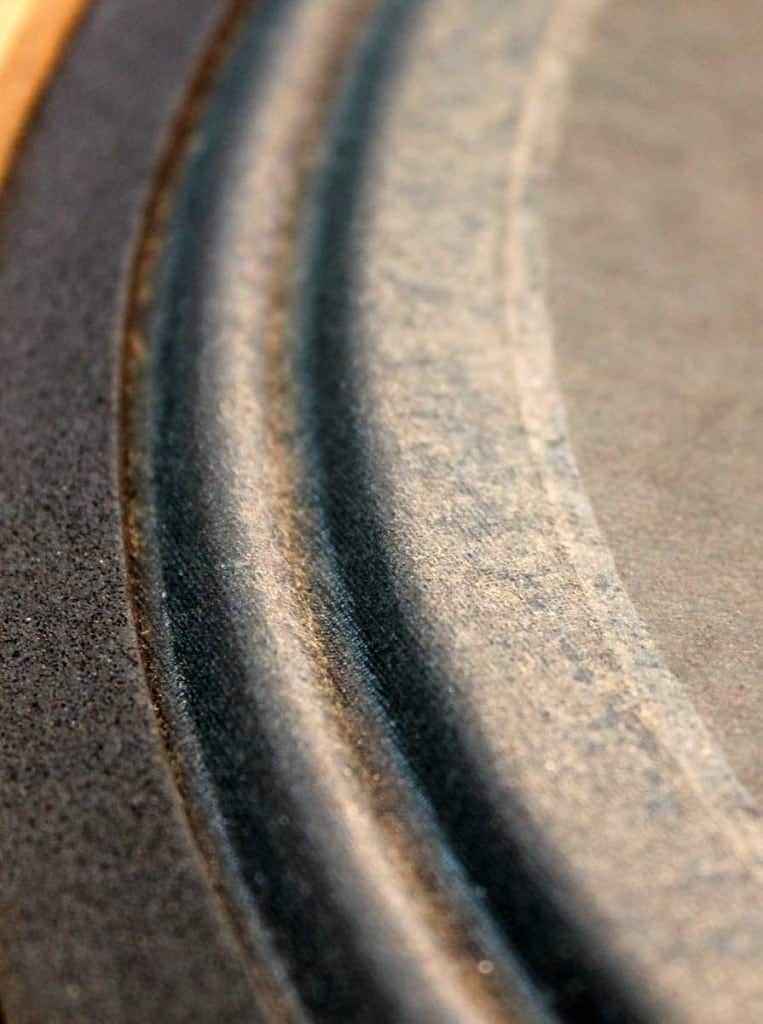
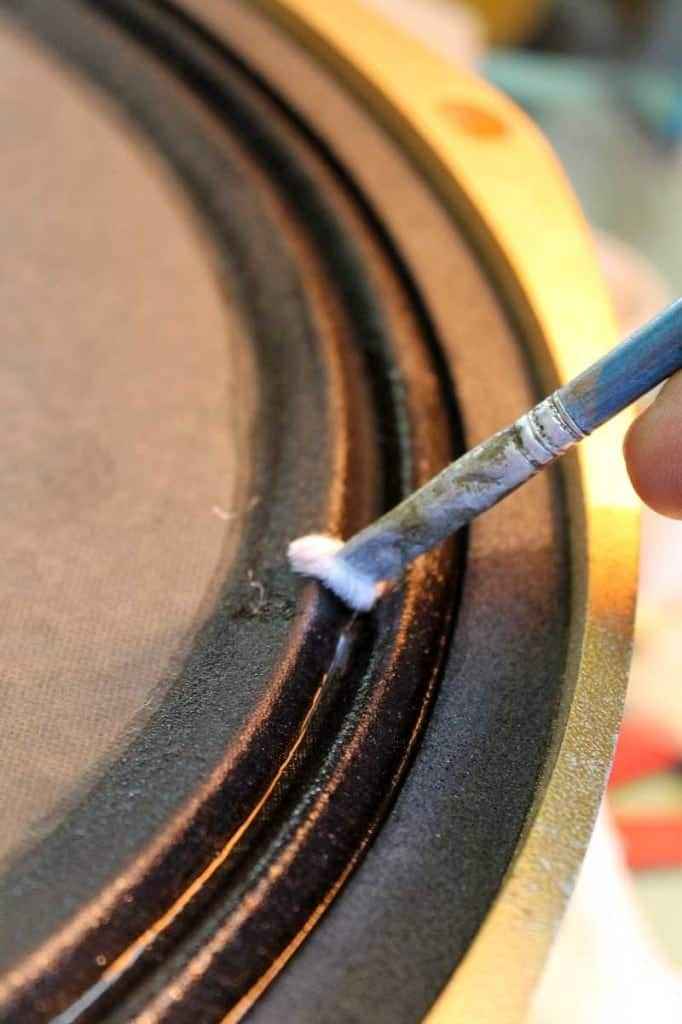
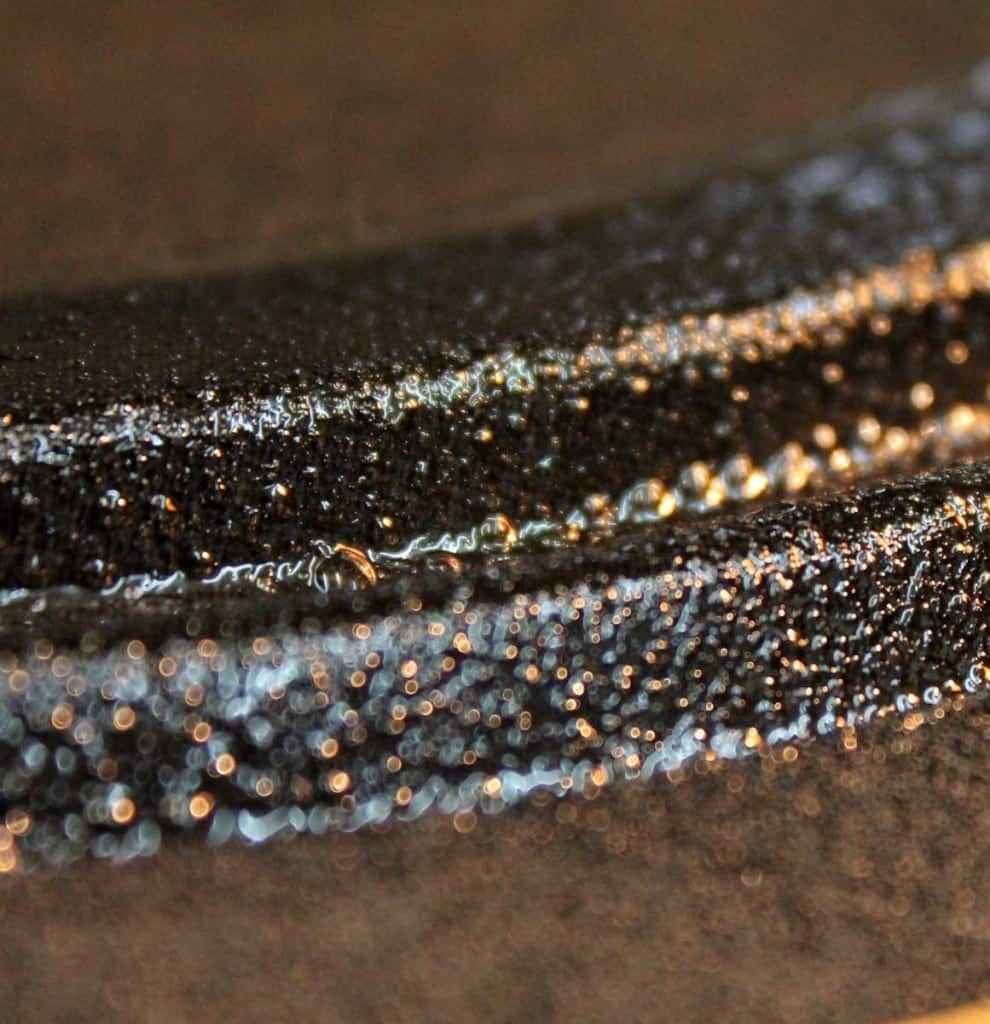
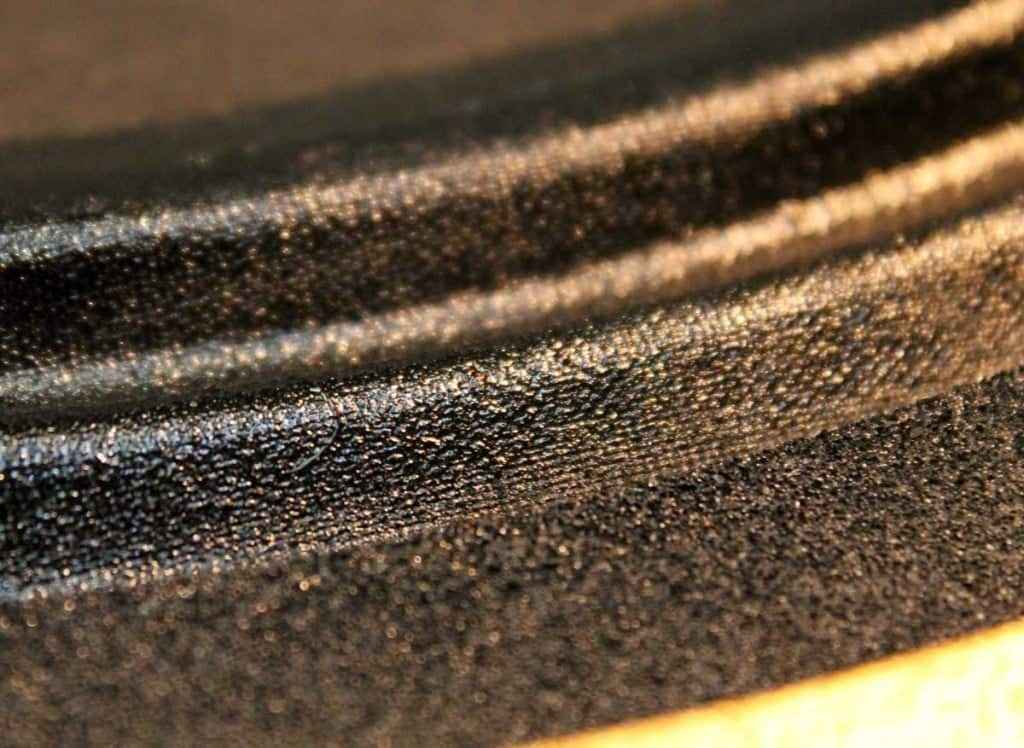
So – first day – 3 times around for upper side and 2 times around for back side ; from top picture look , to something as shown here :
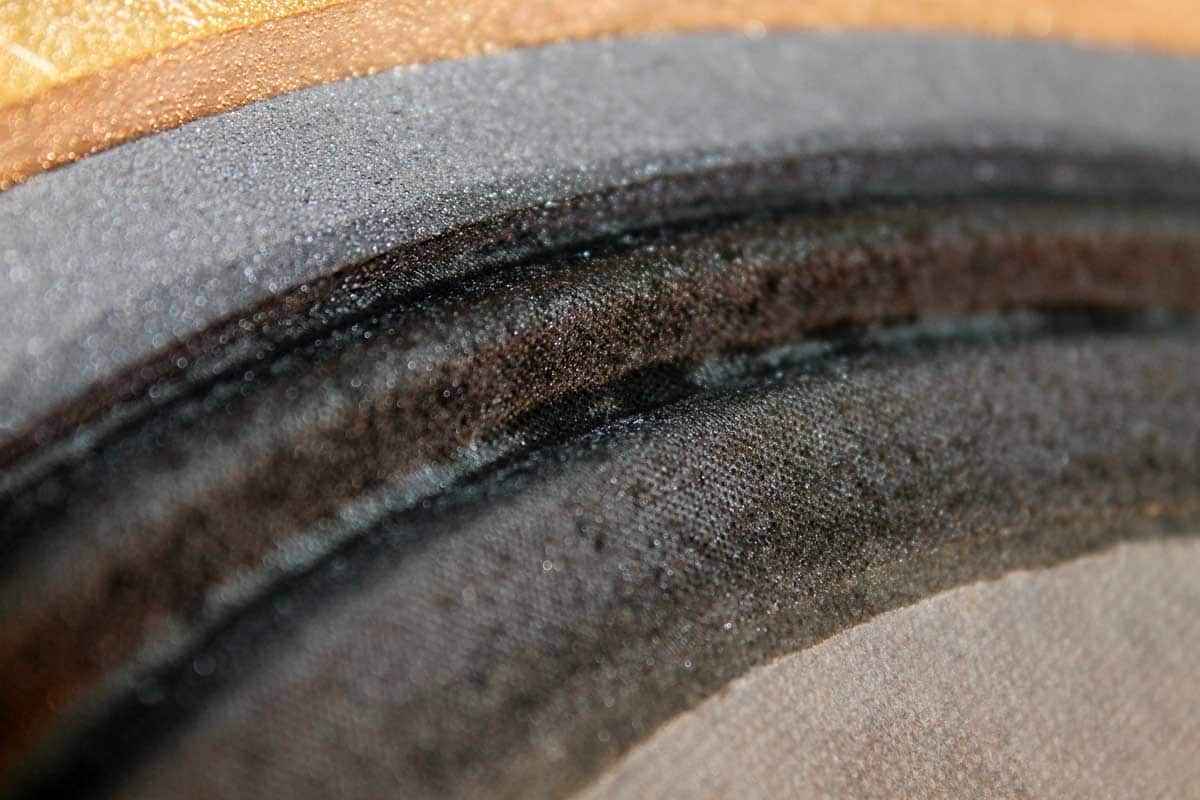
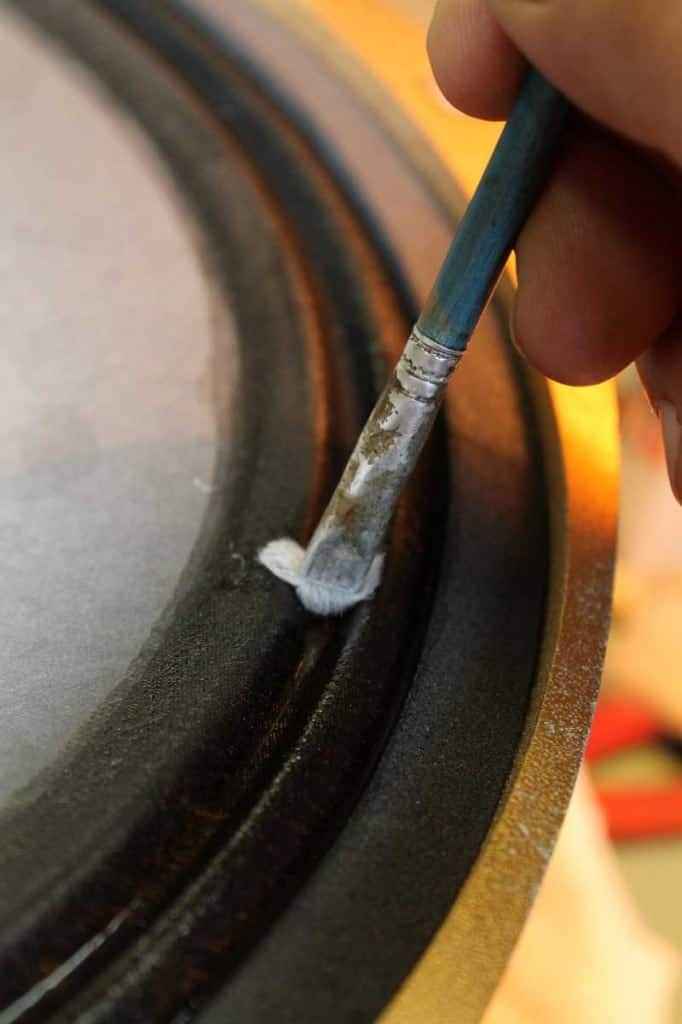
you can clearly see rubber residue ; not bad for 3 times around
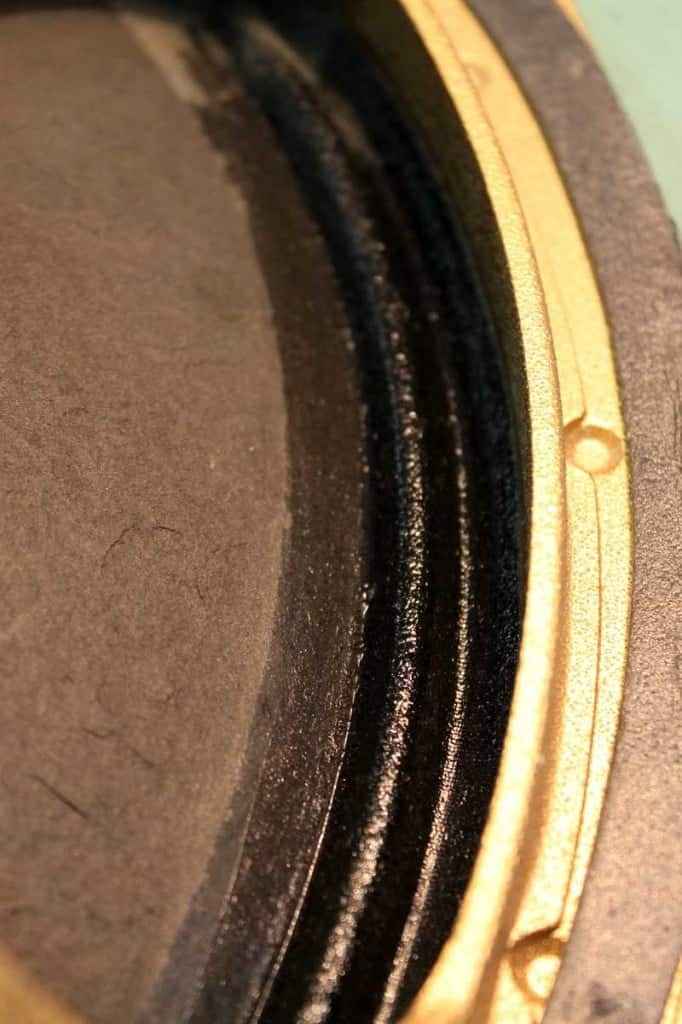
Count on 5 days fun – prepare nice muzak , coffee , (tobacco optional) and after some
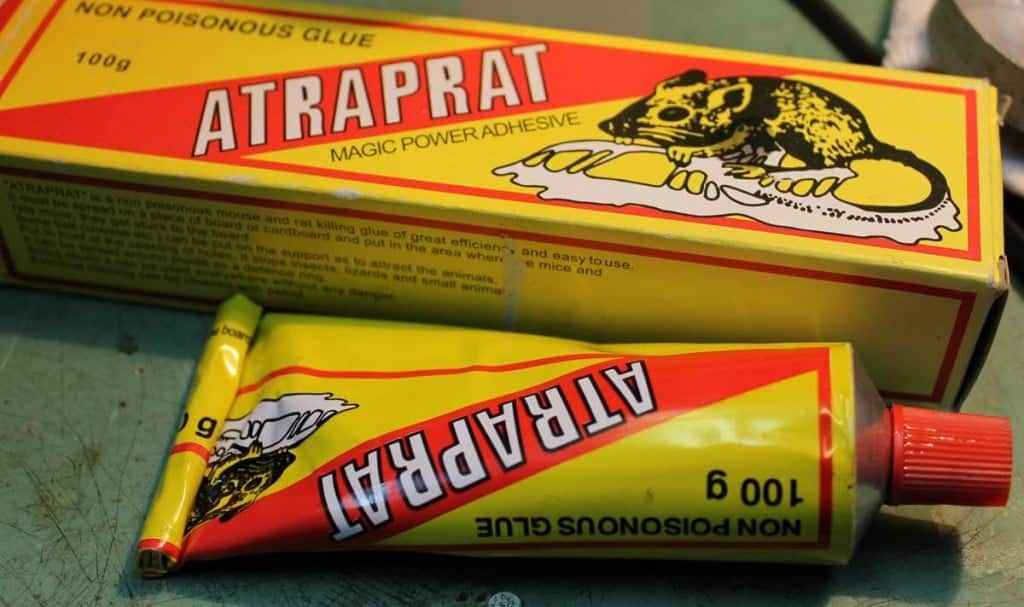
(3 + 2)x5 times around , you’ll have drivers ready for applying special ZM Rat Glue mixture 😉
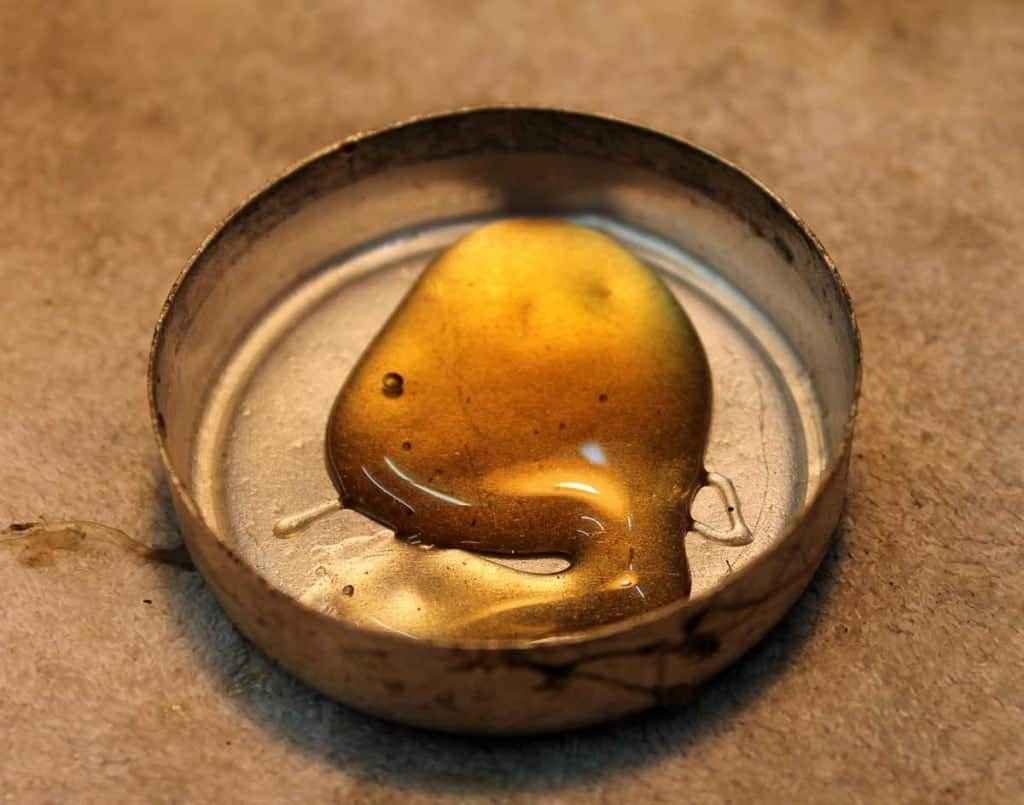
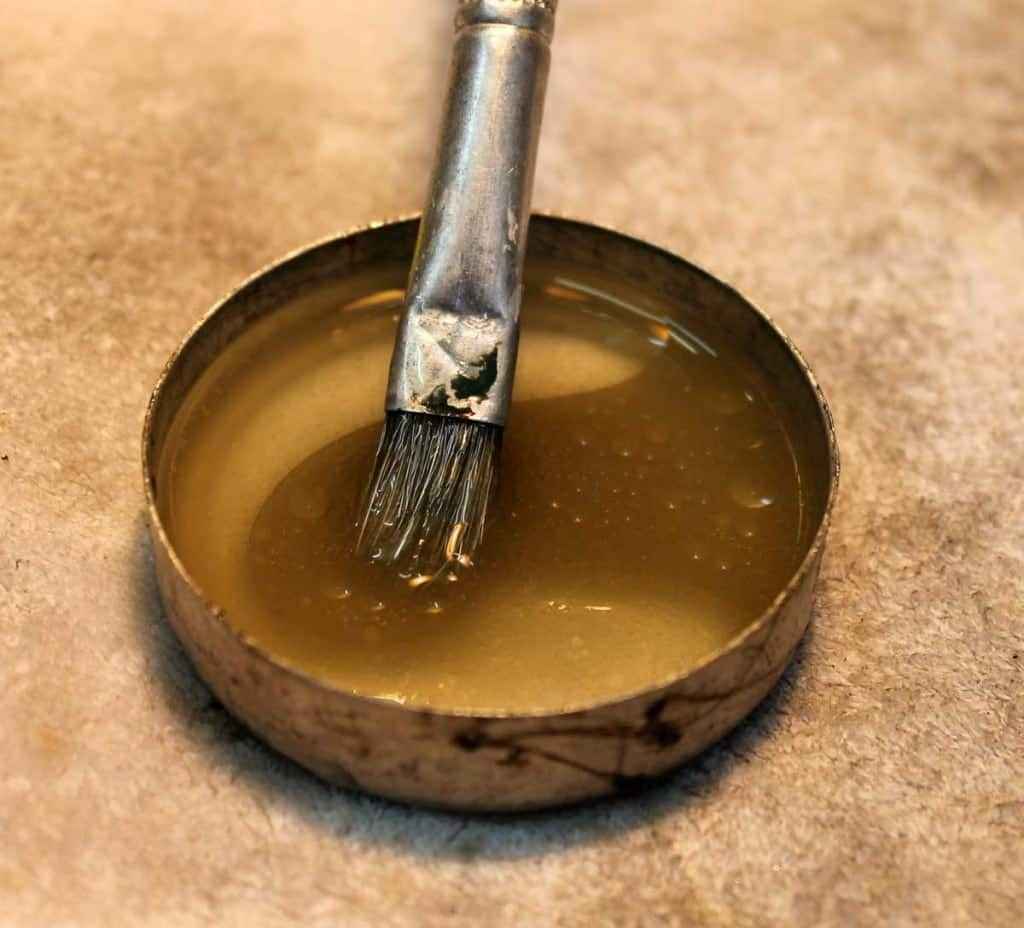
So , Rat tutorial … read picture captions :
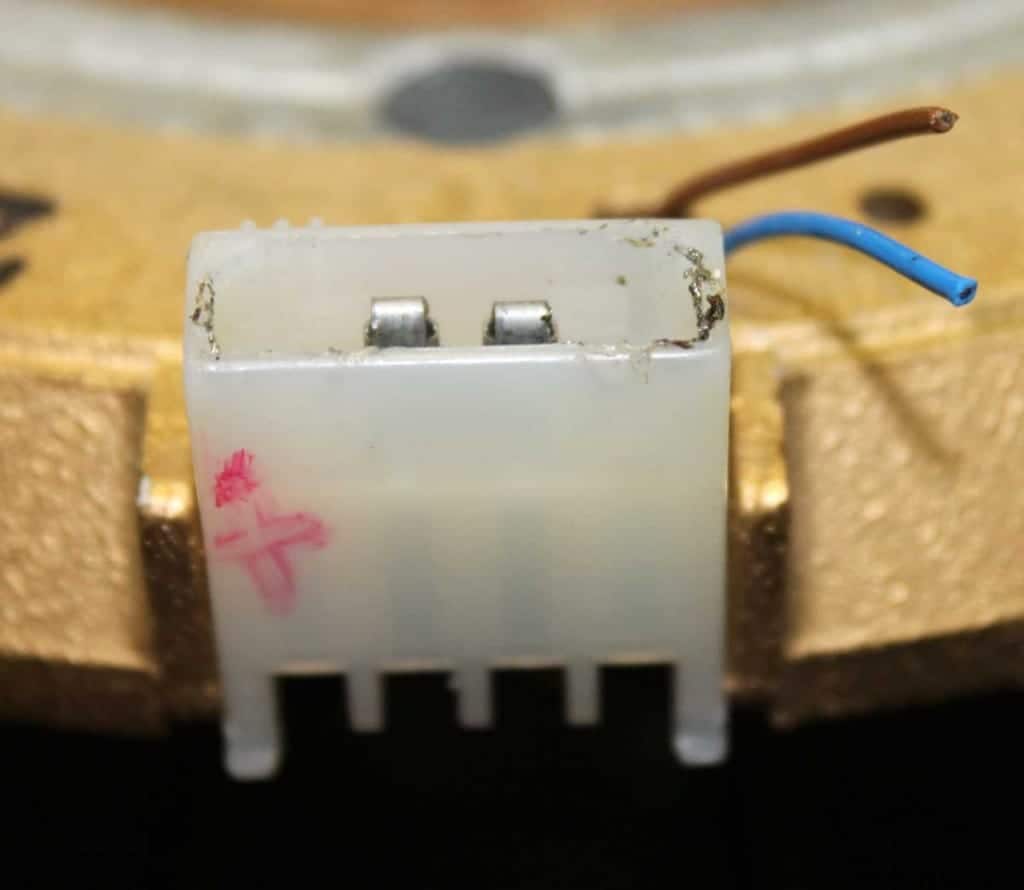
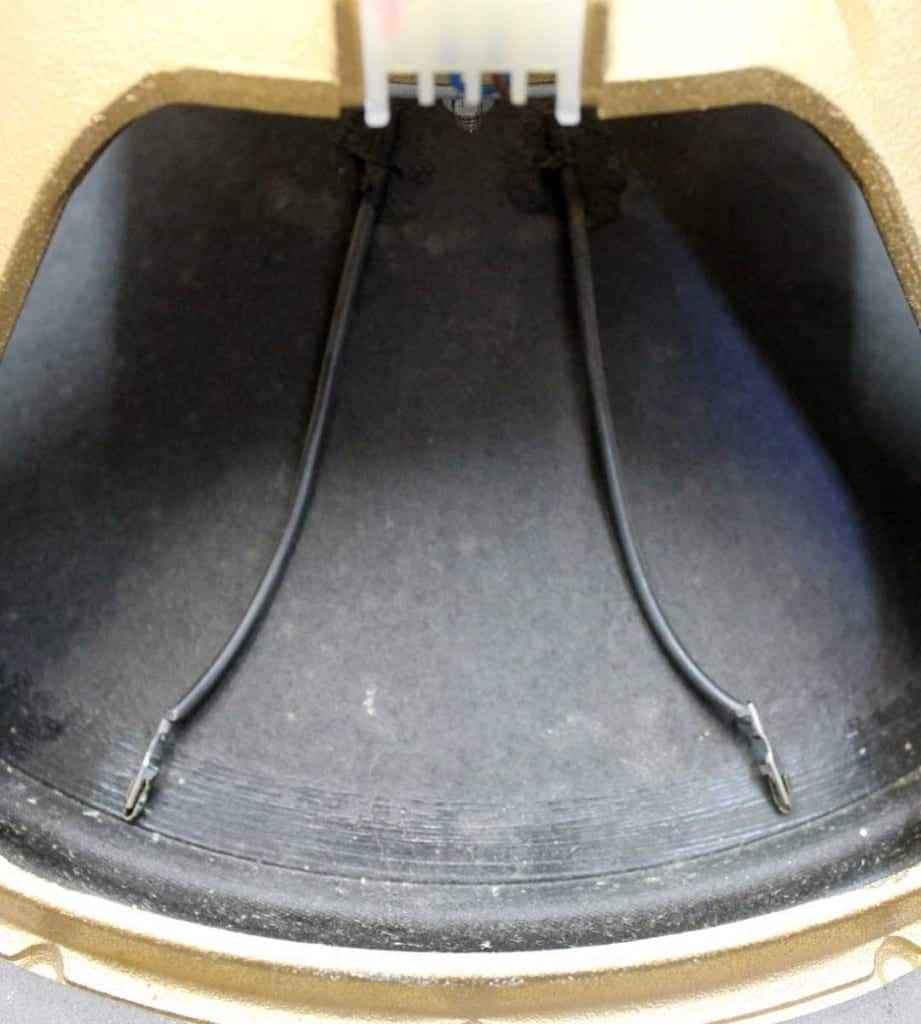
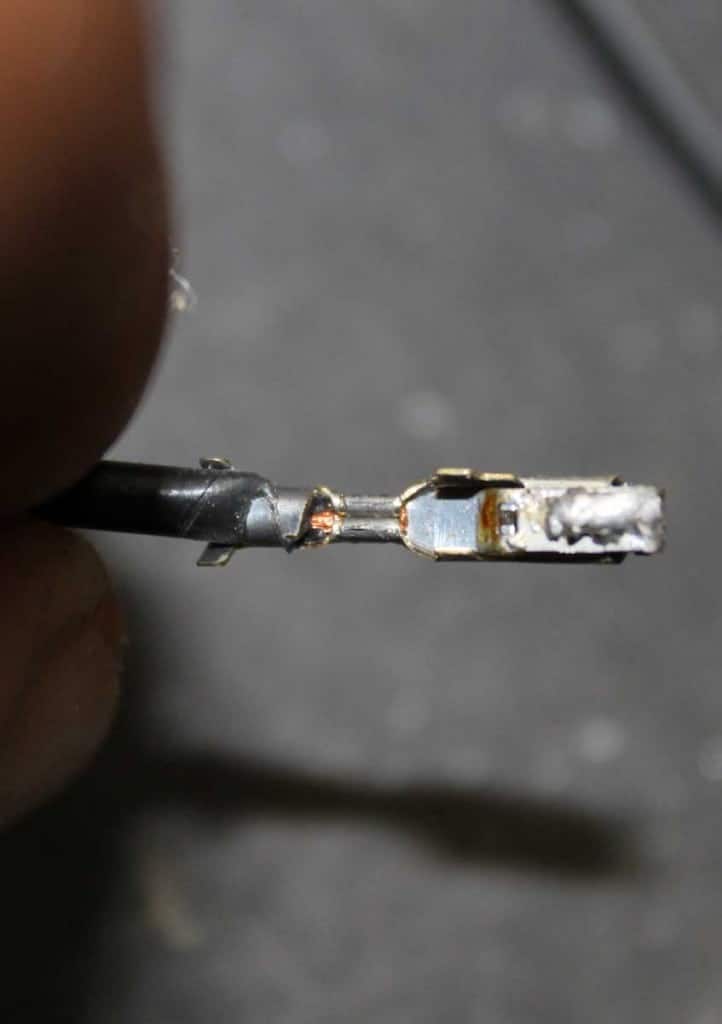
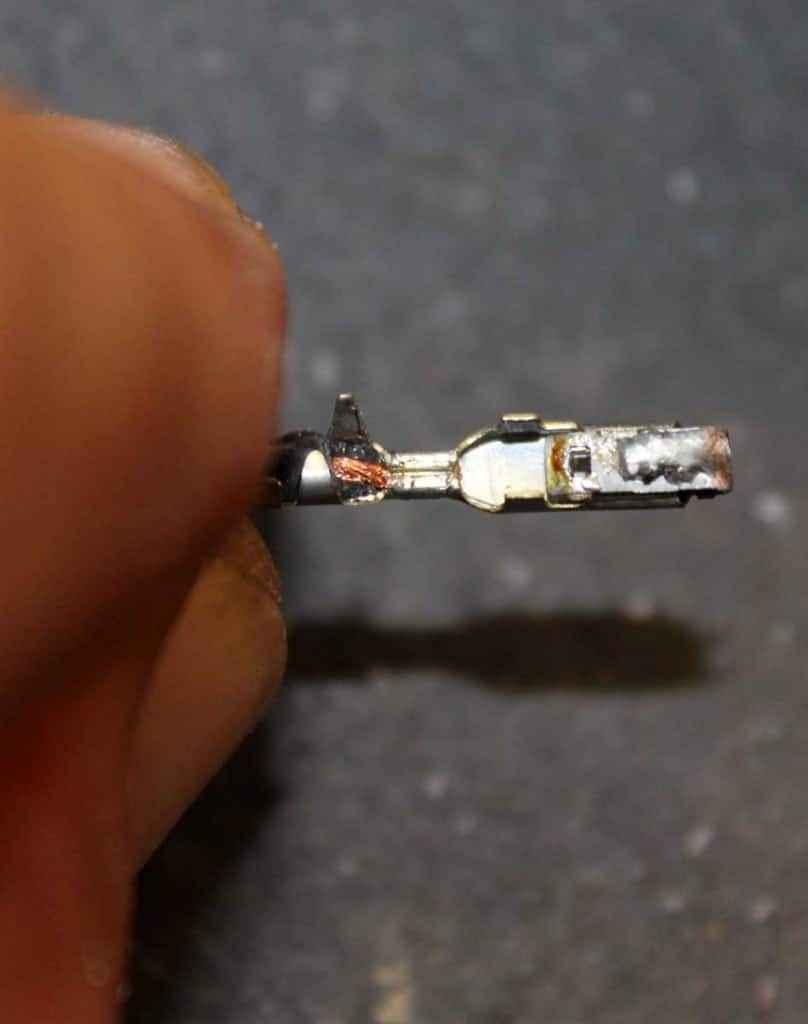
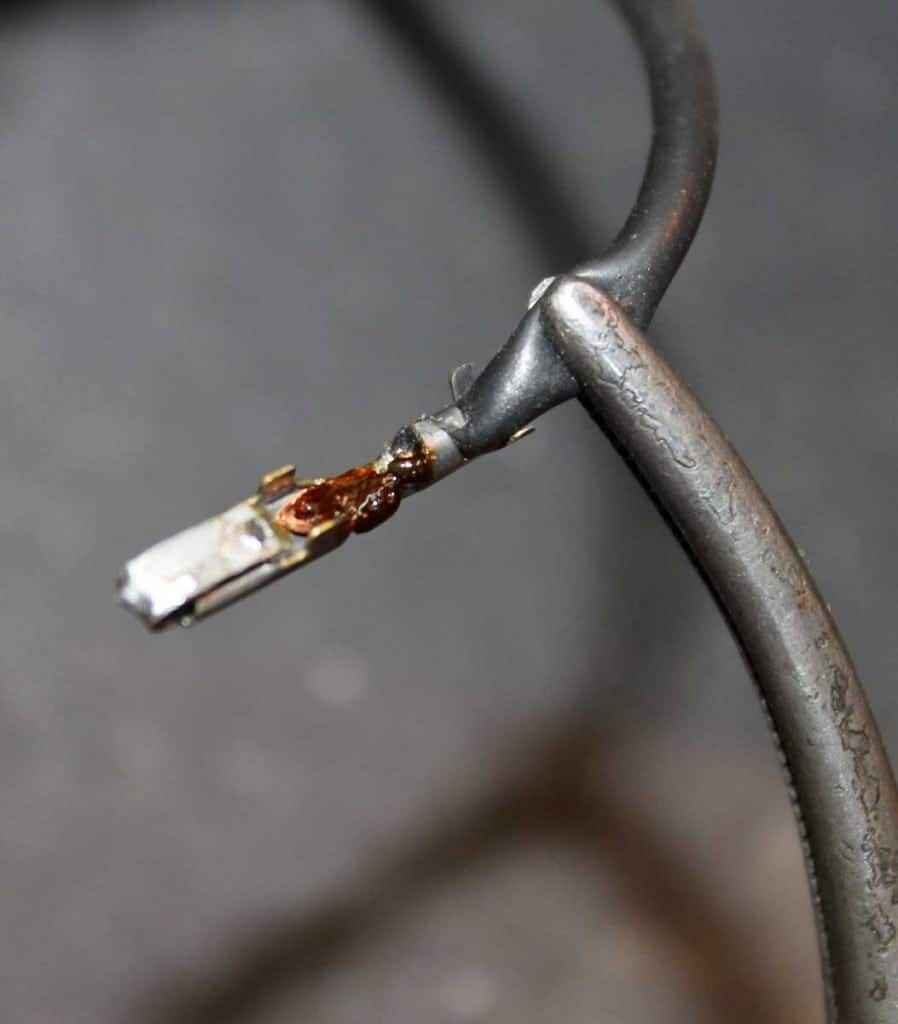
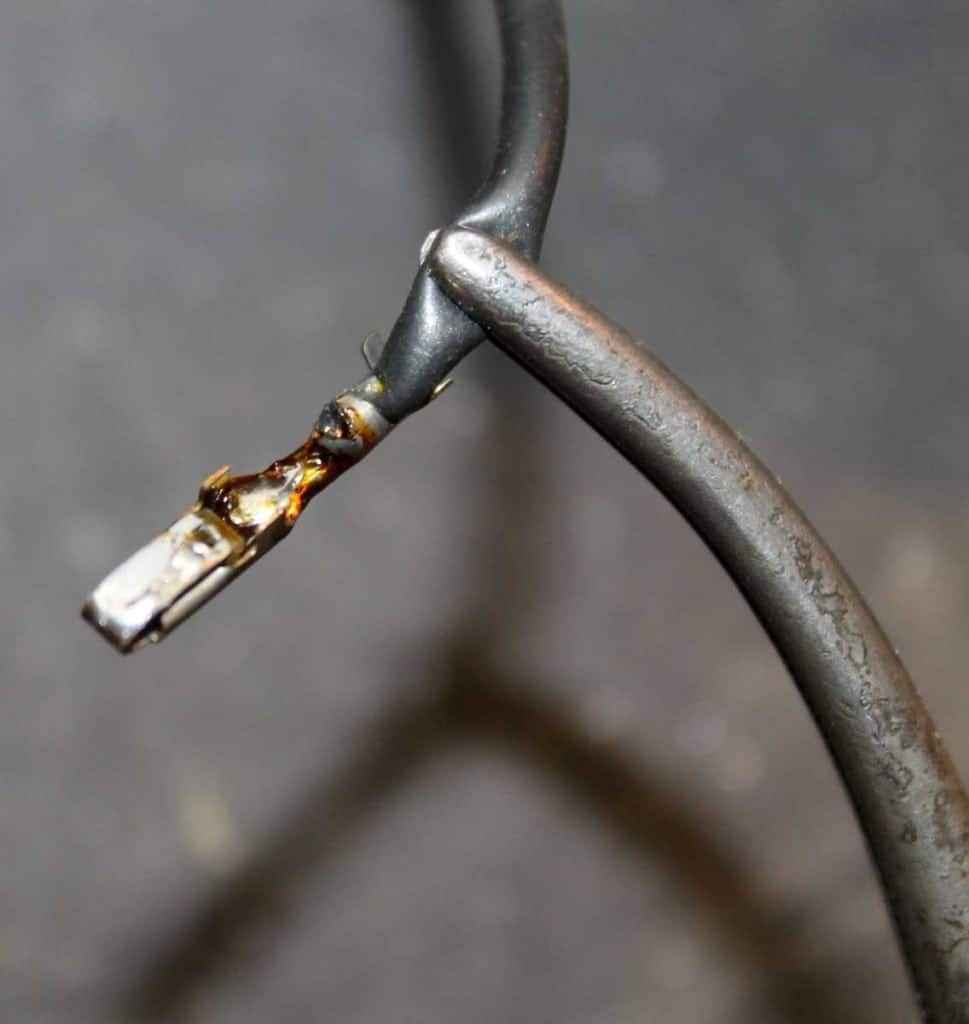
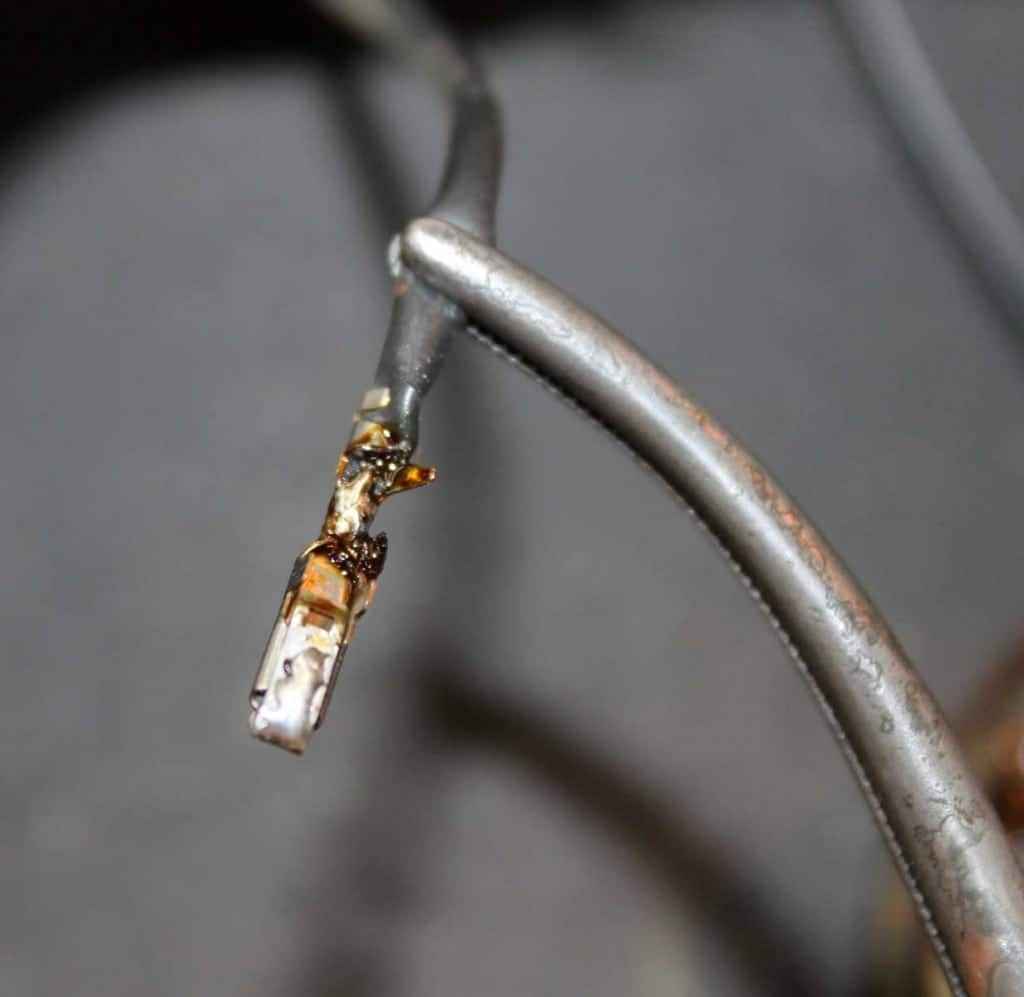
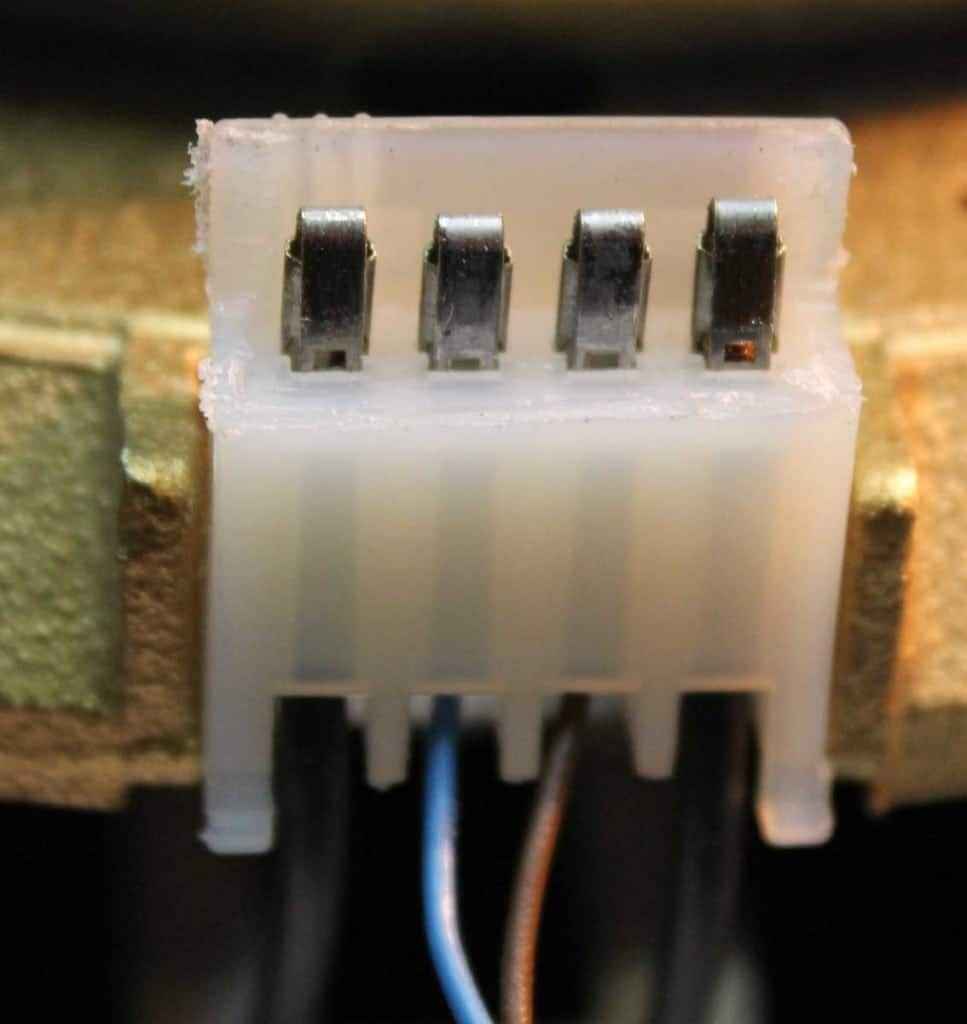
One of critical things with termination in Molex-lookalike is oxidation of flexi wires ends in connector ends , so cleaning , deoxidation (scratch-scratch) and soldering them , is a must ; while we are there , I cut some plastic , to ease soldering to terminals :
Then …… circumferential joints between magnet assembly elements are glued with Loctite PowerFlex Gel glue , and entire assembly is then , due to nasty whitish cyanoacrilat residue , painted with Dammar (what else … ) .
Compression diaphragms back in place , each bass cone got two Dammar treatments on upper side ……… et voilà !
So ….. they’re now in pretty pristine condition , one of them having Fs of 33Hz , other one 36Hz .
😉
addendum , on 29.11.2016.
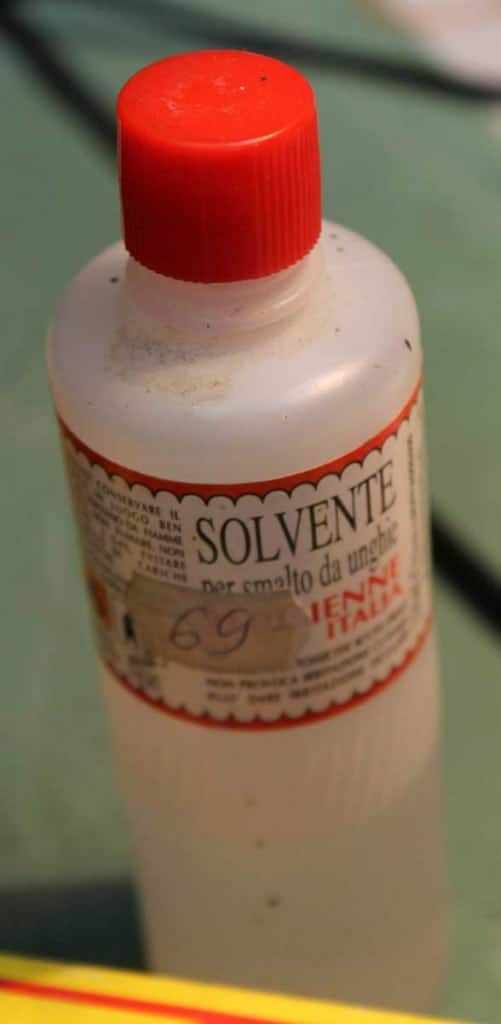
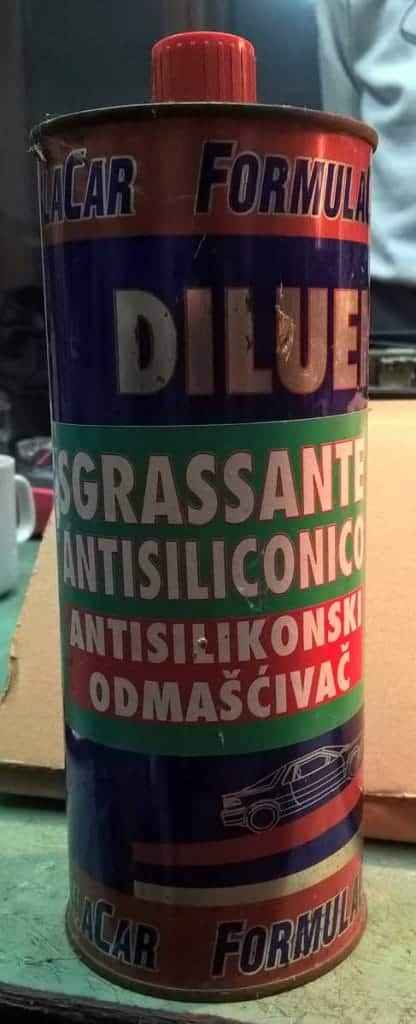
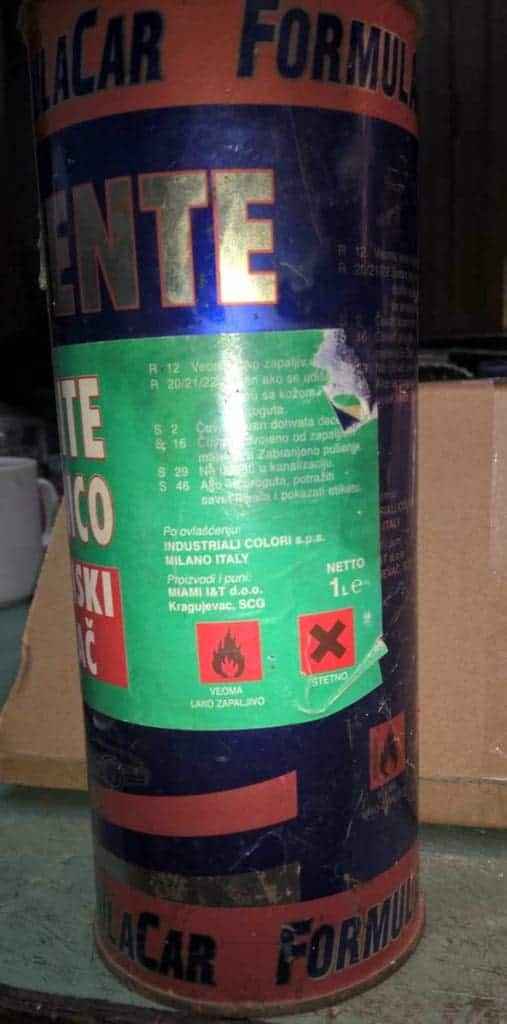
Regarding preparation of Rat Glue based surround goo mixture , I mentioned that I found even better solvent than acetone .
It’s pretty generic Silicone Cleaner , most probably intended for tool cleaning and general cleaning after work with silicone glues and kits .
Few pictures :


