It started not by plan , but by chance ….. several (or even more than several) months ago , I tried to help one of our Greedy Boyz at Diyaudio.com/Pass Labs subforum , to improve things with his Aleph X monoblocks.
Problem was simple but not so simple ……. in first incarnation , amp was sounding divine , but it was unreliable and eventually it gave up in flames ……. or at least with some gray smoke puffing out .
As usually ……. ZM at work :
As always with these beasts , culprit was in badly matched output mosfets and generally somewhat lower quality of build execution , at least that’s how I understood .
Later , when our friend Robert found another guy willing to make things better (Robert himself being much more versatile in other things than electronics) , amps were repaired/made better but magic was gone – they sounded thinner , lifeless in comparison to starting iteration .
Anyway , first I tried in thread to help Robert with some advices , later we proceeded with e-mail correspondence , made some progress (to my satisfaction , I had opportunity to show how small changes in strategically important positions are much more important than type of wire , Preputium-made of resistors and caps , thus making much more prominent changes sound wise )…… but all our efforts concluded somewhat badly , with amps again producing gray smoke puff …… ya know – pretty common thing when playing Bad Telephone Chain game ……
Even before that , Robert wrote to me that he is already preparing to make another pair , this time even bigger , of Aleph X ; he’s saying that Aleph X is his preferred type of amps , after being in opportunity to hear older and newer Pass Labs amplifiers , including .8 series.
He eventually asked me to make them for him , he providing already bought cases and whatnot …..
My comment was – first – I’m not making knockouts of PL amps (Aleph X was PL commercial model , even if disguised with XA200 title) and second – him living in Poland (EU) , Mighty Moi living in Serbia (non EU) , circulation of parts and later finished amps looks extremely complicated and expensive.
During next few weeks , we cross-checked our watches and came to satisfactory arrangement – I’m going to make Babelfish XJ (JX)- Jazz standard Aleph X iteration with few important twists , so hopefully worth trying and making. We also found least cumbersome solution for transporting goods between us.
Now ….. little history.
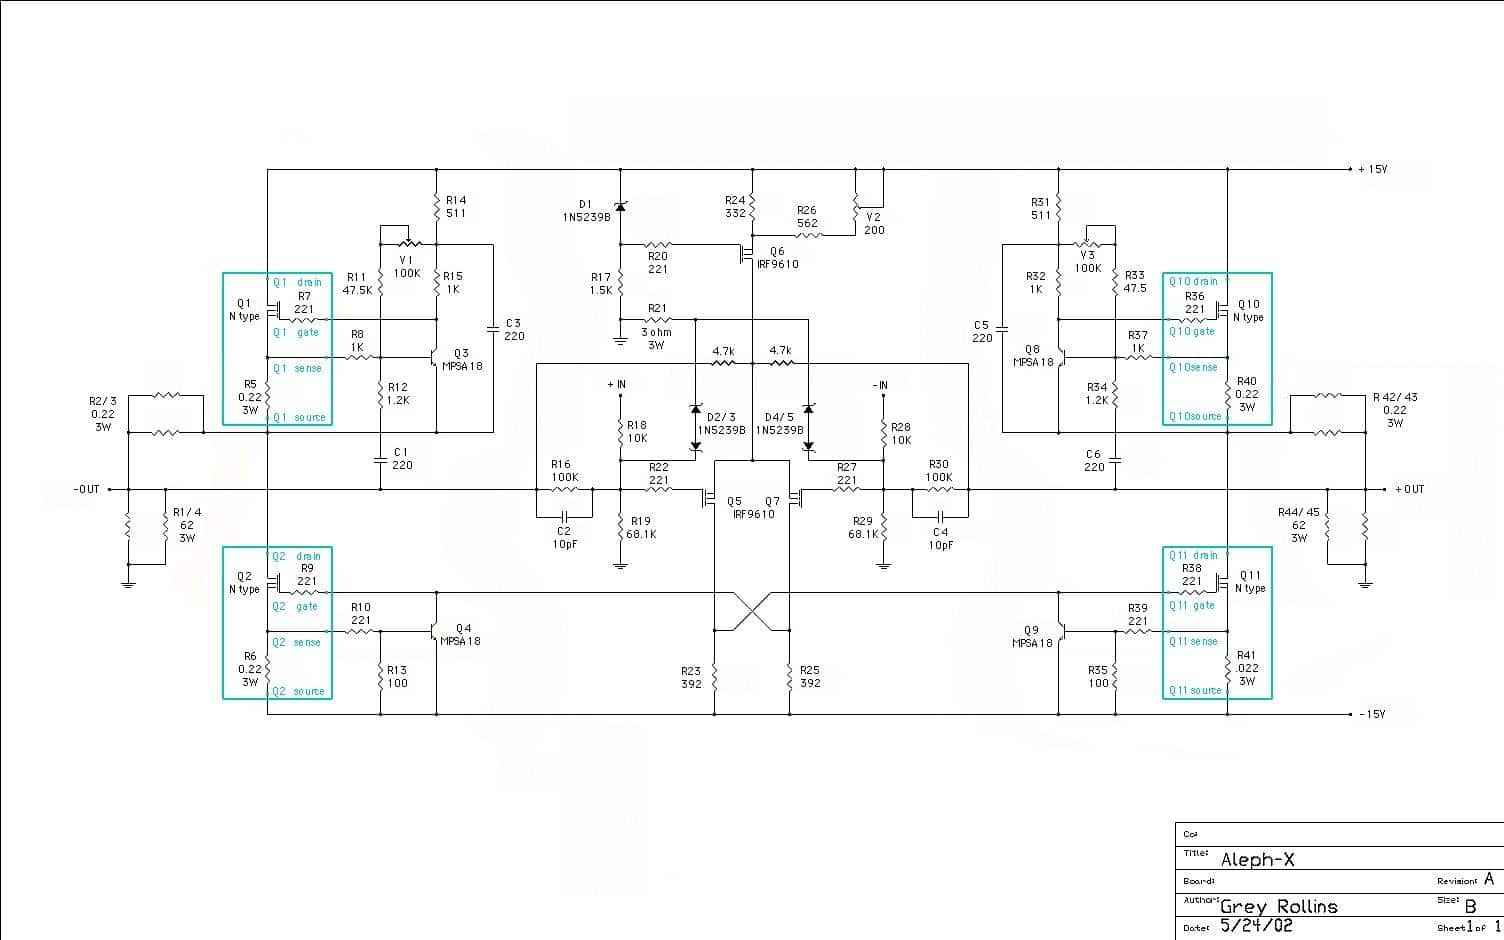
Almost 16 years ago , Gray Rolins came to clever idea (alone ? bugging Papa in private mail, as we all do more or less?) to bridge two regular Aleph channels ……. well , read by your self exact story HERE .
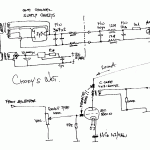
As far as I remember (origins), properly visible schematic is this one :
Several iterations of amp were made , in various sizes and complexity , several threads …… to my knowledge most comprehensive being this one , also extremely worth mentioning is Eric’s web page , dedicated to his Aleph X incarnation.
There were few major problems why , even if Aleph X was probably most massive project , considering number of pcbs made in Group Buys , there was even tinier number of finished amps …… let’s see:
-Human Nature Problem One -people are having troubles to break one whole in smaller logical modules , so circuit understanding seems unreachable;
-Human Nature Problem Two-ambition – project is scalable …… starting big is much more troublesome than starting small to gain experience and knowledge, then building from that; that way is , in the end , even cheaper …. then the other way (ending without any amp)
-Technical Problem One – too many mosfets , lousy matched;
-Technical Problem Two – not enough Aluminum …… or even – not enough (enameled) Copper
For ones , able to step or jump above (around ) mentioned obstacles, there was ( or they still are) few more down the road …
Amp being bridged , means both output posts floating (being and not being referenced to GND) so we are having two different DC Offsets to take care of;
First one (Boyz calling it Relative Offset, which I never remember) is most important, being DC Offset between Pos and Neg output of amp, exactly where we usually tie our speaker cable ends. Let’s just say that any Aleph X is pretty nicely behaving there, input LTP stage besides serving other important things, also serving as Servo for exactly that ….
Second one (DC Offset) is much more problematic to obtain at right value and to maintain- DC voltage between our floating speaker posts and GND (Boyz calling it Absolute Offset , which I also never remember)……. Simply put – if both outputs are at approx. zero (GND) potential , they can equally swing from zero to rails (positive and negative) thus our output signal is having max. amplitude equal in both directions ,so possible clipping is symmetrical.
That one , and few other problems (maybe smaller , maybe not), read at Eric’s page. I don’t have intention to cover even small part of things already covered by him …. why doing things twice , when you mustn’t.
So , I had intention to try/verify few small ideas I had/borrow/stole during years, applicable to Aleph X circuit, so being enough different and possible to call it Babelfish iteration.
-Trivial 1 – make it with JFet LTP input stage .
-Trivial 2 – cascode that JFet LTP input stage …. not so much because of Herr Mueller , but to keep them cooler, later possible to cover broader range of rail voltages.
-Little Less Trivial 1- put emiter follower in between input LTP and gargantuan bank of output mosfets (later about – why gargantuan).
-Little Less Trivial 2 – cascode that emiter follower ….. just for heck of it
-Whoopsie Daisy 1 – address issue of Absolute offset in simplest possible way
-Whoopsie Daisy 2 – address useful arrangement of easy way to influence THD spectra .
……… Wheel is turning ……. Robert sent cases to me , I was LTSpice-ing like mad , trying to implement all details ; I did tried them one by one in vivo , but never combined.
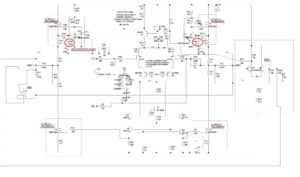
So , after countless hours of PC time (yes , I’m slow) , here is LTSpice schematic , intended for first prototype step ; Big Bada$$ mosfet banks omitted for clarity , each quadrant of 10 parallel mosfets shown as single one :
Then Ikebana prototype , measurements and some tweaking of values ; it passed , so it was time for pcb work.
Robert insisted on some fancy resistors , in most important positions ,so I made that – placement for both usual metal films or fancy Shinkoh/Kiwame.
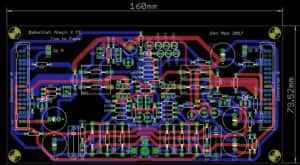
Front End Eagle schematic :
Front End Eagle pcb screenshot:
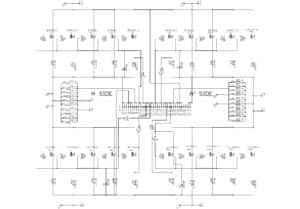
Output Stage Eagle schematic:
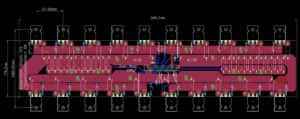
Output Stage Eagle pcb screenshot:
After some time, parts started piling up …….
Cases arrived in pieces ….. 48kg of Aluminium each , bought on Aliexpress , PL knock-offs ; Not exactly my Cup of Tea …… but I succumbed , hoping that visible Babelfish (not PL) , and few details solved for Greedy Boyz Community will diminish morally problematic details…. yeah , 100kg heavy details …..
Along with cases , arrived Shinkohs , BigBadA$$ bridges , 1R5 MOX , hefty cap banks (from some previous project ?) ,fancy connectors, same as bunch of WE wire ……… everyone is having his own Fetish , including Robert 🙂 …
I was also obtaining big and small itsybitsies locally – Donuts , mosfets (matching by Mighty ZM). power relays , small switches , remote relay , accessory pcbs etc.
So , more pics ; Disclaimer – I was lazy , so all pics are phone cam quickies :
Plenty of work ; important detail – all mosfet’s retaining hardware is stainless steel – most certain way to have all bolts , nuts and washers in quality.
I made handles for back side ; they will be galvanized later.
……………. and more of the same ……. sorting what’s wrong with “dead” meters – something like VU electronics inside , completely wrong for my intentions
Scratching my head …… arranging what I have of fancy wires ….
and ……
Cap bank – it would be neater (wiring) with Computer Grade style caps , metal rails, shorter wires , less wires …… but function is there , even if style is little rough 🙂
And …… complementing rubber feet with proper inside washers ; even with that , if you move amp sideways , they are developing Tower of Pisa syndrome ….. thing to be careful of or to change later.
More fun , more assembly , more coffee …… besides Blue Led in center , there are two tiny red bulbs in top corners of meter department . I like discrete red-blue combo ……. with fancy-schmanzy silver fascia 🙂
……….
Glowing red from front plate …….. means amps are operational ;
Servo is doing its job , both relative and absolute offset practically rock steady from very first moment of powering up, same as Iq .
Changes from stone cold to temperature equilibrium are approx. in 5% range, so I didn’t even bother to write exact figures down.
Few more pictures , this time Cannon quickies (lazy , no tripod used) .
Now , few words about THD spectra shaping ;
Papa taught us during the years several tricks how to imbalance that perfect Symmetry (ironic , isn’t it …… working principle of amp itself is called Supersymmetry/SUSY , while we are trying to spoil it 🙂 ) .
Anyway , we want some sugar , and we are getting that with 2nd harmonic above 3rd ; again – Papa’s Lectures – some people prefer that way (Tubelovers?) , while some people prefer dominance of 3rd (Sandworshippers?).
Further – we can divide both of these groups by polarity of dominant harmonic- some prefer negative , some prefer positive.
What can I do regarding that , except to find how (hardly first one knowing that) and then organize easiest way of doing it ……..
If you take a look at LTSpice schematic of amp (third pic from top) , you can see two resistor positions circled in red. These resistors are path to modulation of Aleph CCS-es and their values are directly defining amount of that modulation , thus defining amount of Aleph CCS-es contribution in output signal .
So , simple ; disclaimer – my goal is to invoke 2nd , and control it’s polarity and amount :
-If these two resistors are same in value , there is greatest amount od symmetry , resulting in zilch 2rd ,dominant 3rd.
-If we increase value of said resistor at side of positive output , there is increase of 2nd (and dominance over 3rd) , while our dear 2nd being negative phase,
-If we increase value of said resistor at side of negative output , there is increase of 2nd (and dominance over 3rd) , while our dear 2nd being positive phase.
That’s it .
How it is organized in vivo ?
I had idea to introduce sort of already know device among Greedy Boys , called -ZAP (Zen Amount Pot) , but later decided that would be impractical , and probably leading to constant play with , while forgetting enjoyment in music 🙂 …. so I decided to use pin sockets/or whatever their name is , in said resistor positions , thus allowing easy change of resistors in situ , without involving soldering equipment etc.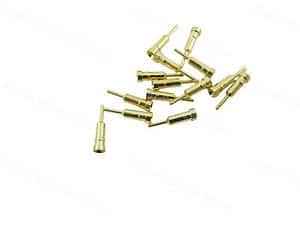
Now , if you take a look at Eagle front End schematic and Eagle Front End pcb screenshot (4th and 5th pics from top) said resistor positions are R3 and R53 , with R3 being position of our special interest :
My taste dictate R53 being 1K , and R3 being 1K2 ; for anyone else’s taste , all what’s needed are few different resistor values and pincette/tweezers ; just power amp off , pull resistors out (gently,please) and push new one in (gently again , please).
After that you can power amp on , or go out for beer and some talk , I don’t care 🙂
Few more pics , with lid on , and even with USB stick as size reference thingie:
Some technical stuff:
-Donuts : I ordered 900VA made on 1K2VA cores ; later -when actual winder guy itself contacted me to confirm few things , he said – do not worry , it’ll be 0.9T … they’re having static shield and outer tape shield .
-Bridges are Big.
-Each rail filter consisting of 90mF-0R11-90mF , resulting in 23V5dc.
-Iq smidge above 7A , resulting in 100W/8R , 80W/4R , Winter blessing being in range of 360W per box.
-Relative offset wandering some 25-30mV from stone cold to hysterically warm (top of sinks being 17C above ambient).
-Absolute offset frozen around -350mV , right from powering up , all the way to hysterically warm.
-Iq change around -4% , from stone cold to hysterically warm.
-No power on thump , while power off thump is no more than small plop , even on my LC1B , they being sensitive on air flow induced by cat crossing next yard ……
-Weight – smidge above 60kg.
And yes – there is additional pair of drek binding posts at back , accepting any Remote Power On/Off voltage from 10 to 35Vdc, polarity irrelevant.
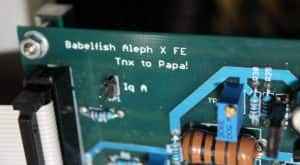
I forgot to write SuperSymmetry/SUSY anywhere on pcbs , but I didn’t forgot what’s more important:
Did I said that they’re Gorgeously sounding ?
And …….. last pics from my bench – ready for transport :

