
Baby DiyA member Davor had misbehaving Garrard 401, so we agreed that I’ll try to make some Vodoo .
Misbehave – most probably dry bearings, hopefully nothing more.
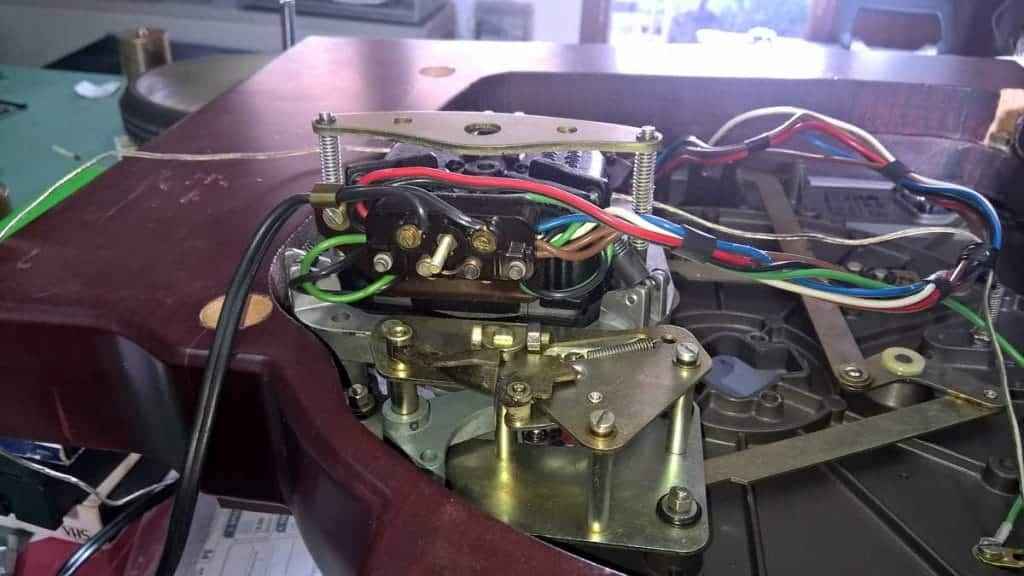
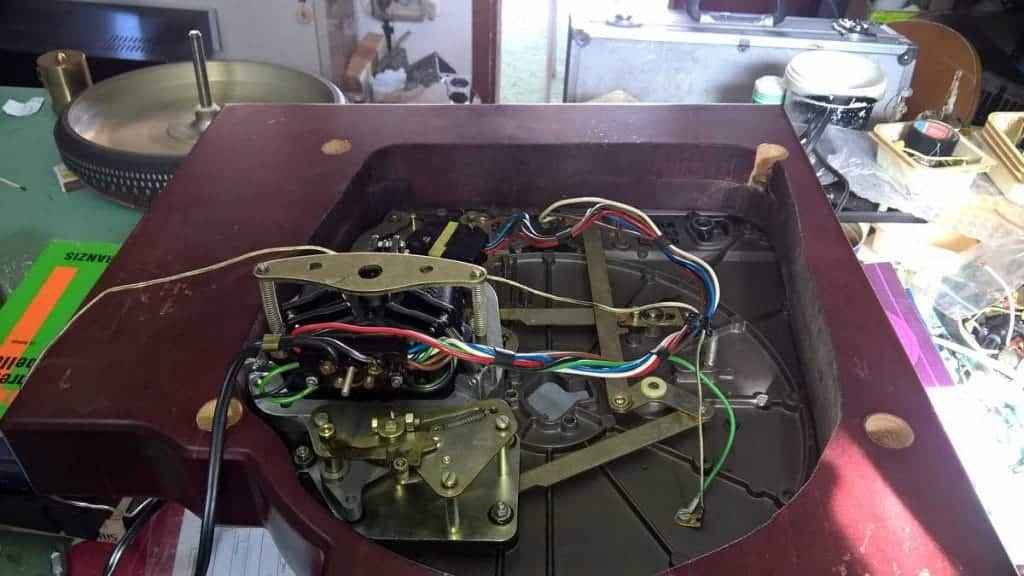
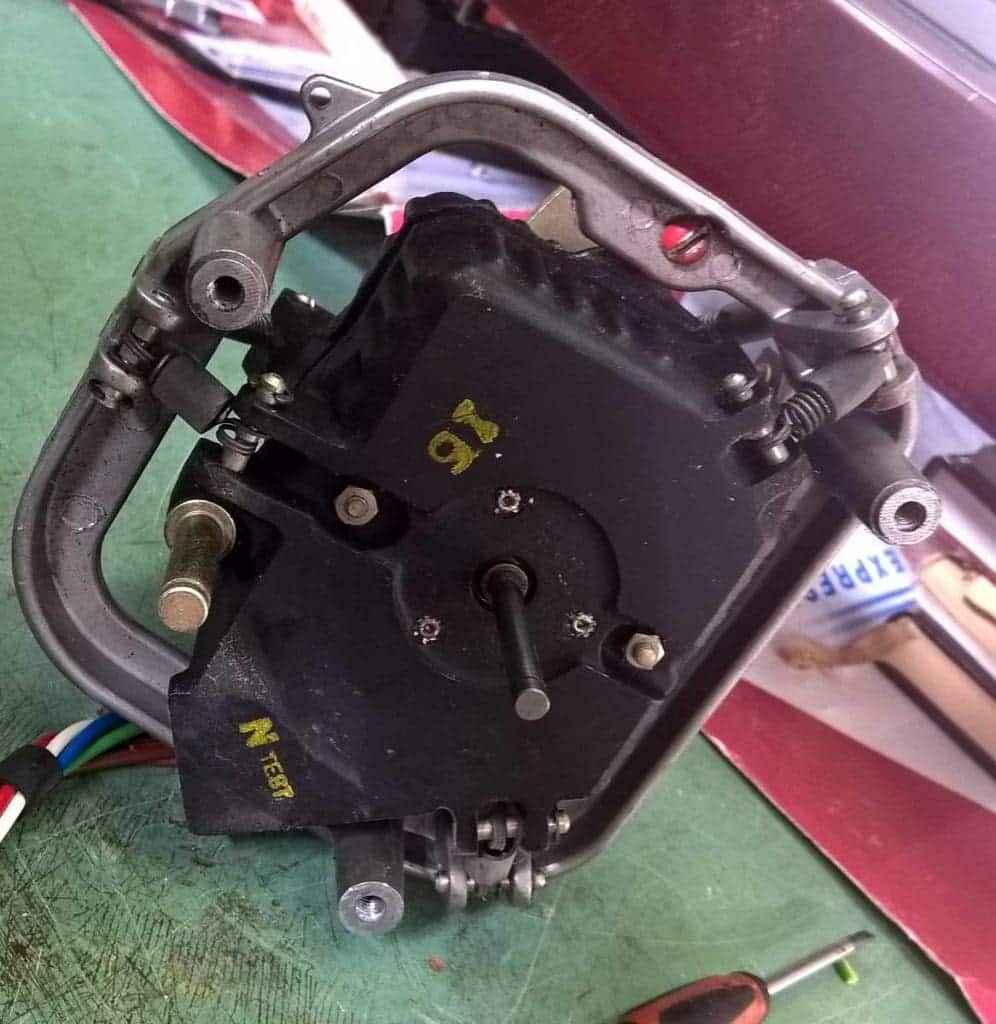
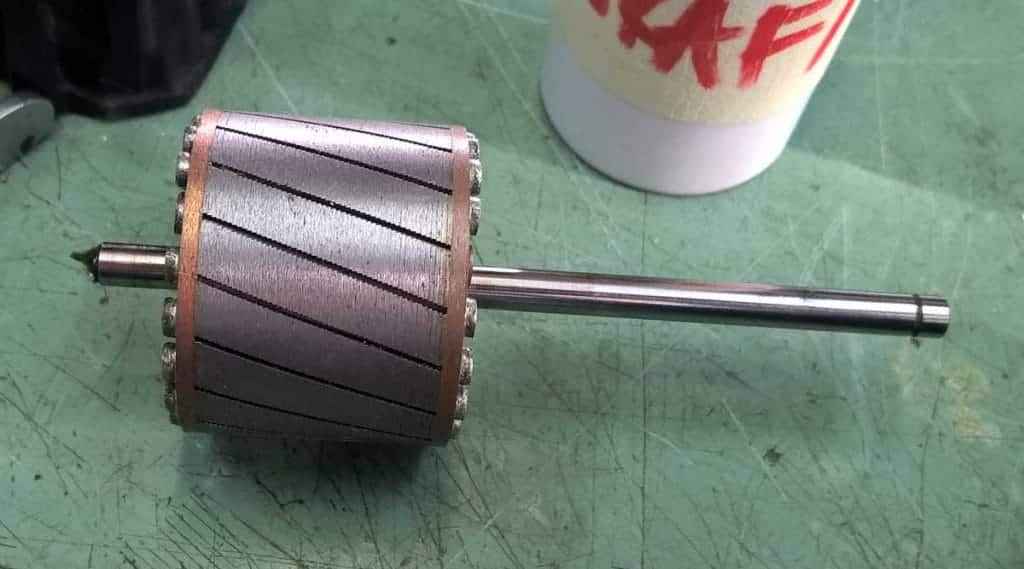
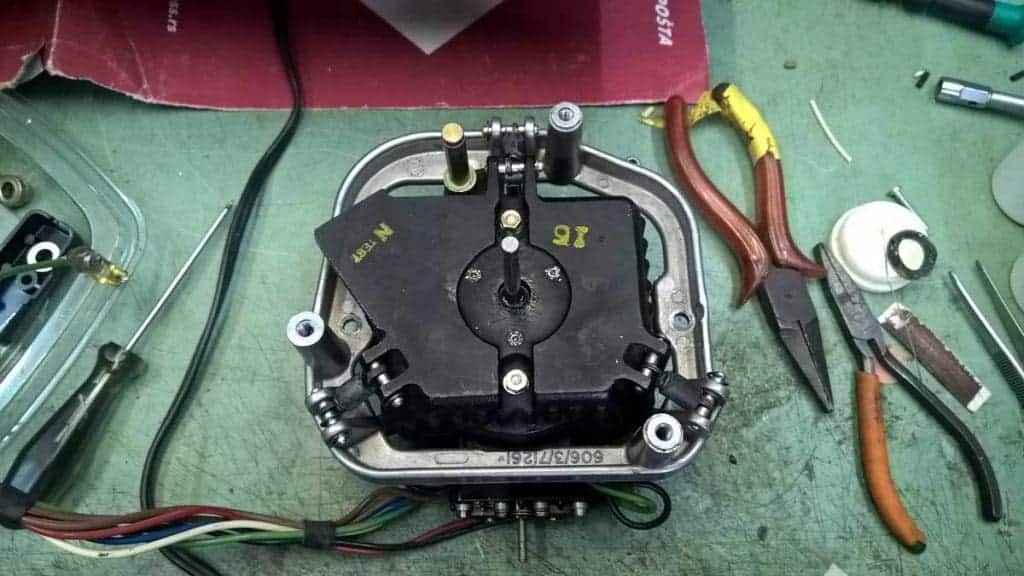
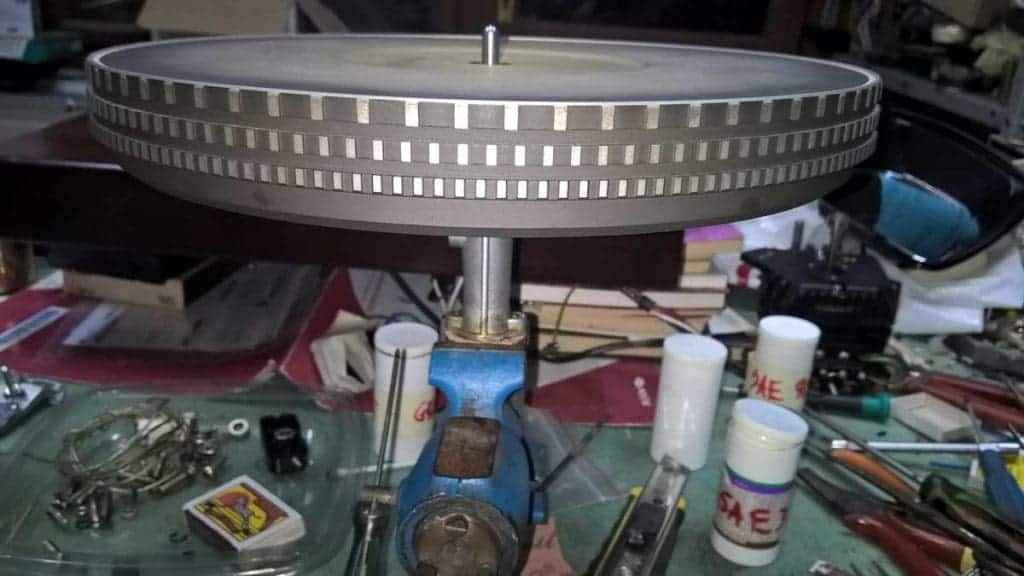
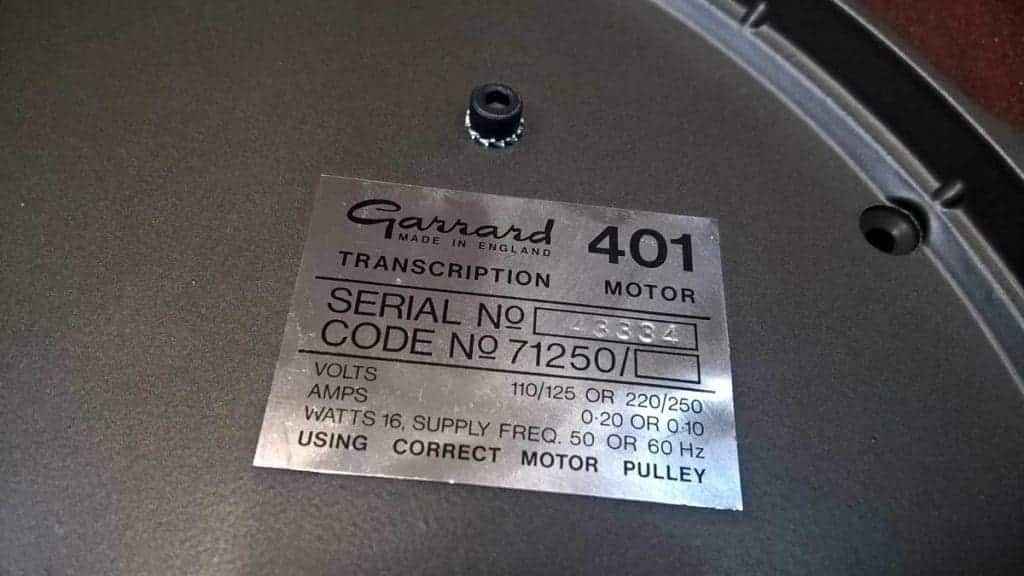
Up to dismantling; first – engine/motor.
As I suspected, bearings were almost completely dry.
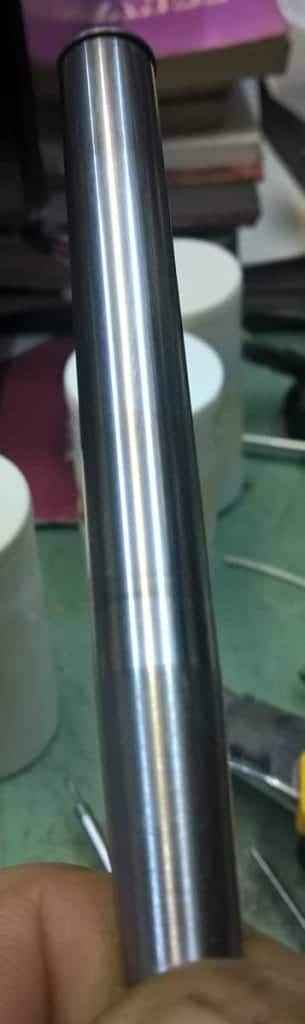
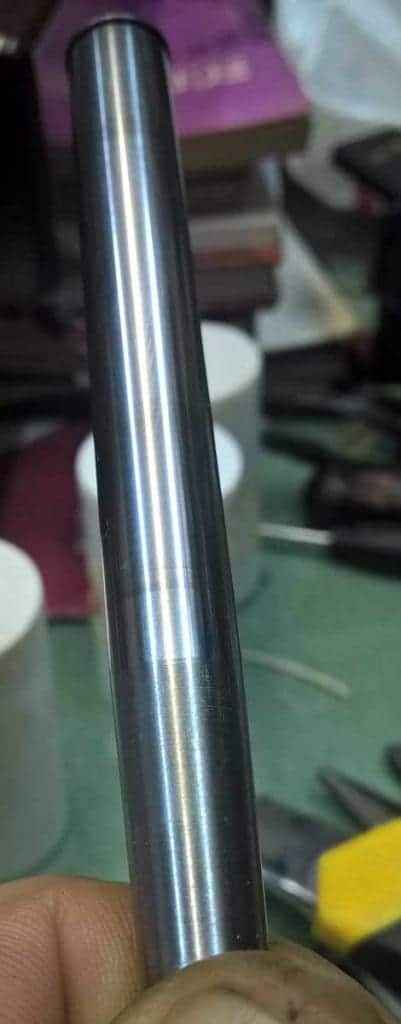
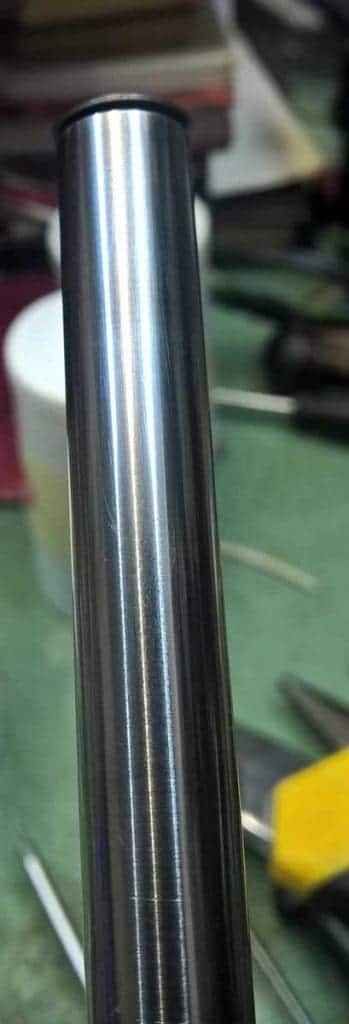
Cleaning, checking shaft for eccentricity (luckily, it’s perfect), polishing shaft to remove bronze residue.
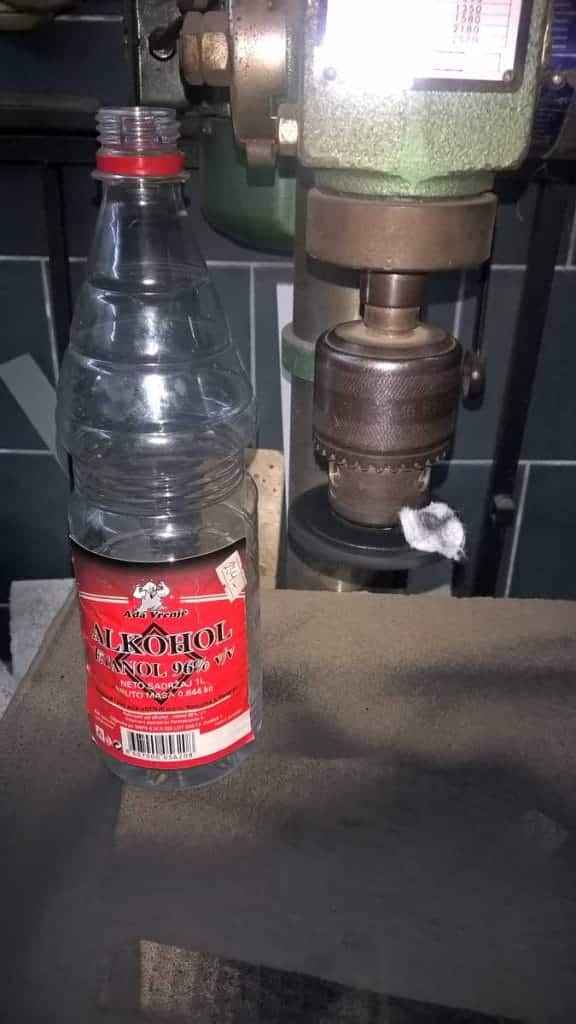
I’m using extra fine polishing compound, small polishing wheel mounted on Dremel.
Then assembly, with lubing; there I’m using SAE90 motor oil (few drops) plus graphite grease (few blobs).
Greasing of lower-blind-bearing cup is easy – just put few drops and few blobs and that’s it; upper (open on both ends) bearing cup – smear some grease inside and on shaft, assemble, then add few drops of oil on shaft near bearing, plus few blobs of grease ……. power it on and let oil and grease mix properly.
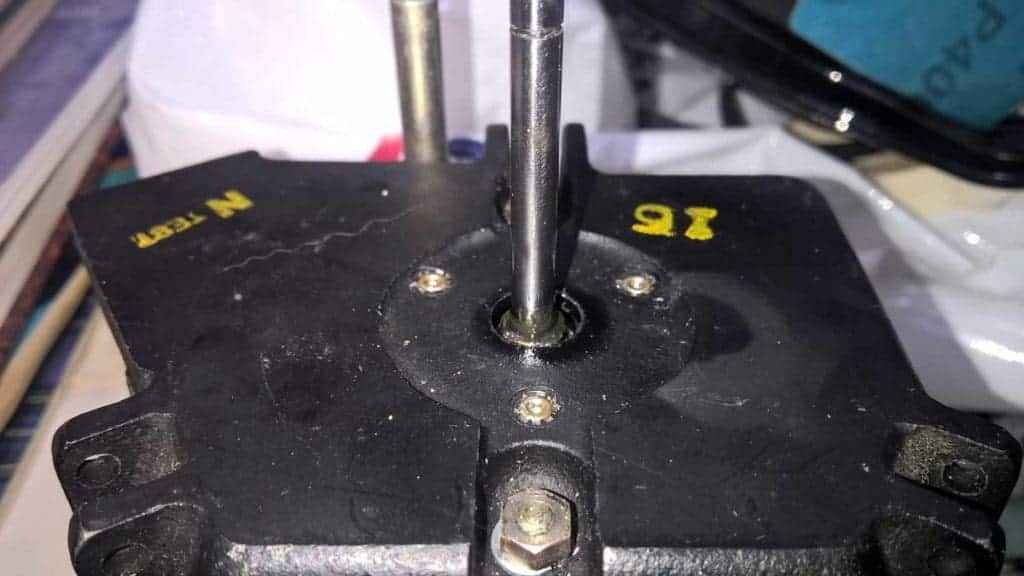
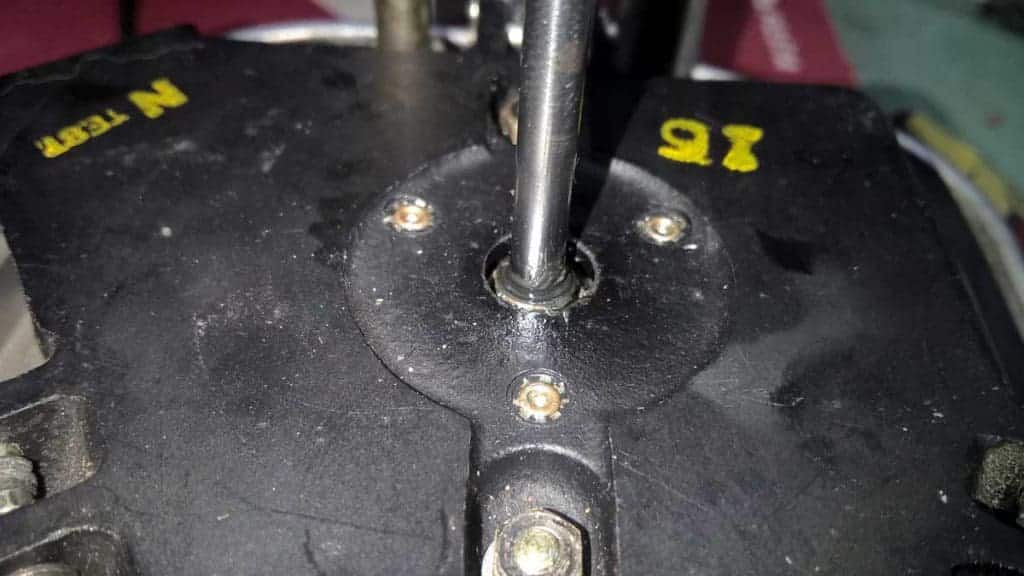
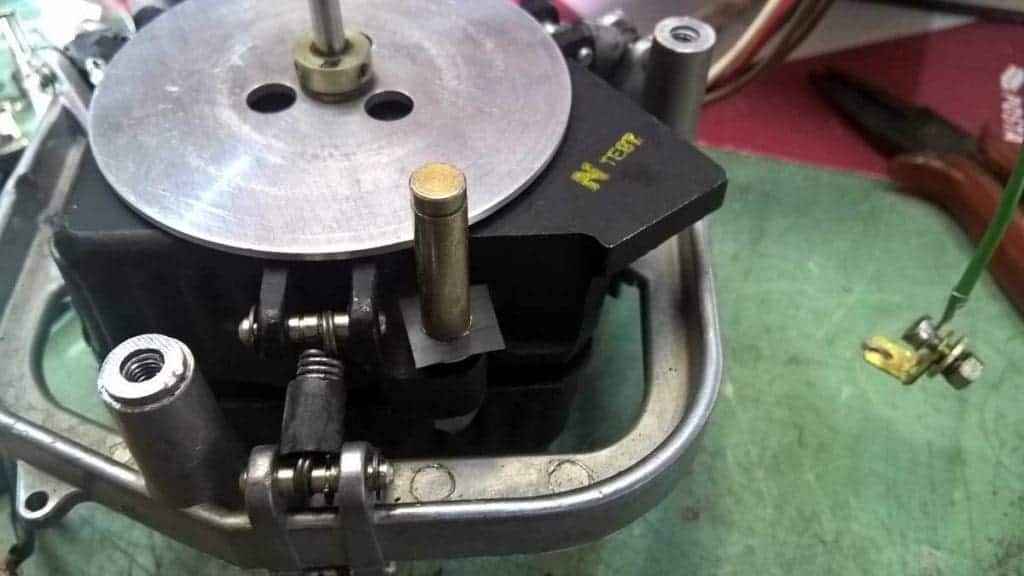
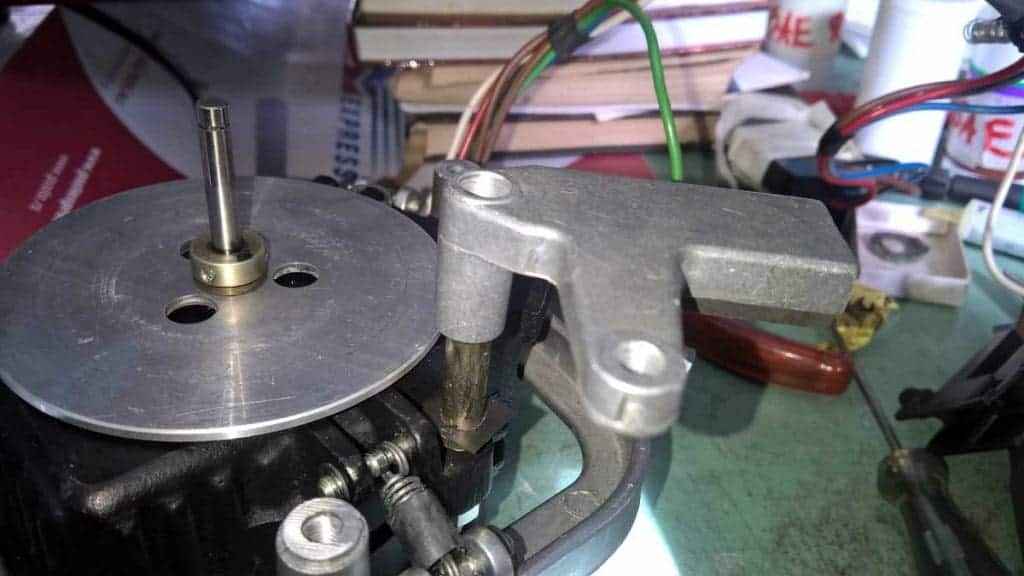
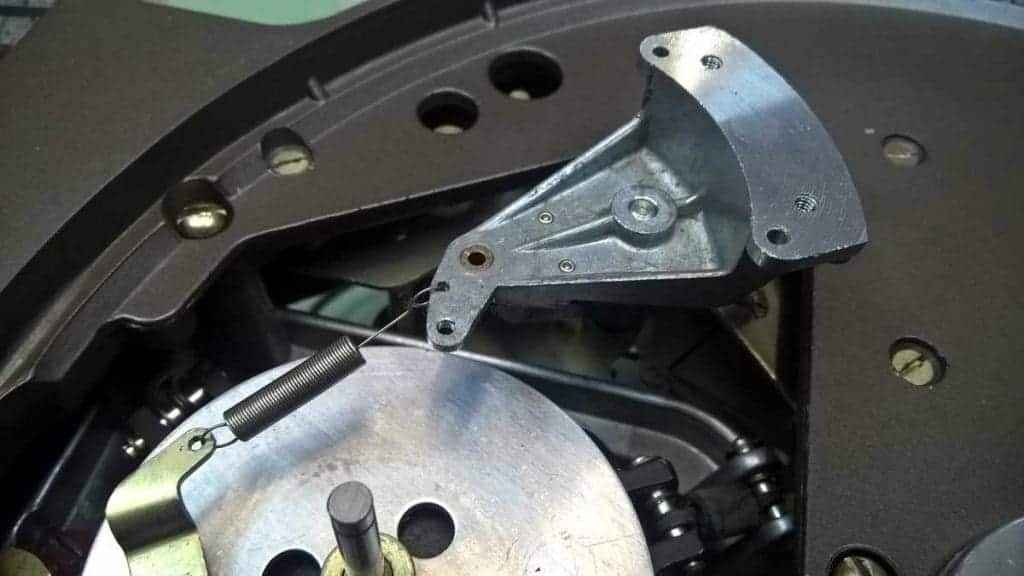
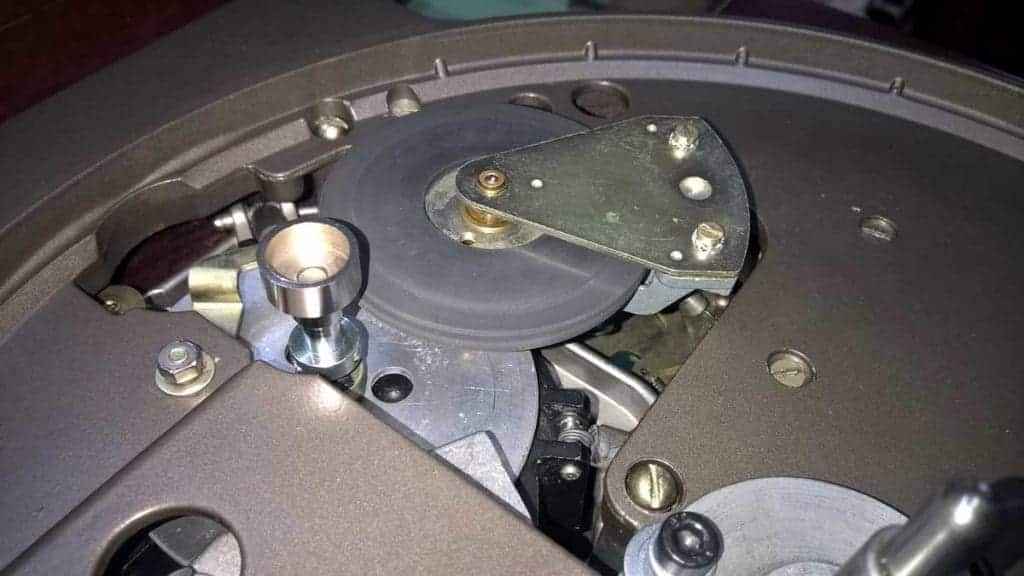
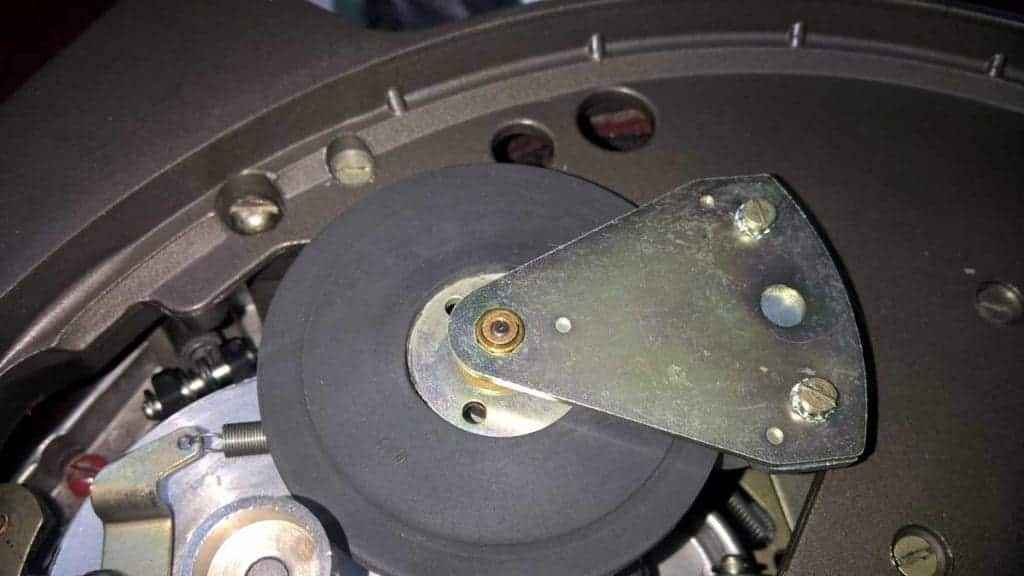
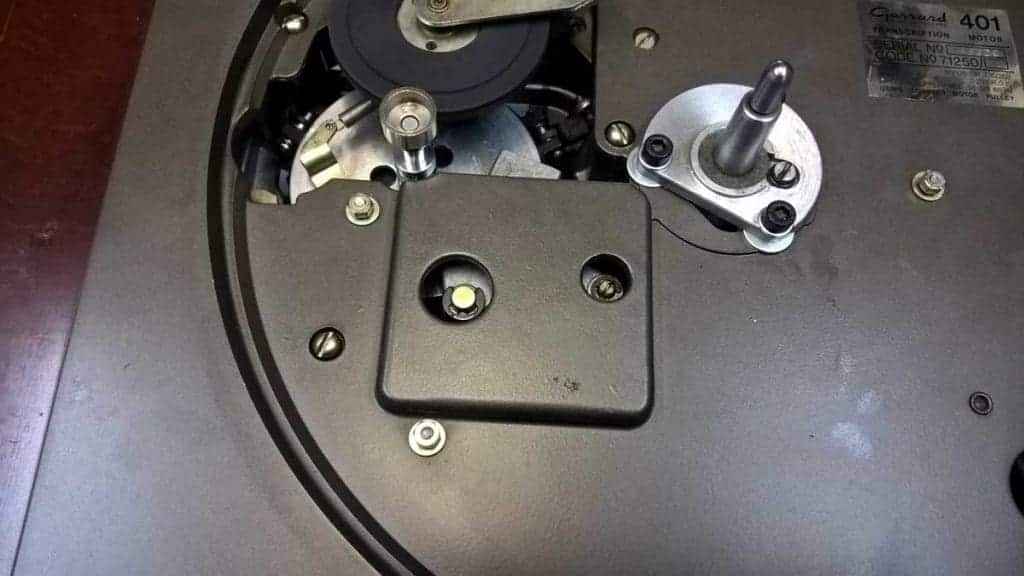
Check Al disc (part of speed adjusting mech.) for wobble, put it back, put some grease on magnet lever, put missing plastic washer under the lever, put lever in place, set disc height to have approx. 1mm between disc and magnet, tighten disc fixing screws.
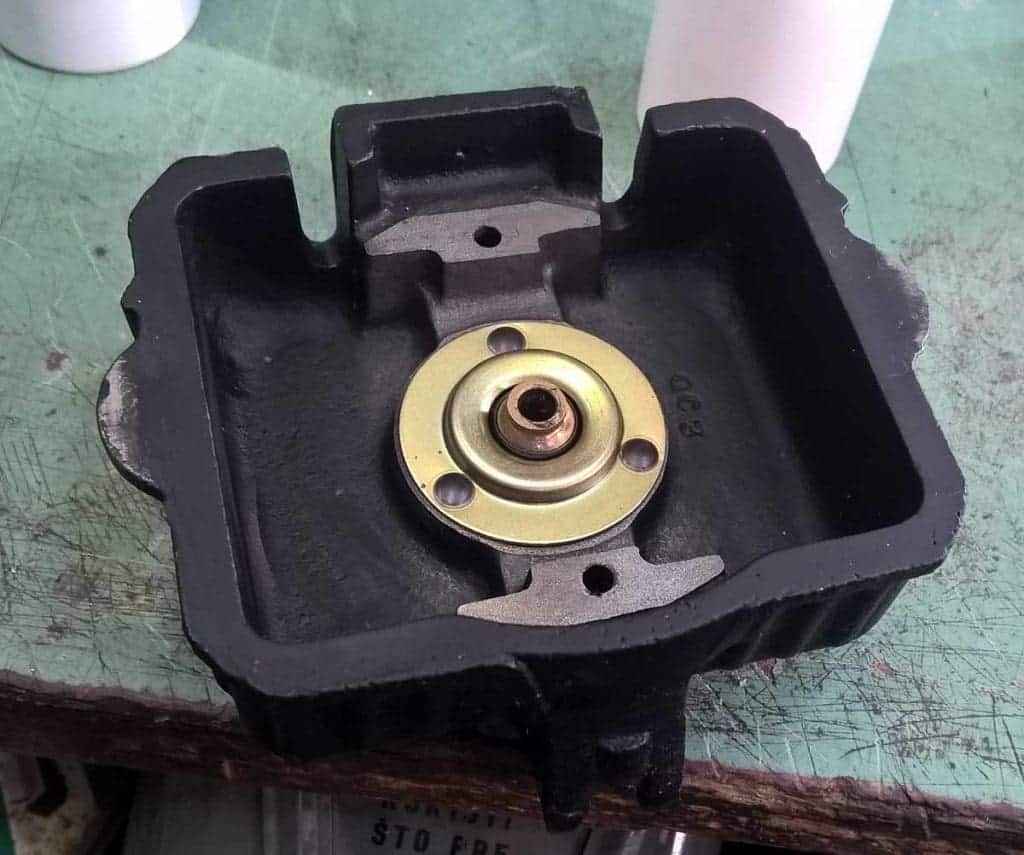
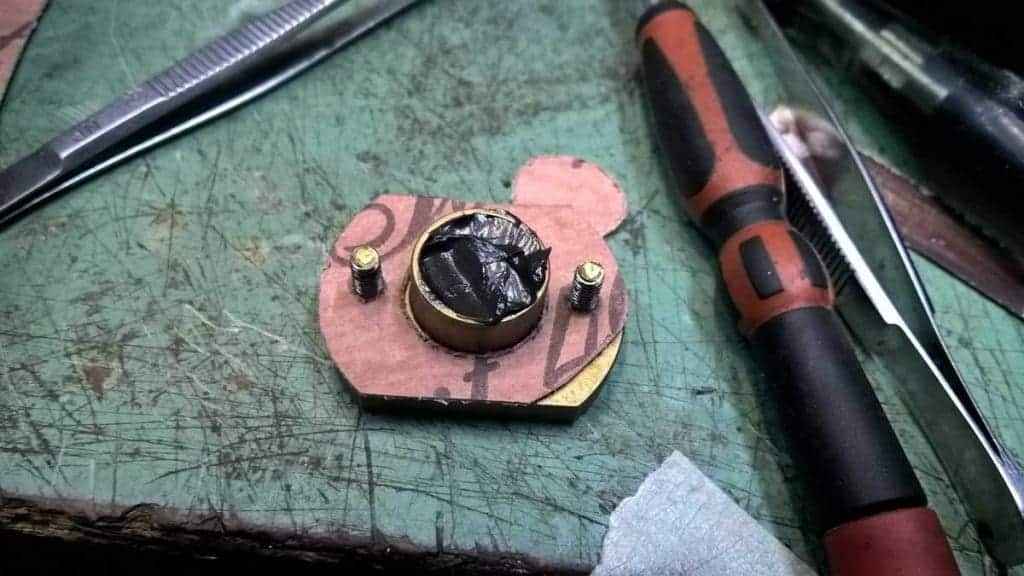
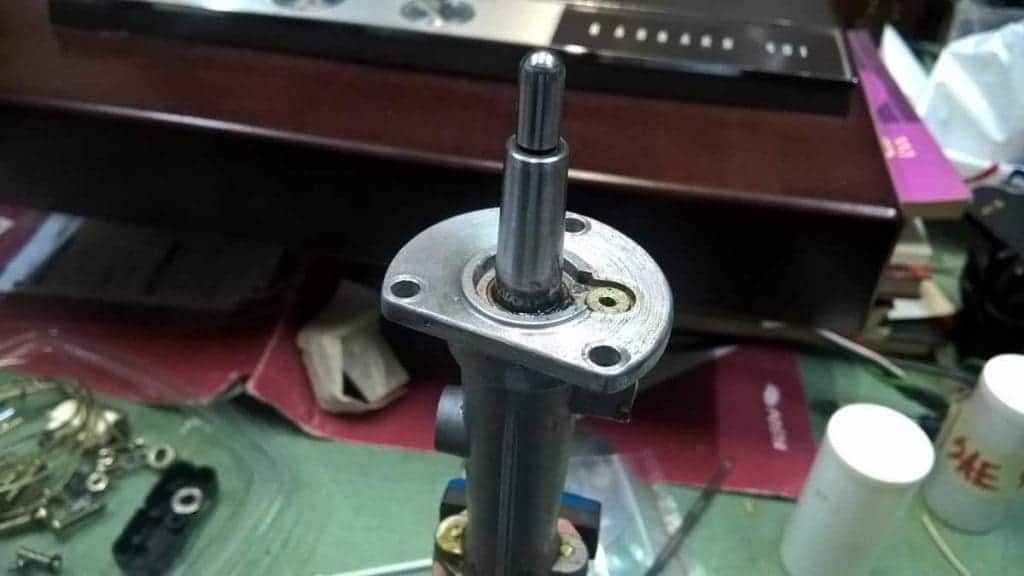
Now – main bearing and shaft …….
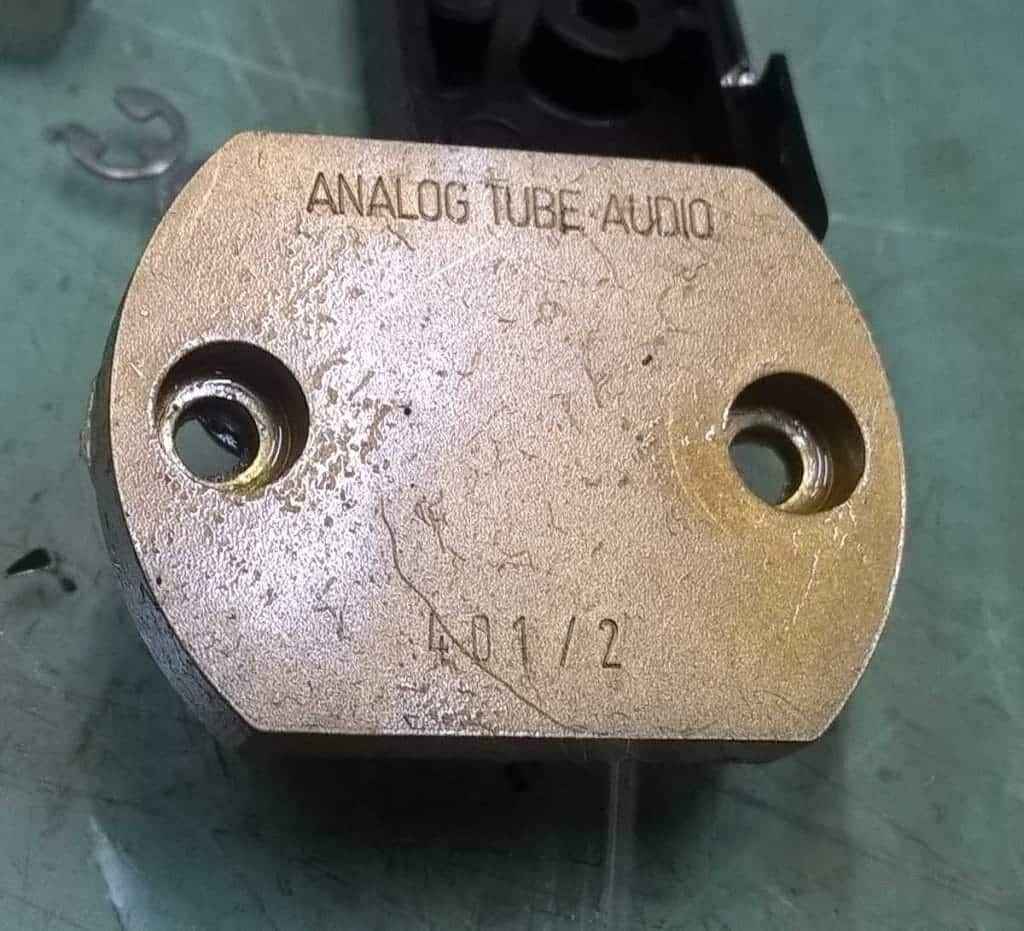
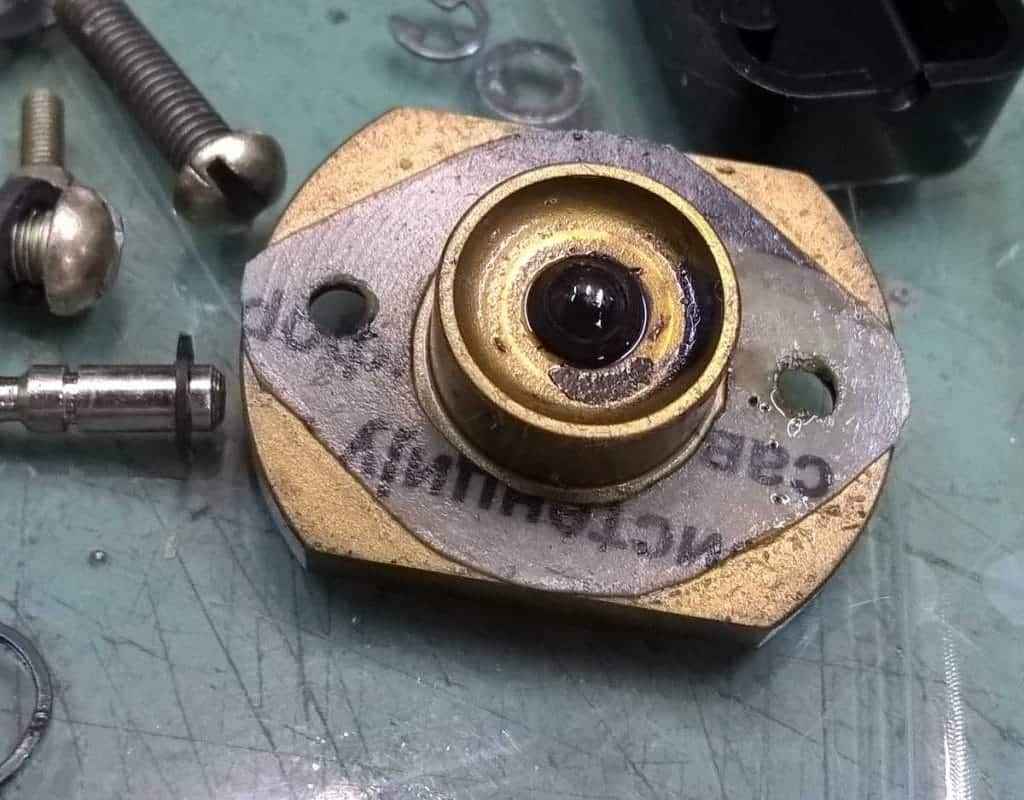
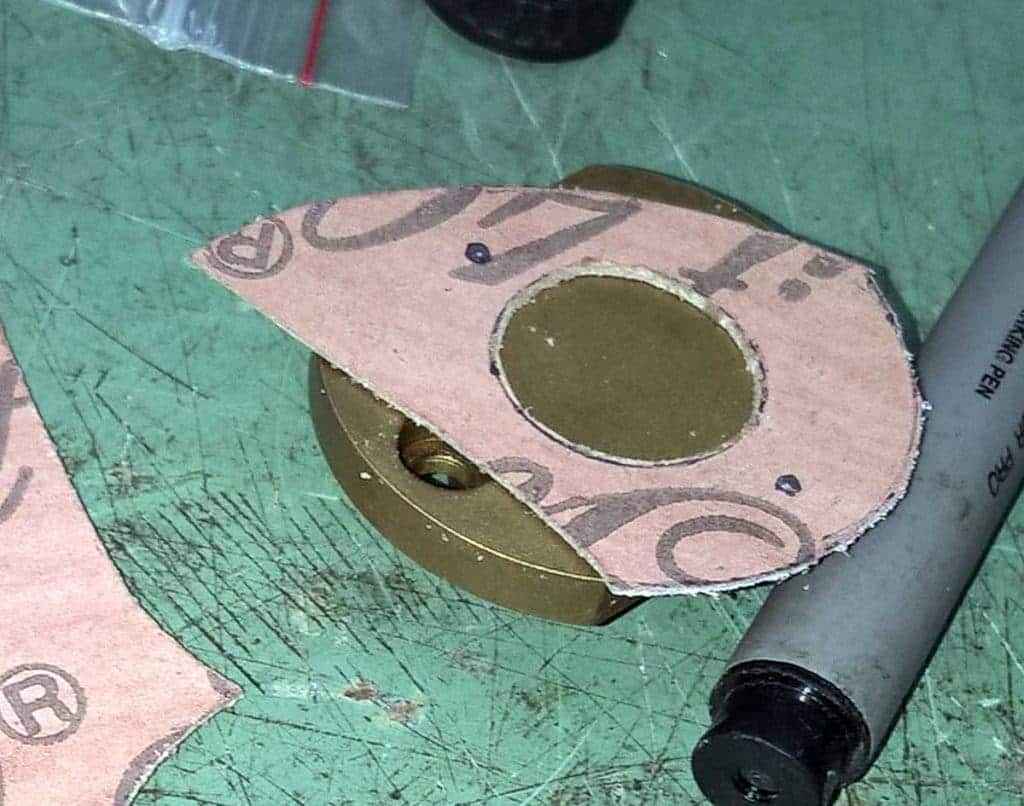
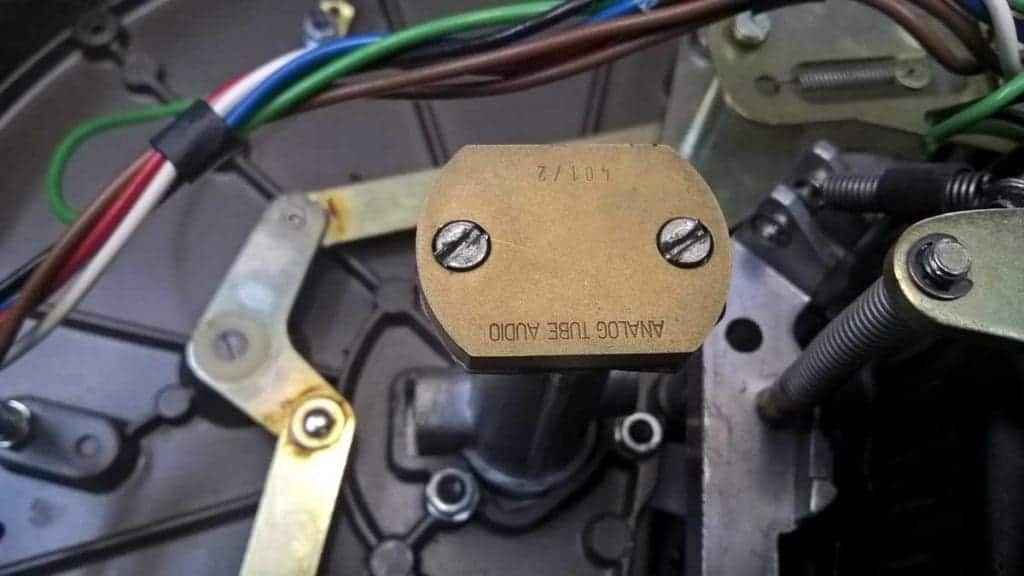
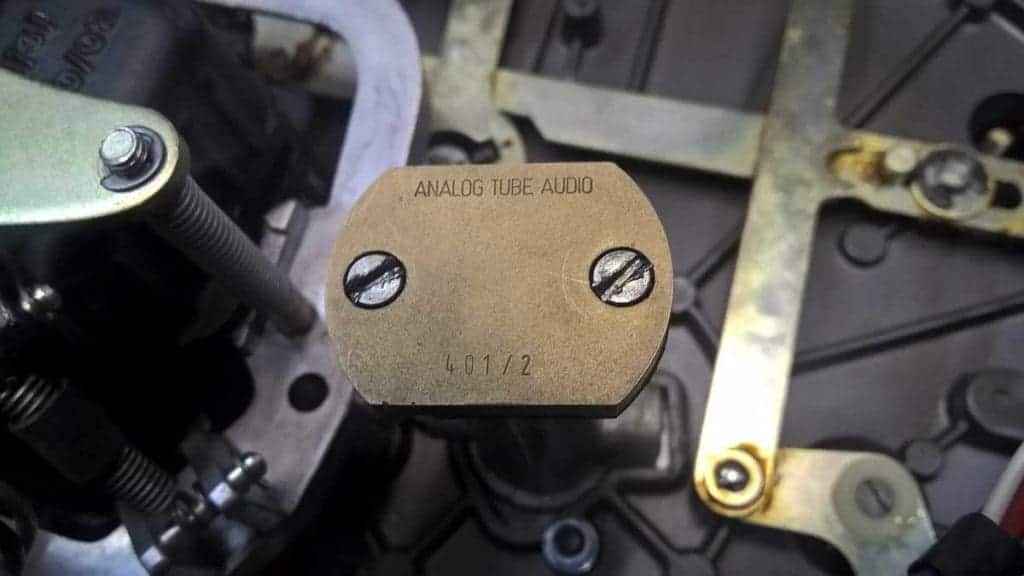
Bearing is equipped with custom made bottom plate, accommodating ceramic ball, instead of original copper “blob”, so , there is certainly less friction on shaft end.
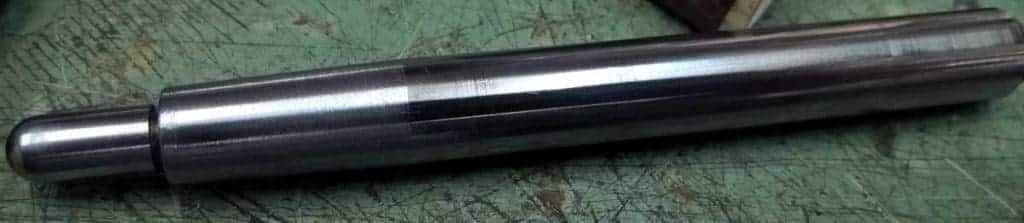
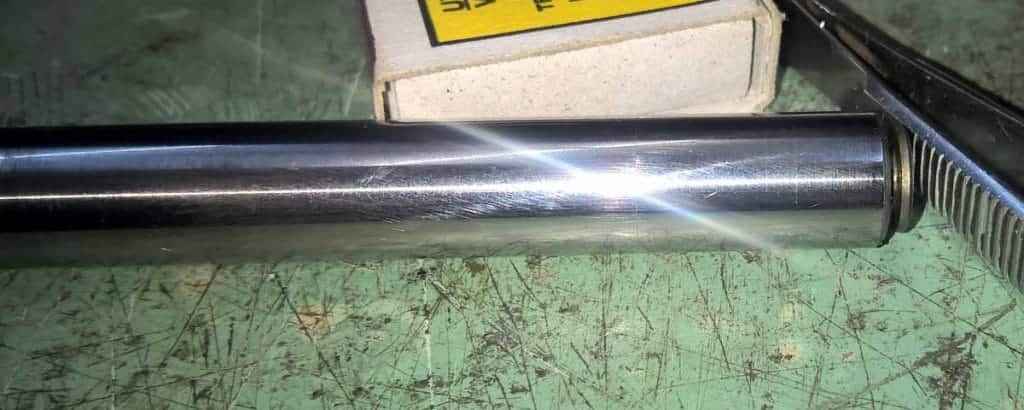
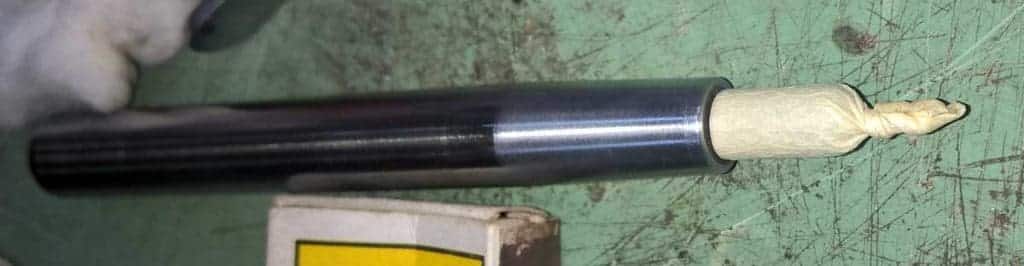
However – whoever made that major tweak, didn’t had much of mechanical sense … as you can see on pic, he used plain paper as gasket ….. so it wasn’t surprise when I didn’t found sole proper drop of oil in bearing, and screws weren’t exactly tight … so, some bronze residue on shaft, pretty much visible (even if not so easy on photographs) and pretty much easy to feel with nail.
Situation illustrated :
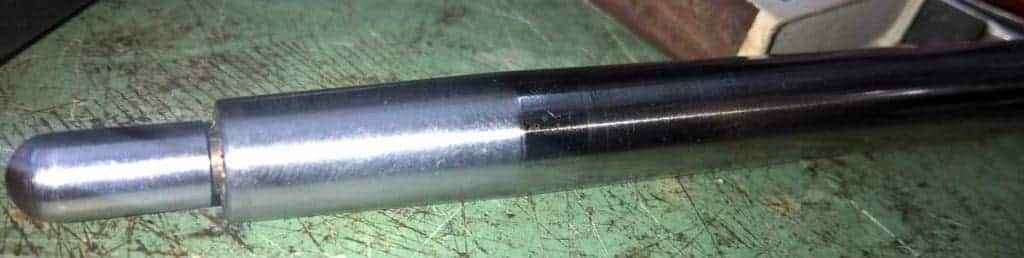
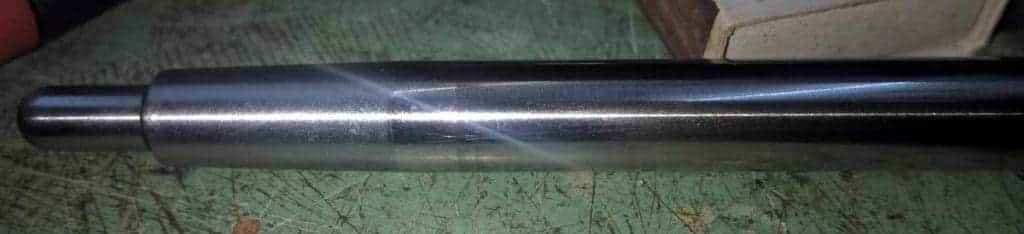
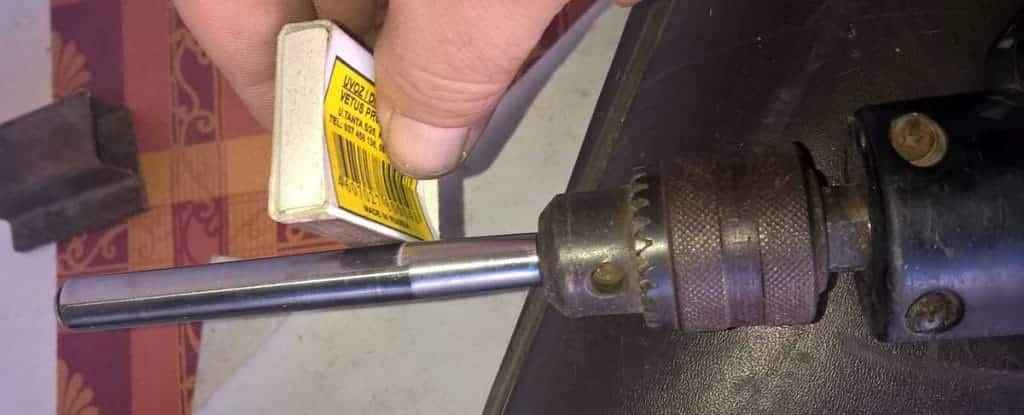
So, polishing again.
This time different approach – paper tape on LP end of shaft, then in drill chuck, polishing compound on cloth …….. patience ……. patience .
One small tip – if you need some small and extra fine polishing, and you don’t have adequate polishing compound – you can use matchbox side – enough gritty to work, enough fine, more than cheap to buy in quantity 🙂
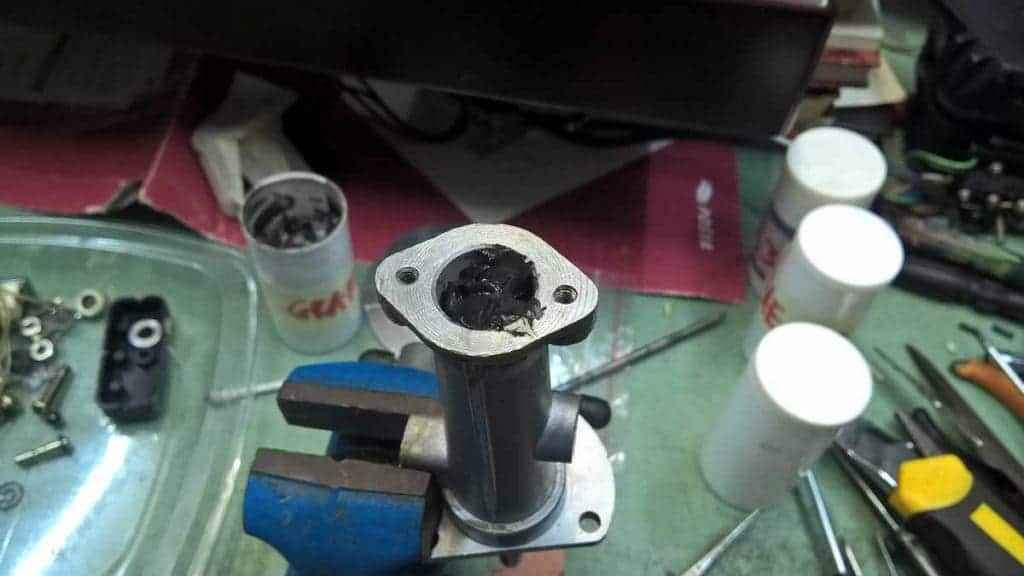
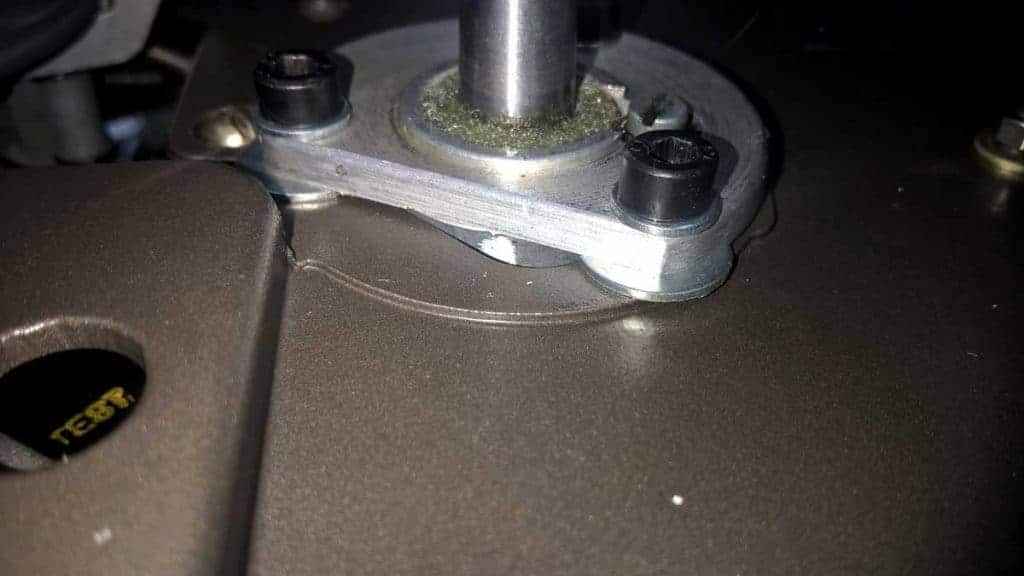
Off course that I made mistake, assembling bearing bottom prior to mounting it to deck base ……. I’m remembering that original bottom is dimensioned so you can protrude it through, but new one is bigger.
So, I did assemble it, just to disassemble it again, mount on base and assemble again; catch 22 is that I must do slow lubing procedure twice 🙂
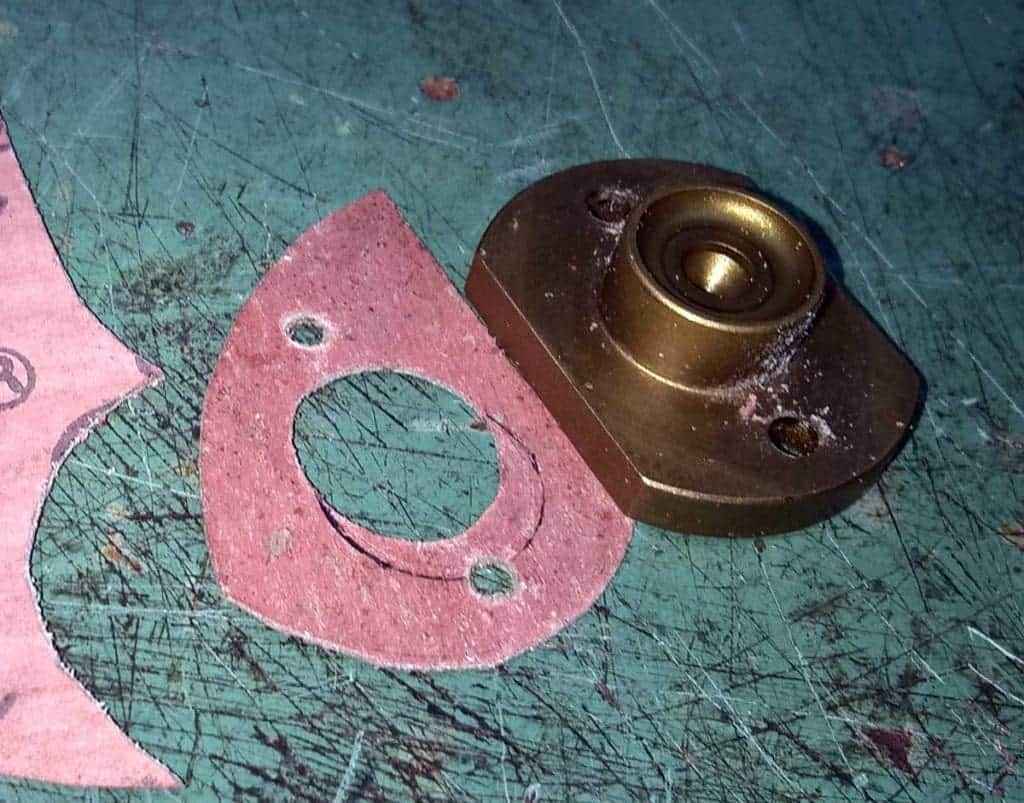
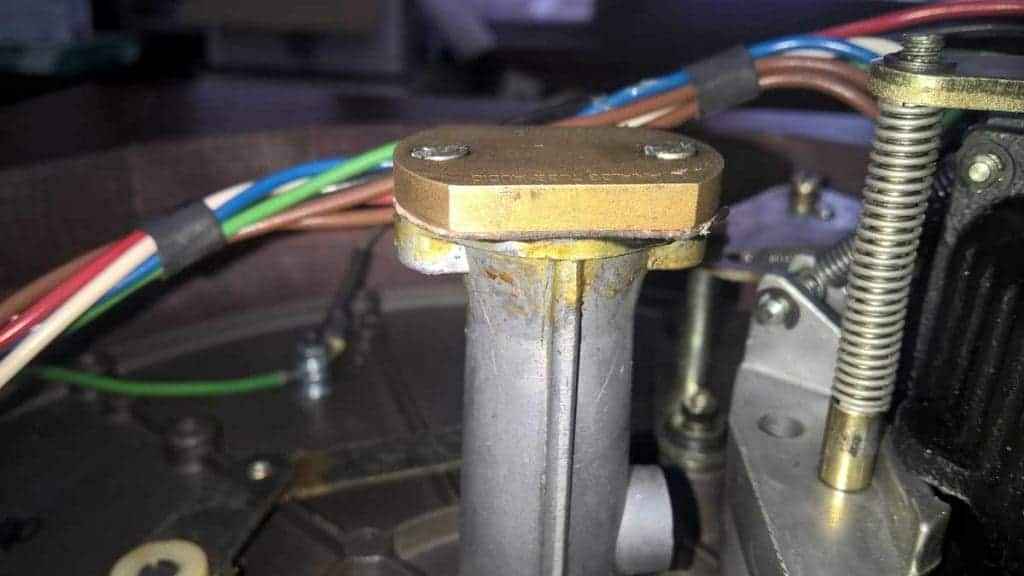
Prior to assembly I made new proper gasket; “original” paper one, not really working, was 0.1mm thick. New one is exactly 0.5mm thick.
However – there is a missed opportunity in new cup design – they could easily implement groove for O-ring, thus avoiding any platter clearance issues (later about that ) while ensuring perfect sealing.
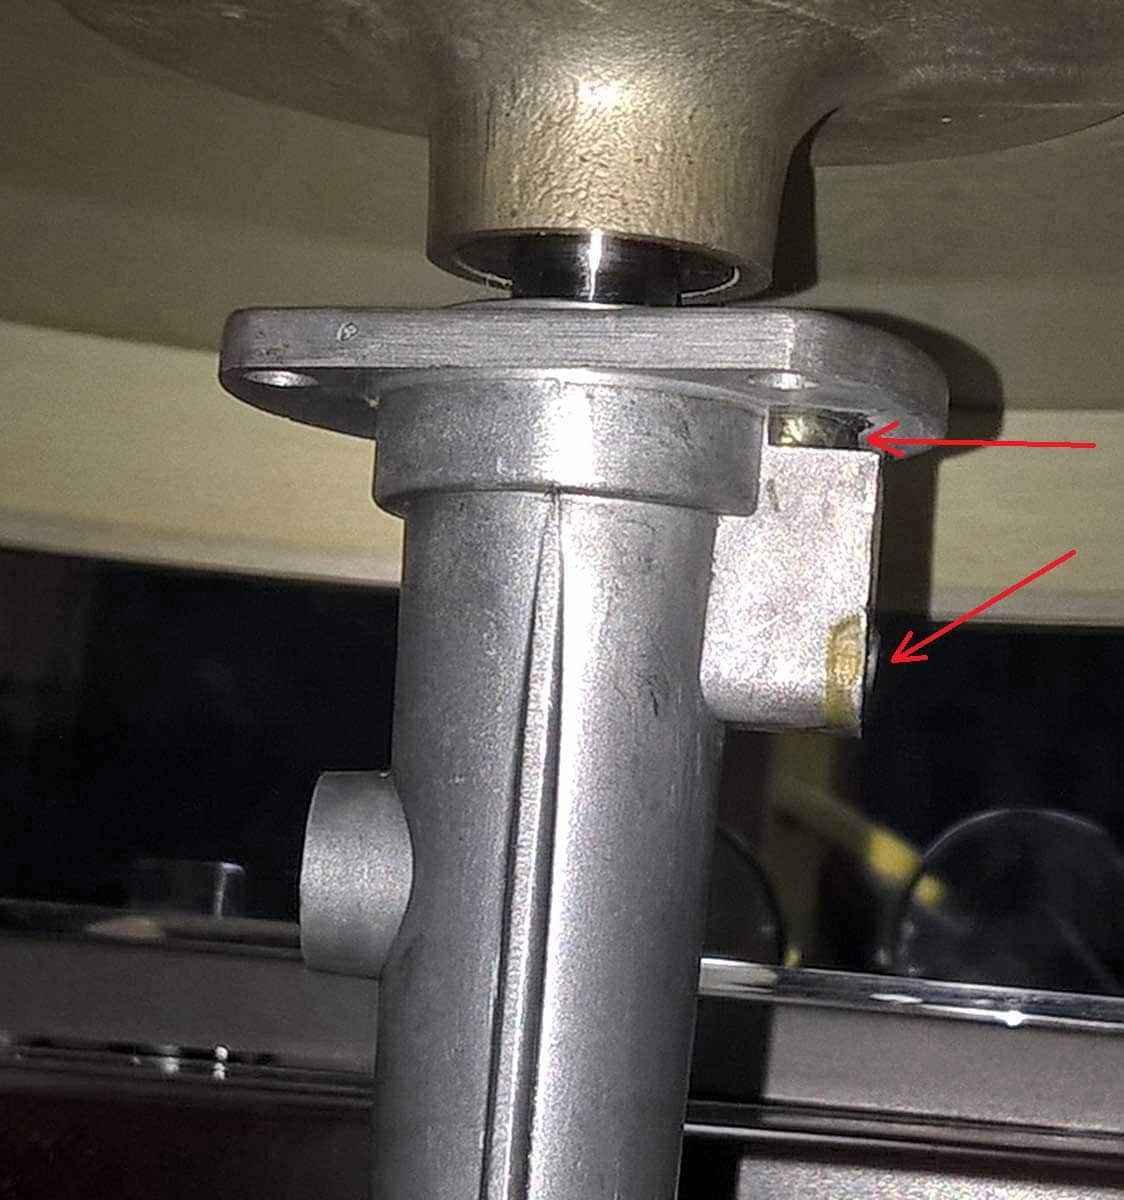
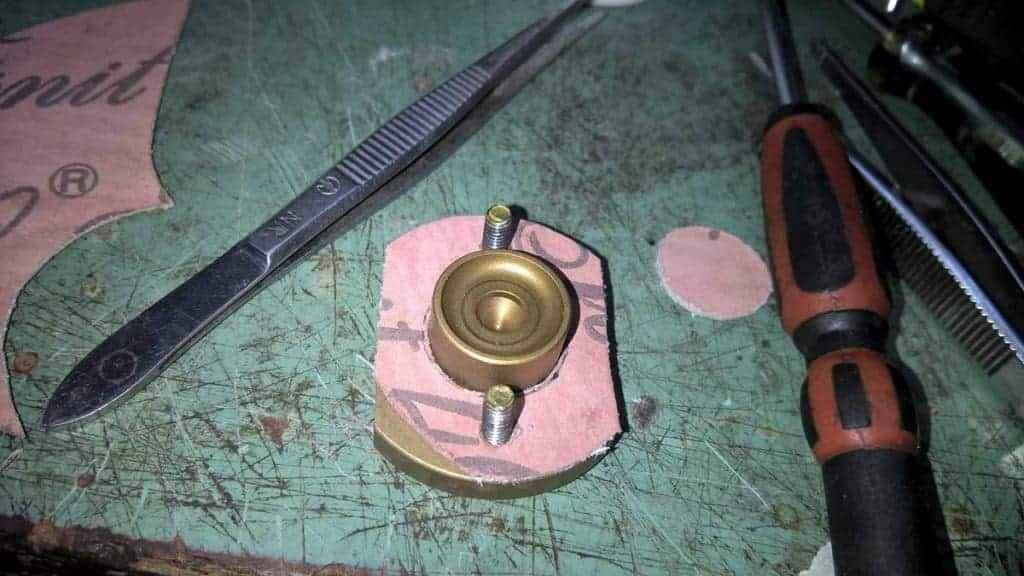
Lubing: as you can see – I’m using solely graphite grease on bottom, adding plain SAE30 motor oil later, with syringe – through side oil hole on top and around shaft. Close oil hole with plastic washer and screw, put felt ring back.
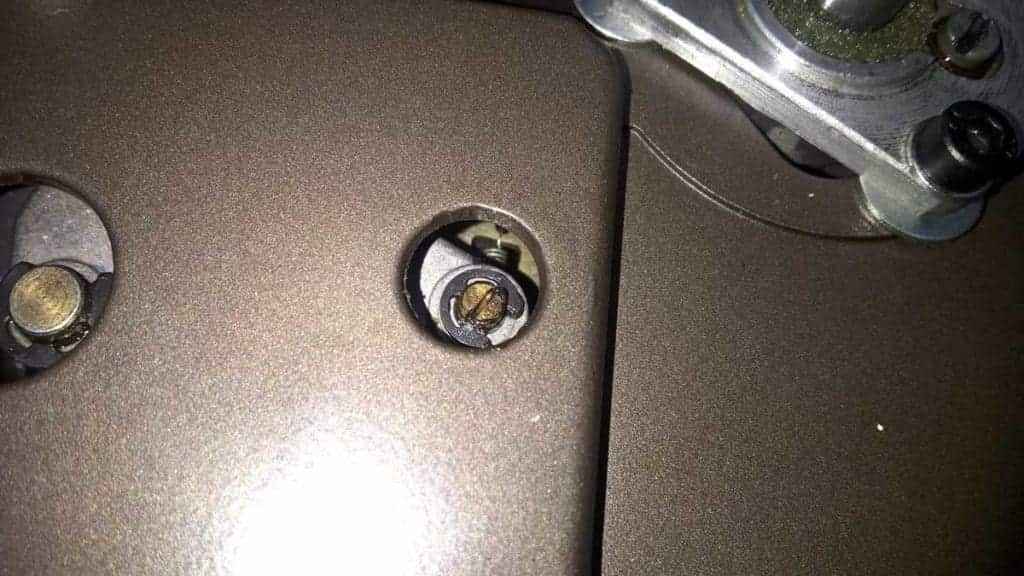
Tip – oil well/filling hole is constructed in a way that leaks are possible – so I used Loctite Gell super Glue to seal two positions, marked with red arrows :
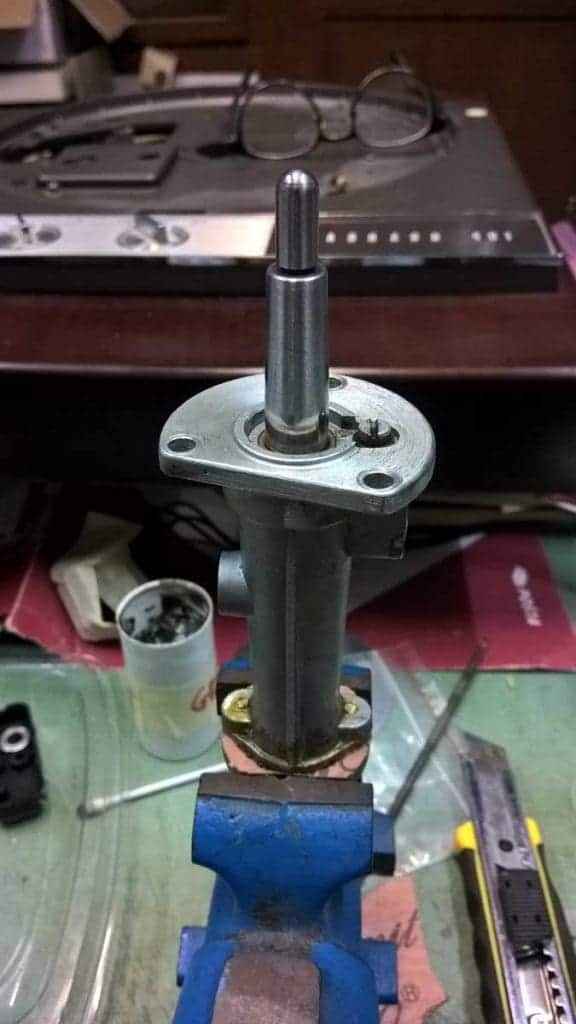
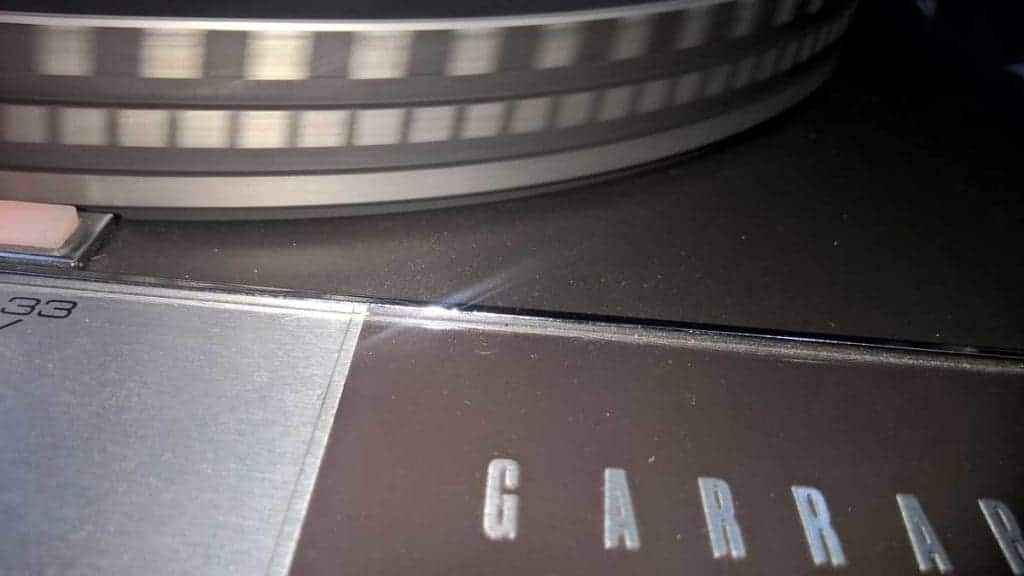
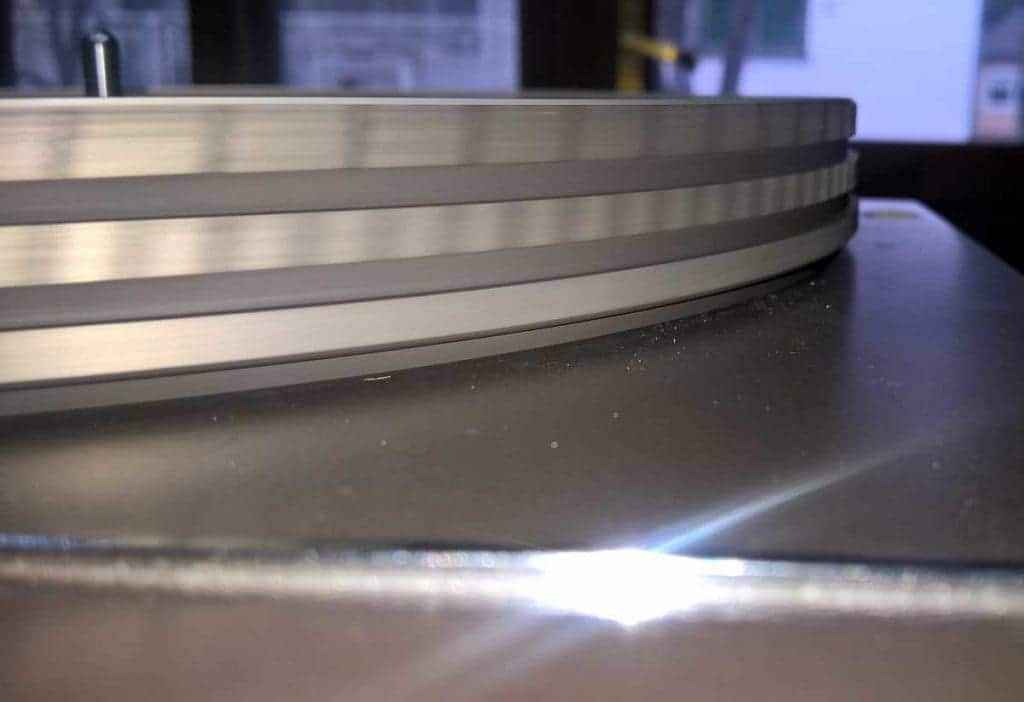
Now – I mentioned platter/base clearance issue; due to new bearing bottom, platter is sitting little low (scratch…..scratch….), so I was in need to solve two things – to lower strobo light ditto to base (proper washers between black contact case and base) and rise main bearing- 1mm thick washers, 3 pieces.
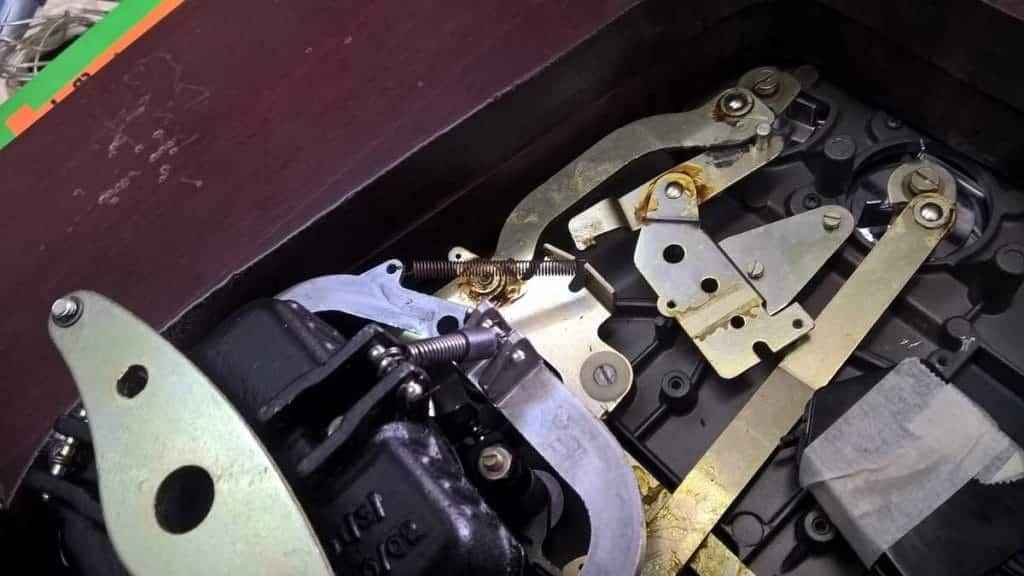
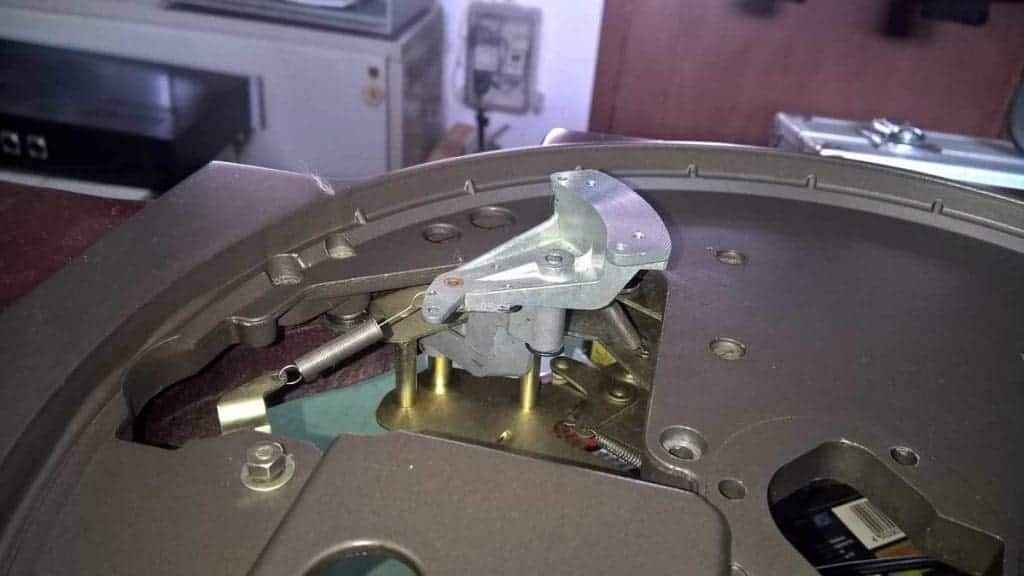
Idler – dismantled along with lever; lever shaft cleaned , lubed (SAE90 + graphite grease).
Then cleaning of idler – into bench drill chuck (fat base , not tiny shafts!), then cotton wool and alcohol ……. as long is needed that wool is clean, without dark traces.
Believe it or not, I needed approx. 40 minutes to achieve that …. almost looking for bar stool near the end .
Then lube and assembly – lower cup (blind one ) needing one drop of SAE90 and blob of graphite grease; upper cup – smear of grease inside then little blob of SAE90 on top of shaft, after assembly.
Time for main pulley height setting – cleaned first with nitro-solvent then with alcohol, mounted on motor shaft, set height so that idler is on middle when in 33 position.
Don’t forget to tighten 3 small screws.
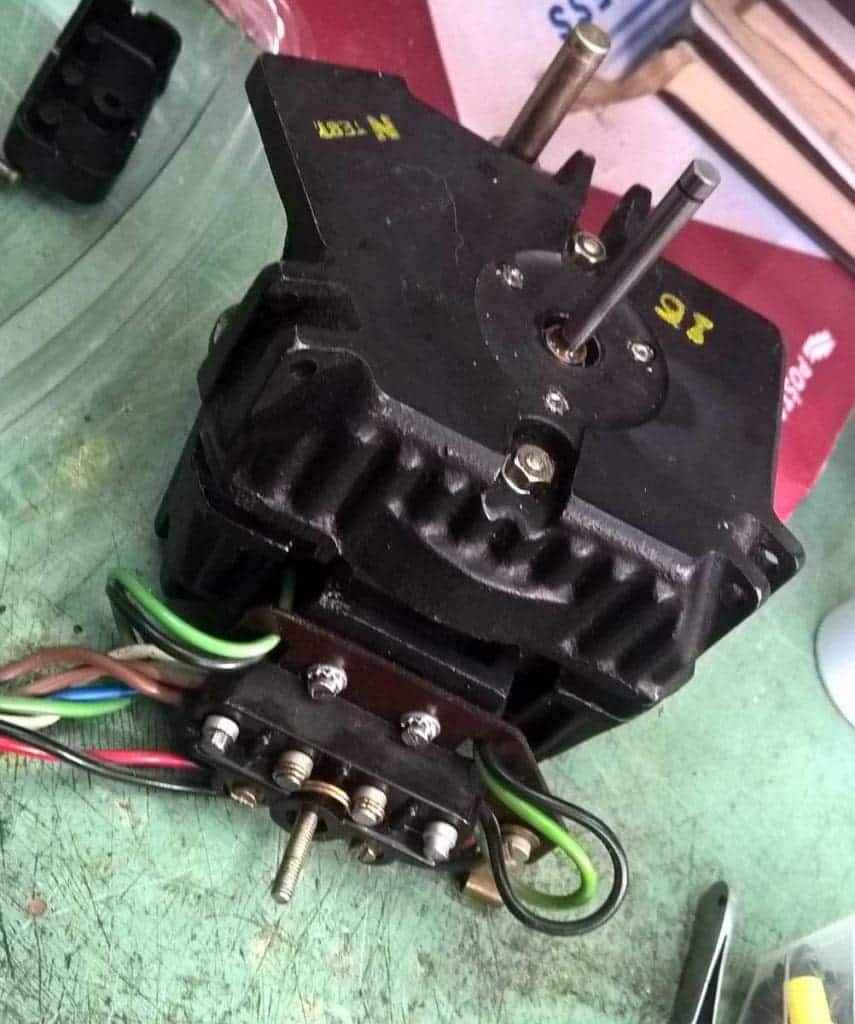
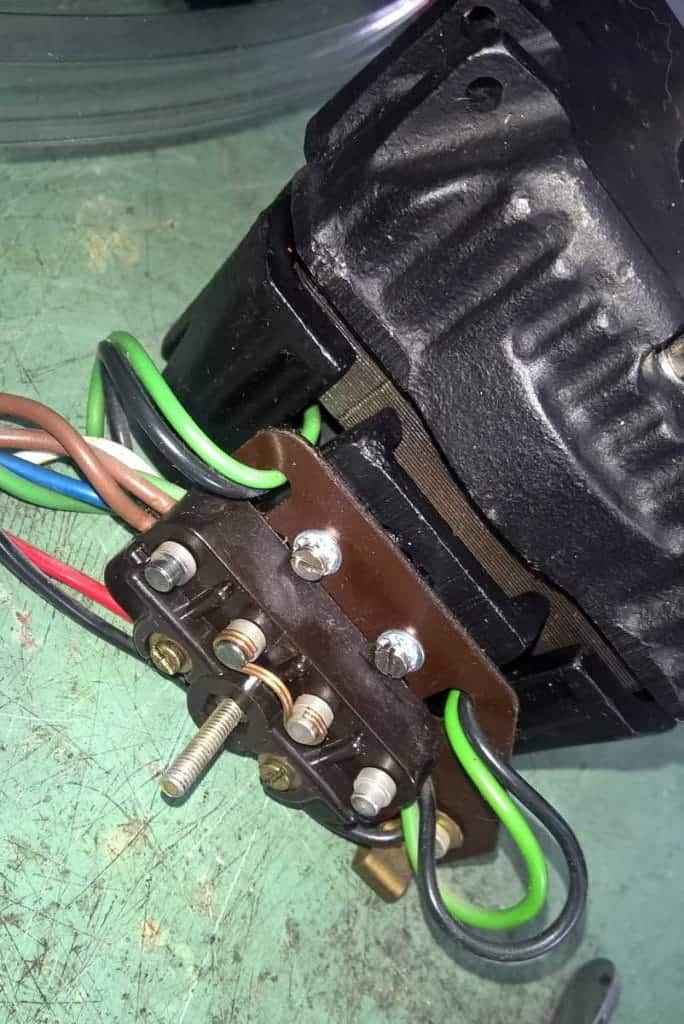
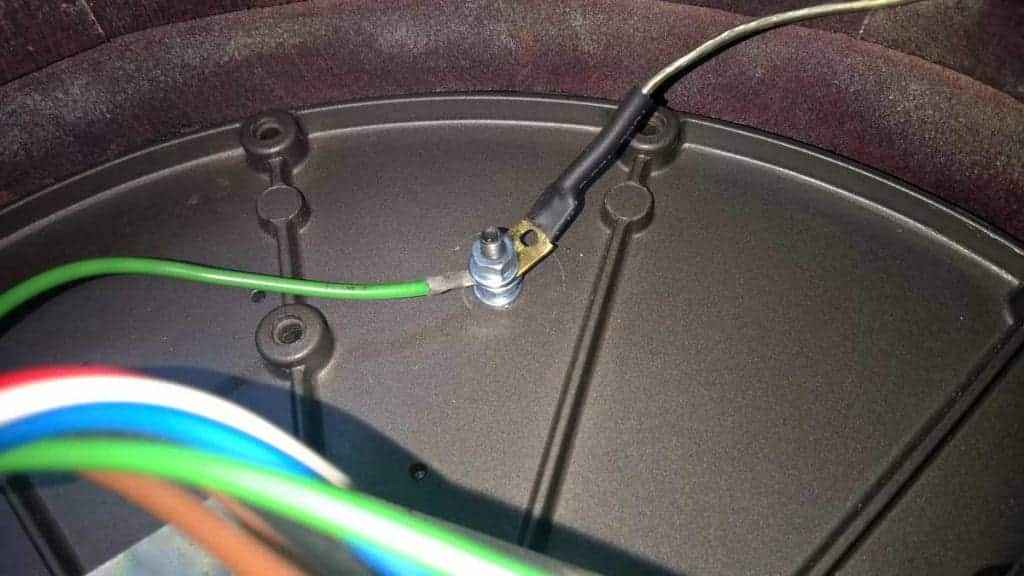
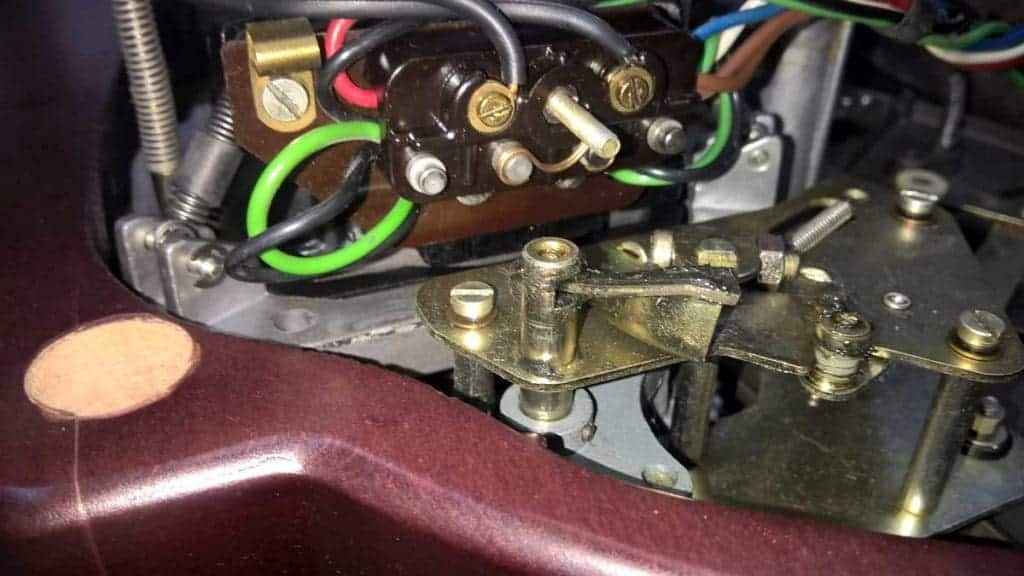
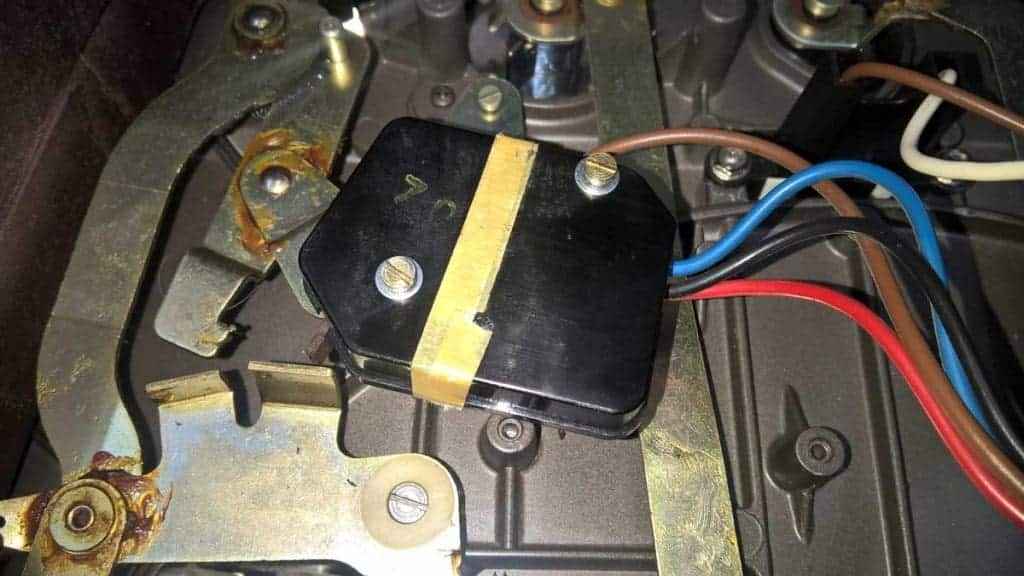
Now grounding – be sure to have proper grounding screw assembly (star washer, plain washer, spring washer.
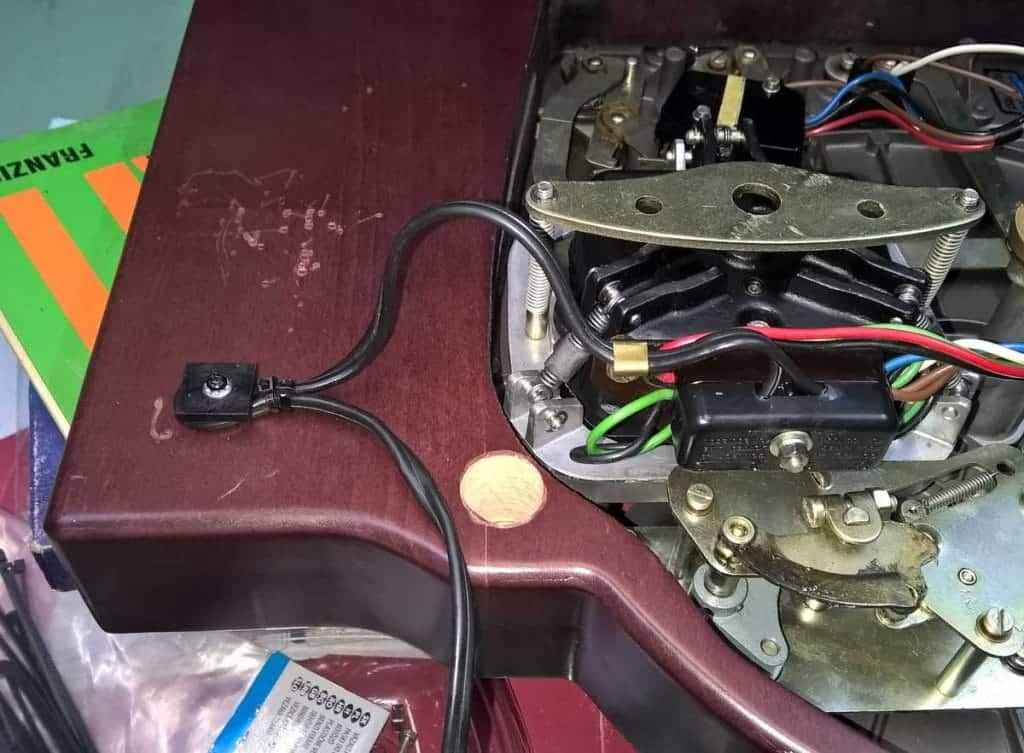
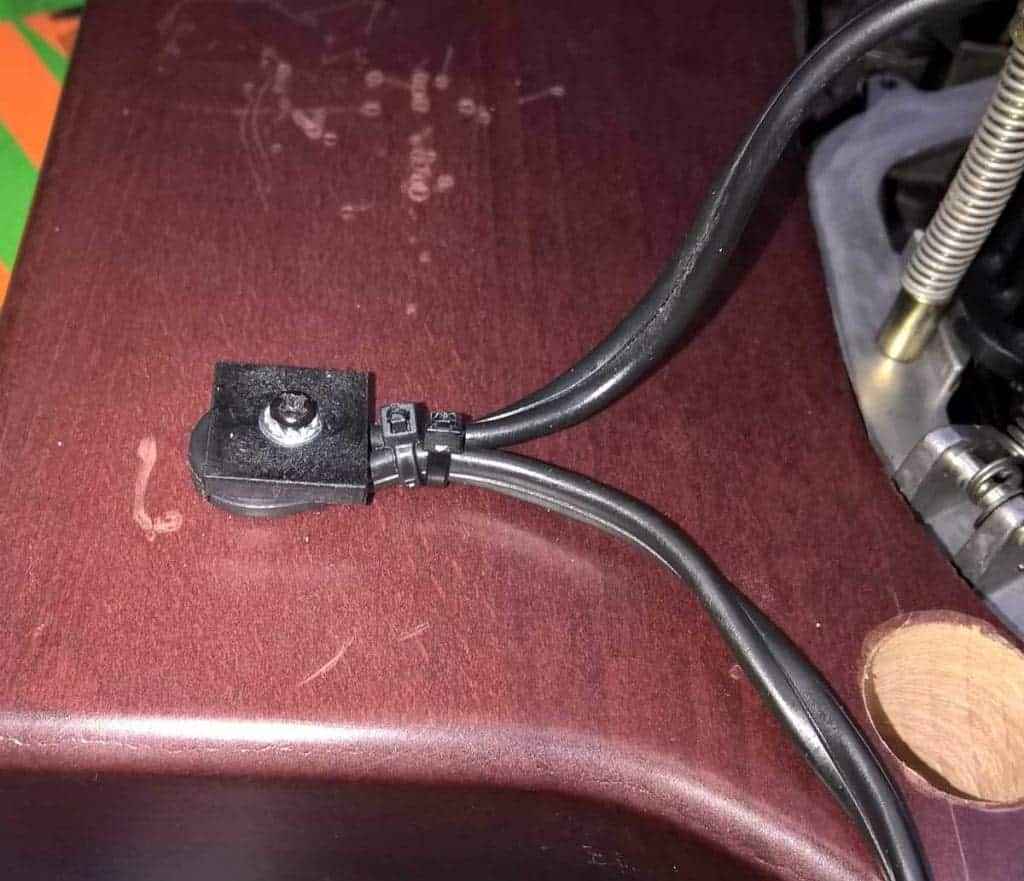
Some thinkerin’ with mains cable :
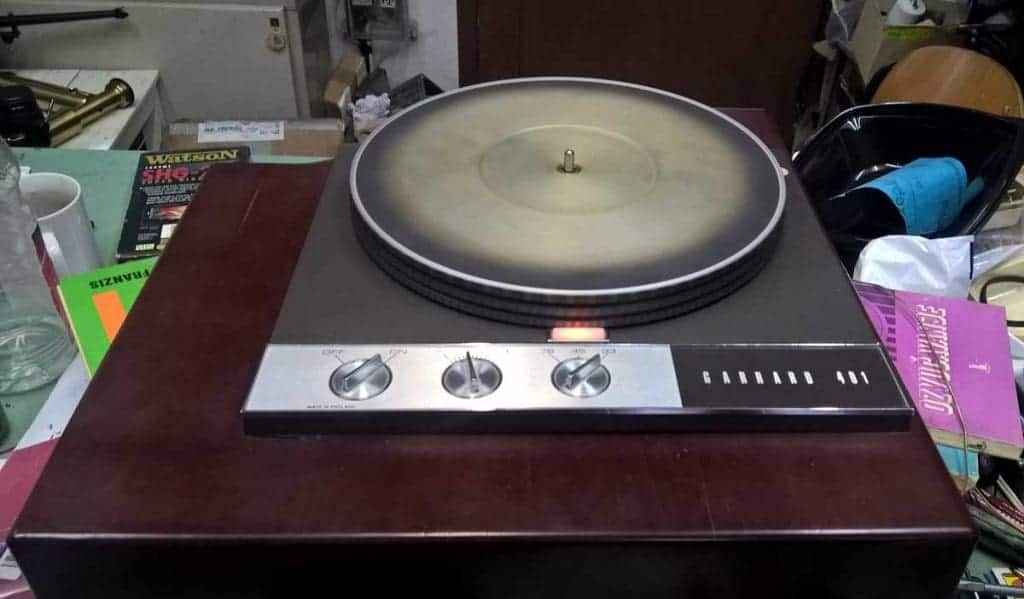
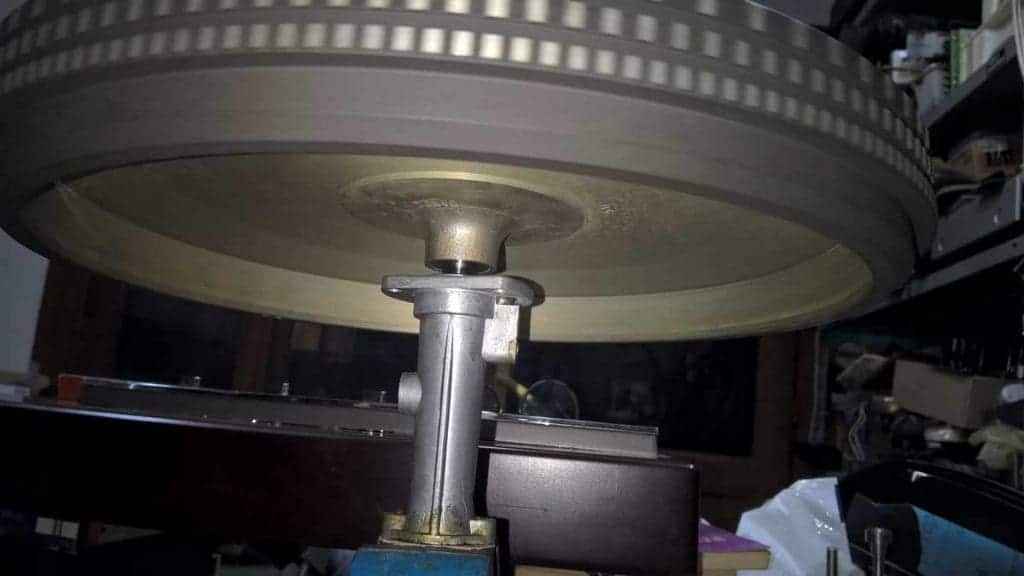
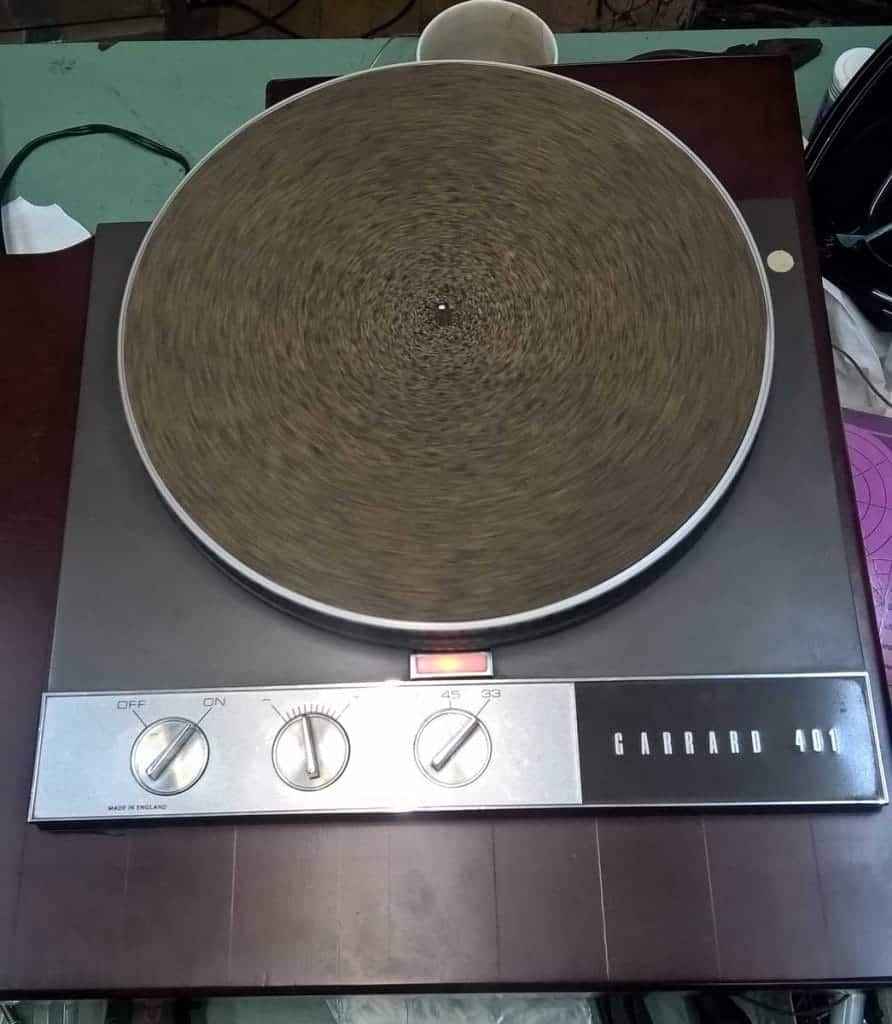
Time for spin ?
Naah …….. do not forget to clean platter completely – just wash it with warm water, sponge and mild dish-detergent. Let it dry …. then is time for spin.
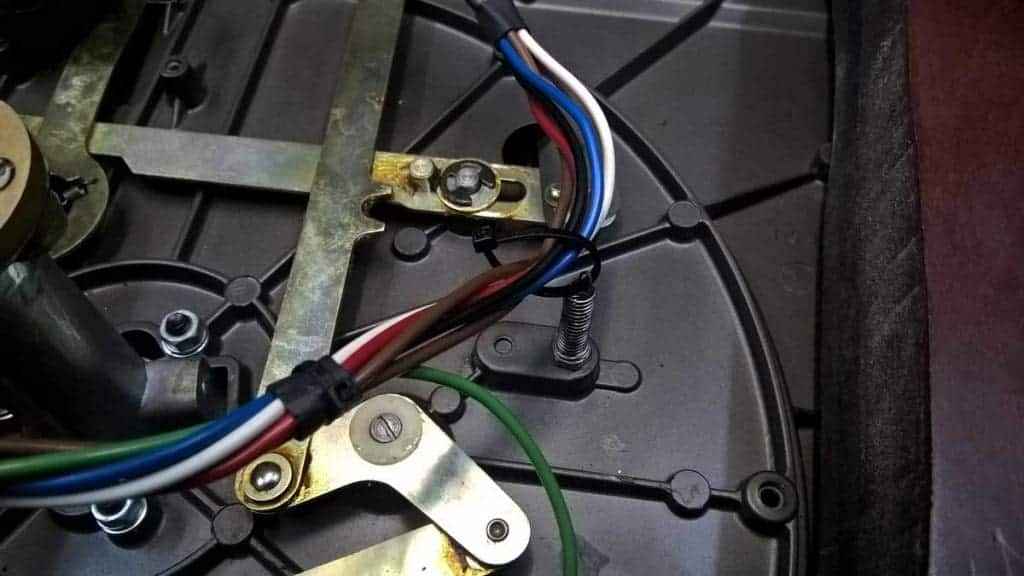
Few more random pics; every moving joint and every shaft in mechanism is lubed with drop or two of SAE90 and blob of graphite grease.
What to do in next few weeks – every few days checking that felt ring (oil well) is saturated; if not – adding drop or two of SAE30 …. air is still trapped in bearing and it’ll go slowly out, draining oil from oil well. In few weeks bearing should be full.
After that – small drop of SAE90 on upper idler shaft every few months, drop of SAE90 on top motor bearing every 3 months or so.
And – same service again in decade ……. 😉

